Center Channel Placement
Once you’ve got the ideal center channel speaker for your home theater or media room, it's very important to properly position it to get the best performance. Center channel speakers come in all kinds of shapes from inwall to onwall, to a conventional speaker in the room.
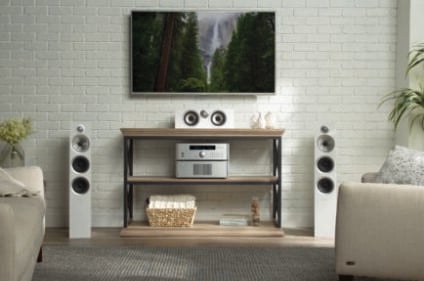
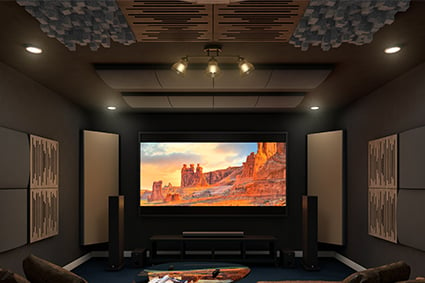
First, your center speaker should be positioned as close as possible to the height of your ears. For most systems, this will put the center channel speaker either below or above your flat-panel TV. If you have a front projection system, it will normally go under the screen or above the screen angled down towards the seating area. If you are lucky enough to have an acoustically transparent projection screen, position the tweeter of the center channel speaker at the exact same height your ears are (usually around 38-42” off the floor).
If your center channel speaker is free-standing, putting it on a dedicated center channel speaker stand is ideal, but not always possible. Many center channel speaker stands angle the speaker so it aims the drivers at your ears. In most media rooms, it will probably wind up either on top or inside a cabinet. If you do have to put it on top of or inside a cabinet, make sure you use the rubber feet that are normally supplied with the speaker to help isolate it from the cabinet. These are also available at a hardware or building supply store. We think it's a good idea to put a couple of extra feet under the front part of the speaker to angle it towards your ears. Also, if it is inside a cabinet, position it as close as possible to the front of the cabinet. Finally, do not obstruct the center channel speaker with anything solid. To learn more about the placement of your other home theater speakers, check out our home theater buyers guide.
One other step that will help reduce cabinet resonance, if your center speaker has to be in a cabinet, is to line the inside of the cabinet with insulation. We prefer the rigid sheet type, but anything is better than nothing. Just be sure to wear gloves, long sleeves, and a mask if you are working with fiberglass. You can attach the rigid sheet with nails or adhesive or just stuff the cabinet with insulation it's it the fluffy type.
Feel free to take all of these steps or just the ones you feel comfortable with. The reason we are trying to reduce cabinet resonance is so the cabinet does not add anything to the sound the center channel is trying to reproduce. In some situations the cabinet will add so much resonance that for some frequency ranges of the human voice, it can sound like you have cupped your hands in front of your mouth, greatly changing the sound the directors intended and totally masking those subtle emotions in the performer's voices.


