How To Mount A

Home Theater Projector

This article is part of our home theater design series, and we will cover how to mount your front projector to your ceiling. If you are thinking about a DIY home theater, mounting the screen and projector may give you some pause, but there is no need to worry. With the proper knowledge and some of our tips, you will be able to install your projector like an expert.

When we begin our discussion on home theaters with most people, one of the first questions that come up is: “How do I mount a projector?”

The answer is four simple steps:

  1. Find the right location for your projector
  2. Hang the projector on the ceiling
  3. Level the projector and make fine-tune adjustments
  4. Turn it on and calibrate the projector

In this article, we will go over each of these steps in detail for you.

Looking for the best projector mount? Check out Audio Advice’s very own mount that we’ve spent years developing to be the highest quality and easiest to install and use. You can easily select your projector model and the pole height you will need. This makes it super simple to be sure you have the correct mount and have it look sleek and clean in your space.

  1. Audio Advice Universal Projector Mount for Sony, JVC, & Epson Projectors Audio Advice Universal Projector Mount for Sony, JVC, & Epson Projectors
    Final Price From$294.65 - To$722.40

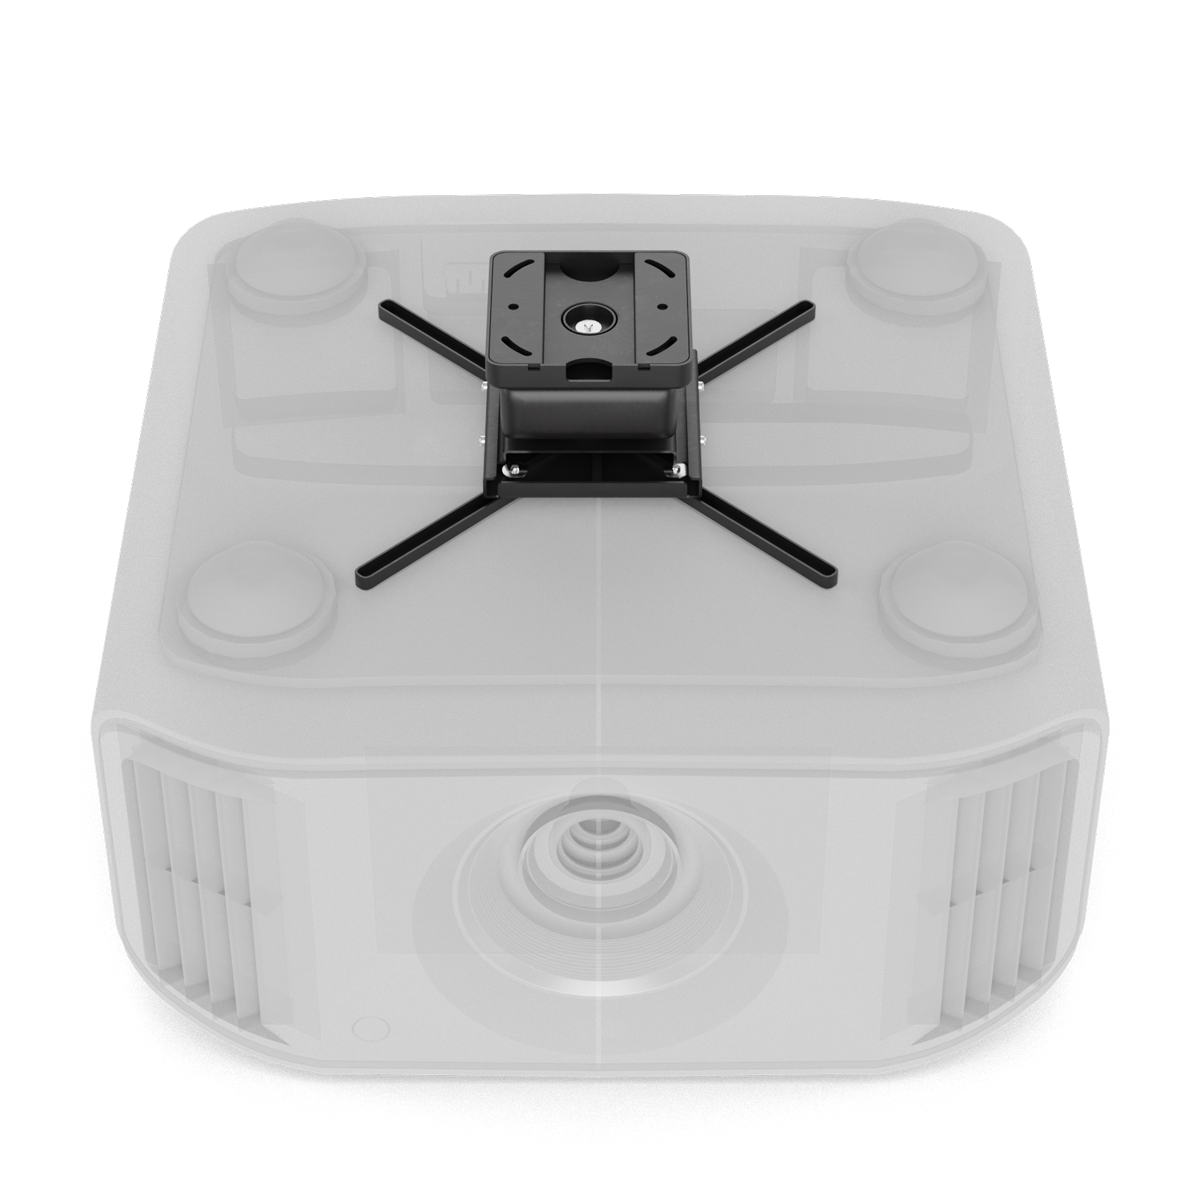
Step 1: Find the Right Location for Your Projector

Many factors come into play when determining the location of where to mount your projector. This may seem overwhelming, but Audio Advice has created the perfect solution. Simply use our Free Home Theater Design Tool to plug in your room dimensions, seating, and everything else. From there, the tool will do the calculations of where to place everything, including the projector, in real time. 

It will even let you choose your projector model, screen size, aspect ratio, immersion level and viewing angle, screen border width, screen gain, brightness in nits, and most importantly, your projector throw distance. After plugging in these numbers, you will be able to drag your projector back and forth to exactly where you want it and see the nits increase and decrease. 

Typically, you will want it as close to the screen as possible along the slider to get the most nits and highest performance out of your projector. However, there are other aspects to consider. Some projectors can be noisy, and you do not want a projector directly overhead of someone in the back row of seats. Additionally, if you have low ceilings, you don’t want to hit your head on the projector just by walking by it. It’s best to think about these things as your slide your projector back and forth on the slider to find the best spot in your room. 

Once you’ve determined the location, you can see the height from the ceiling down to the projector you will need to hang it. Then you can also view your throw distance calculation to know how far from the screen to hang it.

At Audio Advice, we’ve installed thousands of projectors across the United States, and we realize that not every theater room is exactly the same. For more advanced features, try our Free Projector Throw Distance Tool, where you can make more adjustments, such as changing the vertical offset to raise or lower your projector from the ideal position if needed. This will also give you the ideal extension pole length too. As well as changing the horizontal offset to move it left or right from the center of the screen. 

If you have a unique situation like this, our experts can help guide you along the way to make sure it’s in the best location possible.

Step 2: Hang the Projector on the Ceiling

Next, mark the location where you’ve determined to mount your projector. You’ll want to run your cables to this location. Find a stud in your ceiling with a stud finder and try to use it if possible. If there are none, it’s important to use drywall anchors that are rated for well above the weight of your projector and mount combined. 

Usually, mounts come with three pieces. The mount that will attach to the ceiling, the telescopic pole, and the mount that attaches to the projector. Mount the first attachment to the ceiling in the location you’ve marked out. Add the telescopic pole with the correct height that you’ve determined from the Home Theater Tool. Then attach the final attachment to the projector and have a friend help you attach it to the telescopic pole. 

It’s important always to follow the instruction manual that came with your projector mount as they will vary by brand.

You now have your projector hanging in the correct location! But you’re not done yet!

Step 3: Level the Projector and Make Fine Tune Adjustments

At this point, you will want to get a level and make adjustments so that the projector is perfectly level to earth. Loosen your screws slightly or use the fine-tune adjustments on the Audio Advice mount to make it level and move to the next step.

Step 4: Turn It On and Calibrate the Projector

Now, attach all your cabling and power on your projector. Use your zoom and lens shift features to center it on your screen. We also recommend going through our Free Home Theater Audio & Video Upgrades playlist to get everything from focus to RGB calibration perfected. Our team runs all of these tests in every theater to ensure it’s calibrated to the best it can be.

We hope this article and companion video is helpful to your DIY home theater project. If you have questions about how to mount your projector, please feel free to reach out to our team. And once you have your mount, if you purchased it from Audio Advice, our tech team will be happy to help you with any questions as you go through the steps.

Home Theater Buying Guide

If you are in the market for a new home theater system or improving part (or all) of the one you already own, you’ve probably figured out that the options can be more confusing than advanced algebra! Explore our guide to understand the available options and how they might work or not work in your particular situation. If you need help customizing a solution for your space, reach out - we're happy to help!

FREE Interactive 3D Home Theater Design Tool

Enter your room dimensions, audio, and video preferences while it designs your theater in real-time. Receive optimal screen size, seating locations, speaker locations, and receive precise measurements for your room layout. Work with our system designers via chat, email, phone, or in-store for expert advice, product selections, and more.

Wishlist
Copyright © 2024 Audio Advice. All rights reserved.