This article is part of our Home Theater Design Series that covers virtually everything about designing a home theater.
Although hanging acoustic panels in a home theater or listening room is not too difficult, it does require a little thought & planning. In this video, we show you two effective methods we use here at Audio Advice that are easy for the average DIYer. Before you begin, be sure to have a pencil or a small piece of chalk, a level, measuring tape, and whatever adhesive you will be using to attach your panels to the wall.
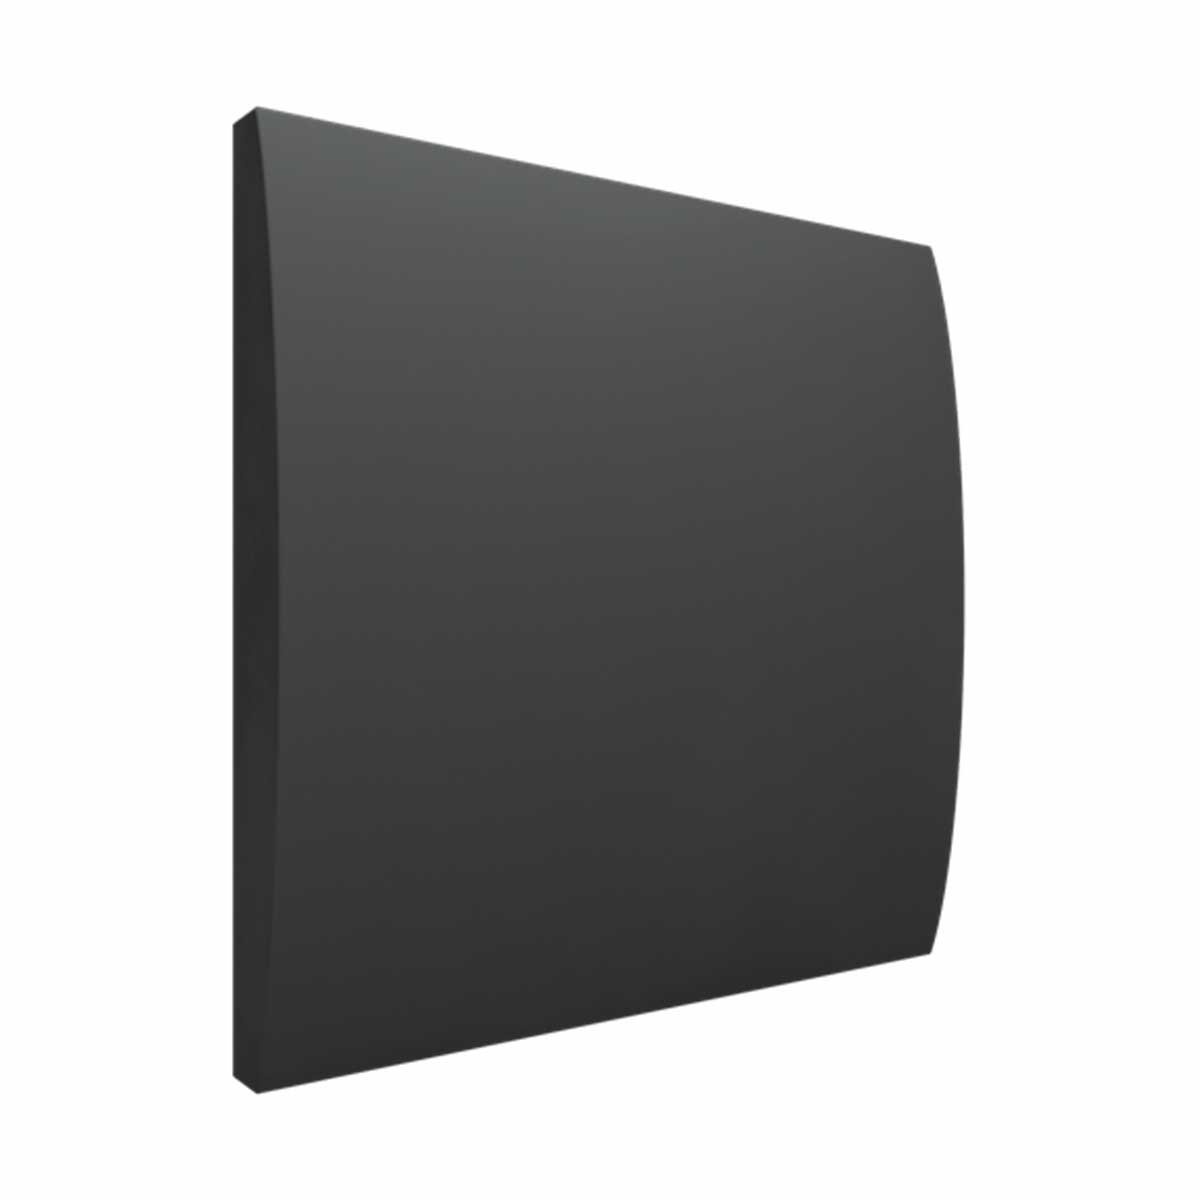
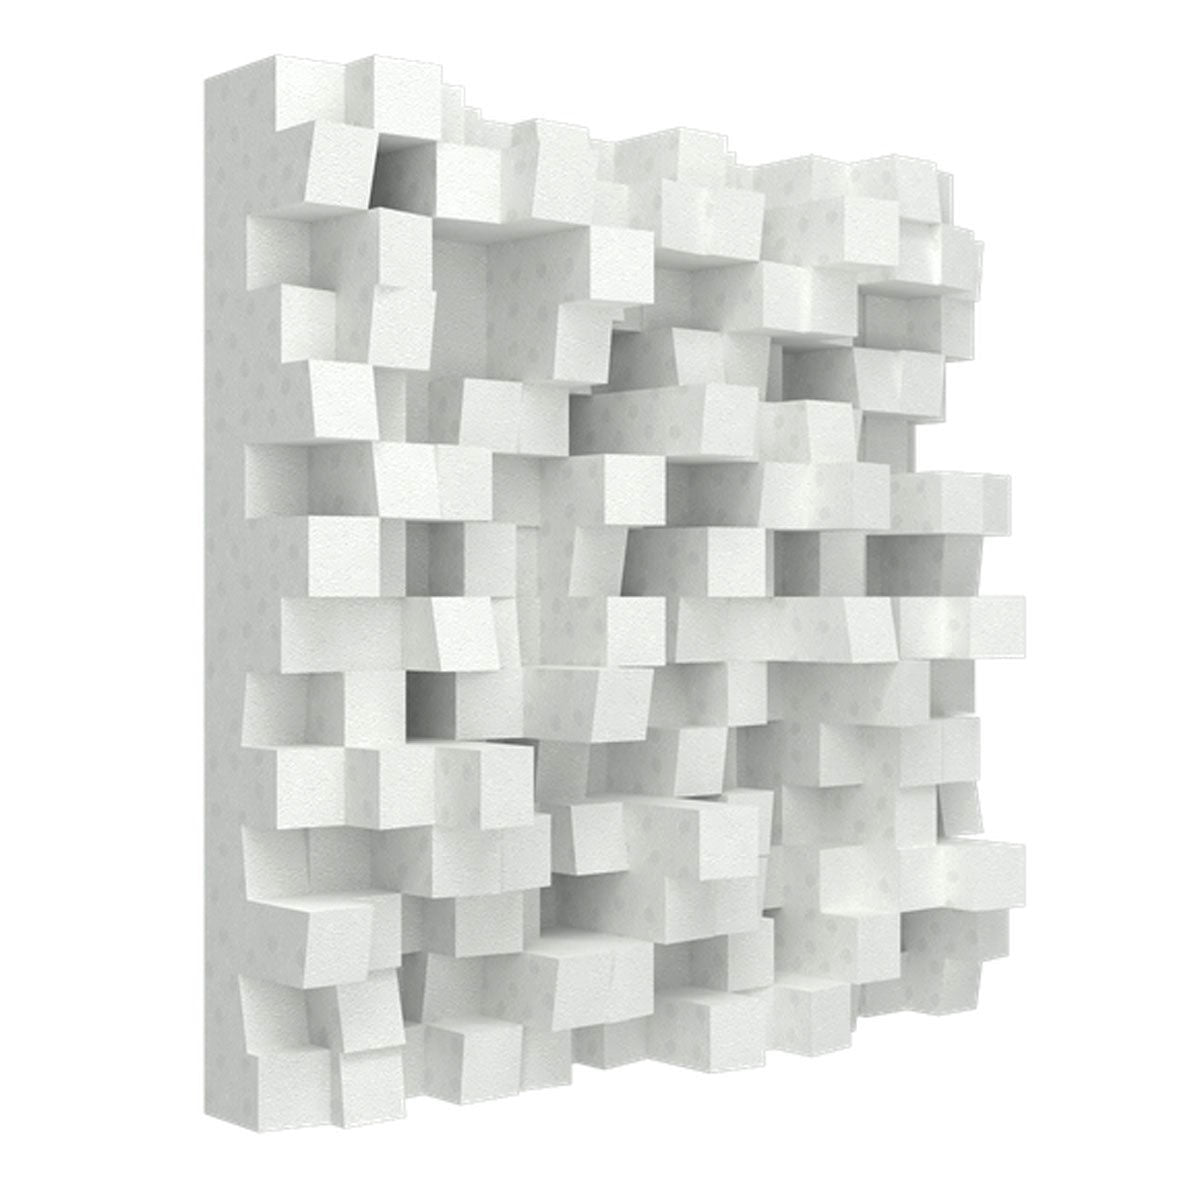
This first method will use velcro strips. These work well on lightweight panels allowing you to put up effective acoustic treatment in a room where you may not want to damage the walls. For this example, we’re using a panel with wool-like backing that we've already pre-attached velcro strips to. Before going this route, you will want to ensure you can get a good hold between your velcro and the panel so they don’t end up falling off of the wall.

Once you’ve removed the backing to your velcro strips, align your panel with the marks on the wall and hold it into place. Once the velcro adheres to the wall, you will use your leveler tool to ensure your panel is level. If it's a little off you can always just unstick the panel from the velcro, make your micro-adjustments, and place it right back.
The next technique is our preferred method and will work best with heavier panels that you want to mount permanently, such as in a dedicated home theater space. We like to use Gorilla Glue Heavy Duty Construction Adhesive or Loctite Power Grab - both of these are readily available at your local hardware store. It's also not a bad idea to put a drop cloth down in the space you will be working to catch any drips from your adhesive. Follow the same steps we did before to get the measurements marked out on the wall.
Now we're ready to apply our glue! You’ll want to make sure you apply the glue a couple of inches away from the outer edge of the panel so in the event you make any adjustments, you don't have seepage of glue from the rear of the panel.
Pro Tip: When laying the bead down, avoid using any shapes that will trap air. Applying your glue in a circle formation may create air pockets in the back of the panel when we go to stick it to the wall. We recommend applying your glue in a zig-zag pattern.

Once you've applied your glue, align the panel against your wall markers and level. Make your final adjustments, give it a little shimmy into place, and press gently on the panel - you’ll find that it will actually grab pretty quickly! Once your panel is fully aligned, apply even pressure moving your hands around to make sure you're covering all the areas you applied the glue. Once you feel that you've got a good spread on it, hold it for a minute or two to make sure it sets and you should be good to go!

At Audio Advice, we've been designing and installing high-performance home theaters & smart home systems for our customers in Raleigh and Charlotte, North Carolina, and surrounding areas for decades. In fact, we've delivered more custom theaters than anyone in the Southeast! We are now offering Home Theater Design no matter where you live in the United States! If you are interested in a custom home theater or upgrading your current system, give us a call 888.899.8776, chat with us, or stop by one of our award-winning showrooms. We can't wait to help you build your ultimate home theater!
You'll be among the first to know about product launches, exclusive online deals, and the hottest audio trends.


