Audio Advice Revelation Home Theater Seating Setup Guide

Today, we will walk you through some important tips about the Revelation Home Theater chair, along with showing you how to set one up. The Revelation chair is THE ULTIMATE chair for your Home Theater. Check out our full review to learn more about all the great features these chairs offer.

We understand it may be overwhelming initially with a chair of this size, but we're here to show you how easy it truly is. Let’s get started!

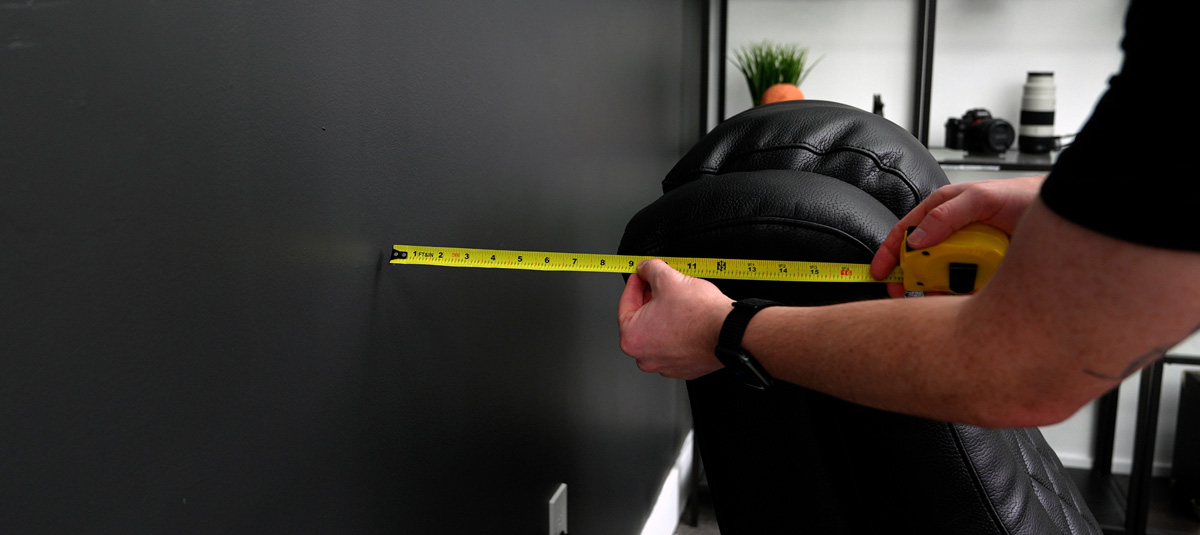
One of the first steps you’ll want to take is to measure your door width to ensure these chairs fit into your theater room. The height of the chair without the back installed is roughly 28 inches, which is important because you will flip the chair on its side to get it through your door. If you have a standard door frame with a width of 30 inches or up, you should be good to go. 

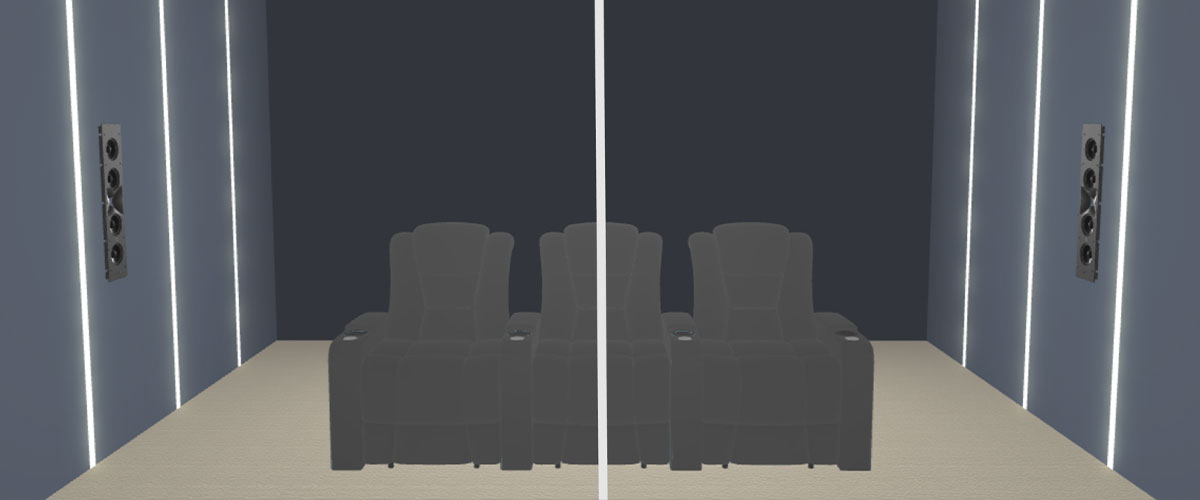
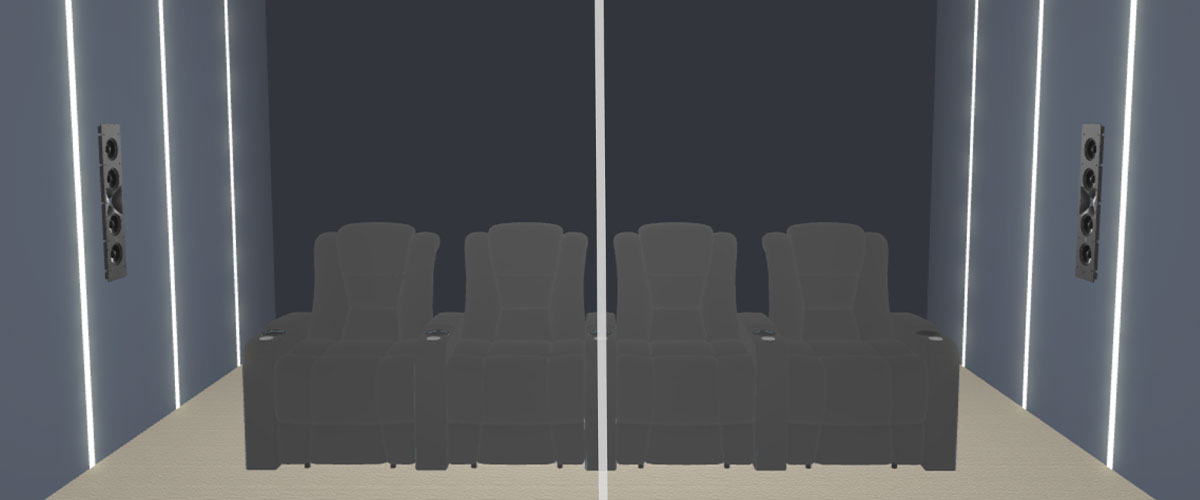
If you are not ready to install them immediately, you will need a place to store them. You will want to plan for this as the 2-arm Boxes are  39" x 30.25" x 34.75", while the Left arm and Right arm boxes are 32.25" x 30.25" x 34.75". The boxes can safely be stacked two high when storing to help maximize your floor space - just make sure you have a helper when stacking them, as these boxes weigh in just north of 150 pounds each. We have multiple configuration options listed on our website for 2-chair rows, 3-chair rows, 4-chair rows, loveseats, and even more, depending on what works best for your space. If you need help deciding which chair setup is right for your space, check out our Home Theater Design Tool, where you can plug in your room dimensions and adjust the number of chairs, speakers, and everything else. It will do all the calculations for you to show you where everything should go. If you have more questions, our experts are ready to help by phone, chat, or you can even stop by one of our award-winning showrooms. 

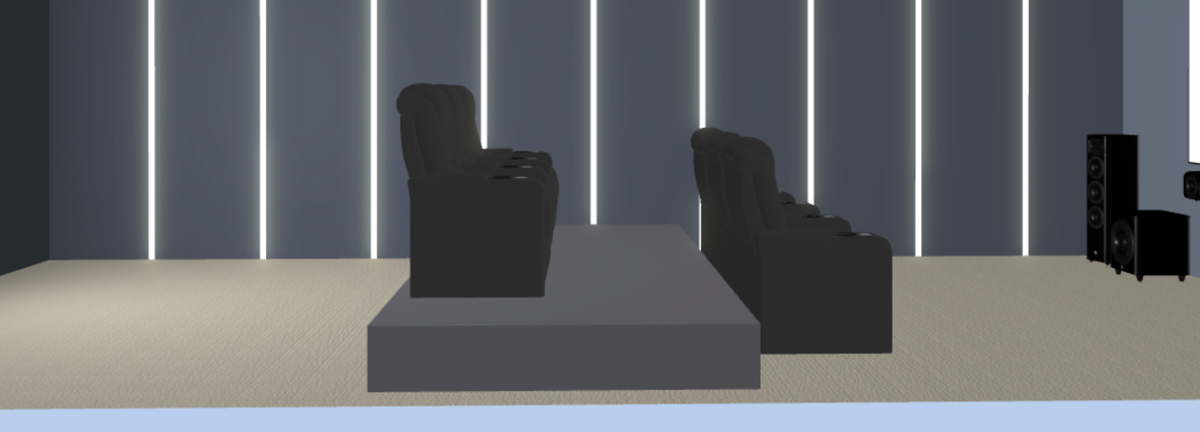
Another important aspect to consider is where to place your power if you are doing a new build. You will want to place your floor outlet 22 inches off the back wall to hide it in the center under the chair. Also, make sure the headrest of your chair is at least 8 inches from the back wall in the upright position to give clearance to be able to fully recline unimpeded. Now, don’t worry if you are retrofitting an existing theater or building one in an existing room and don’t want to add additional outlets. You can easily run extension cords to plug these chairs in. We do recommend a dedicated 20 amp circuit, but they only use 2 amps per chair, so if it is a retrofit, a 15 amp circuit will be fine in most cases. Just ensure you place your extension cords and wires from chair to chair in a smart place so they are not getting crushed when the chair reclines and your guests don’t trip and cause a safety hazard.

We realize that everyone may not place their chairs against the back wall. In these cases, you must measure the distance from your back wall to the back of the headrest. Add 14 inches to this measurement to find the correct location for your floor outlet. 

Now it’s time to open the box and get your chair into position. For this part, we recommend you ask a friend to give you some help. To start, if you’re able to get the box into your room, then move it close to the final position. Otherwise, open the box just outside the room and carry in the base and back separately. To make the base fit through your door, just tip it on its side. It’s typically best to flip the box upside down and open it from the bottom. From there, you can hold the flaps back on the box and roll the box gently back to the right side up.. You can then easily slide the box right off the top of the entire chair. Remove all the plastic and foam protection, and you are now left with the base of the chair and the back of the chair.

From there, we will take the back of the chair and slowly guide it to line up with the rails and slide it into position until you hear it lock.

Then, connect the wires between the two, ensuring they are clipped in properly. Next, you’ll want to use the velcro on the back of the very bottom to connect the loose fabric and give it a seamless look. Now, we will connect to power and test out all the buttons.

If you are assembling a multi-chair row, start at the center of the row and work your way out. You will want to ensure that you have your center chair exactly where you want it. Then, you can work your way out from there, using the pre-installed alligator clips to secure each adjoining chair.

If you have a row with an odd number of chairs, find your center mark for the row and the center mark of the middle chair and line those up.

If you have a row with an even number of chairs, find the center mark for the row and line that up to the middle of the center armrest.

If the chairs will be going on a riser, you will need to have a minimum depth of 6 feet to be able to recline fully. If you want to be able to walk in front of the chairs while they are reclined, we suggest going with at least a 7-foot deep riser. 

We hope we’ve helped show you some good tips and just how simple these chairs are to set up. If you have any questions about home theater or home audio in general, please contact our team via chat, email, or phone, or feel free to drop by one of our award-winning showrooms; we’d be happy to help you out!

FREE Interactive 3D Home Theater Design Tool

Enter your room dimensions, audio, and video preferences while it designs your theater in real-time. Receive optimal screen size, seating locations, speaker locations, and receive precise measurements for your room layout. Work with our system designers via chat, email, phone, or in-store for expert advice, product selections, and more.

MORE VIDEOS & REVIEWS

Wishlist
Copyright © 2024 Audio Advice. All rights reserved.