How to Set Up a Turntable:
A Beginner's Guide
Welcome to the world of vinyl! Whether this is your first turntable or an upgrade, this guide will show you how to set up your turntable, step-by-step. We will get you spinning vinyl as quickly as possible.
The guide covers all types of turntables sold by Audio Advice. There will be sections that may not apply to your particular record player, but this will be obvious to you from the instructions.
Unboxing
The first thing to do is to find a good spot to spread everything out. We suggest you put a blanket on the floor or a large countertop.
Since your turntable is a delicate instrument, it will be well packed. The idea is to gently remove everything from the box safely. Be sure and look through all of the styrofoam as many times the counterweight will be tucked away in a hidden spot in the packing.
There are two very important things to know before you start. The tonearm and stylus (needle) are the most delicate parts of your new turntable and need to be handled with care. If you are new to turntables, the tonearm is the straight or curved round piece that is 7-10” long you’ll see on the right side of your turntable. Even though it may look like a tempting handle to grab to help pull it out of the box, never grab the turntable by the tonearm. This could damage the tonearm bearings or worse yet, the needle. The most common form of damage we see is an accidentally bent or broken needle, so save yourself the extra headache and handle the tonearm very carefully!
All turntables will come with some kind of strap holding the tonearm in its rest. Please leave it tied down until the very last stage of setup as per your setup guide.
Initial Setup
Location
Once you have everything out of the box and have removed all protective cardboard or coverings, place the main part of your turntable on a level surface. The more solid the surface, the better.
Some turntables have adjustable feet to allow you to fine-tune the level. (If the feet of your table turn, you have adjustable feet.) We suggest using a bubble level to get it as level as possible.
Some turntables will also have one or more transit screws you will need to either loosen or remove. They will be identified with warnings about them on the top side of the turntable. Remove or loosen as per the instructions.
Speakers
If your speakers are fairly small, it’s probably ok to have your turntable near them or even in between them, but if your speakers are capable of producing deep bass, it’s best to keep them away from your turntable. You especially do not want your turntable near a subwoofer.
Belt Installation
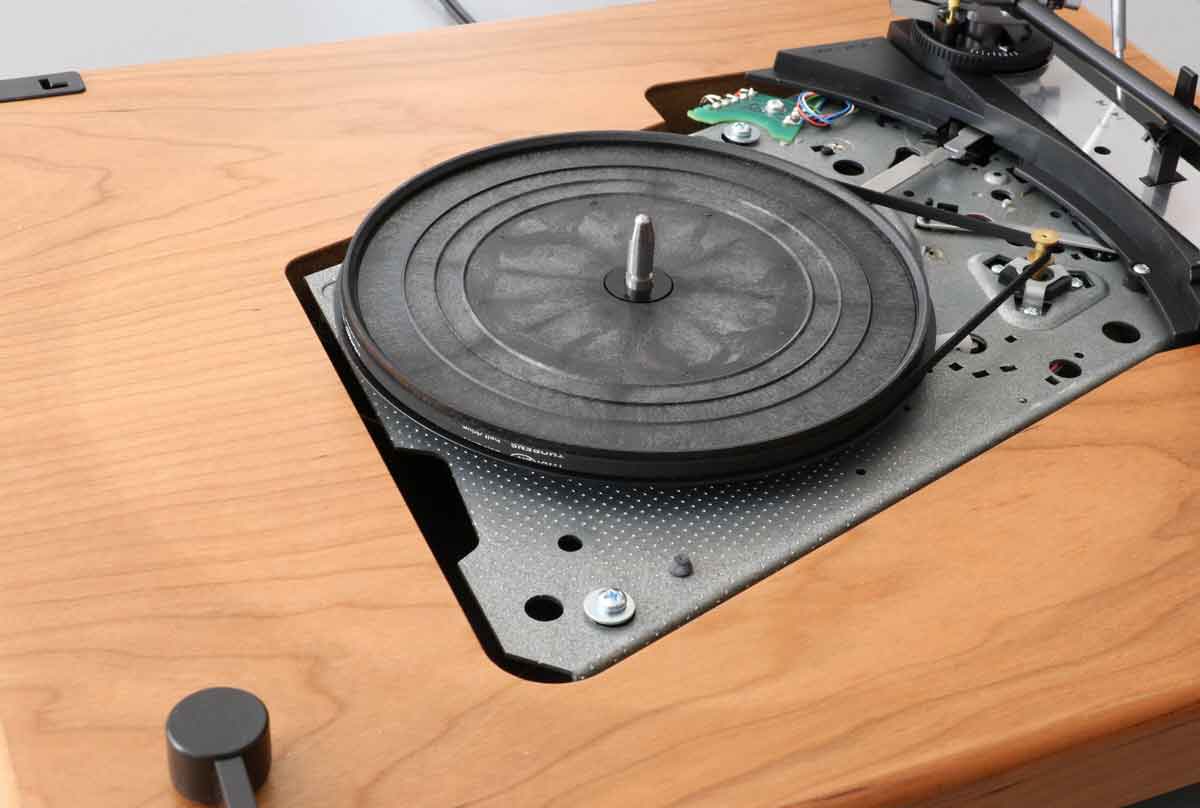
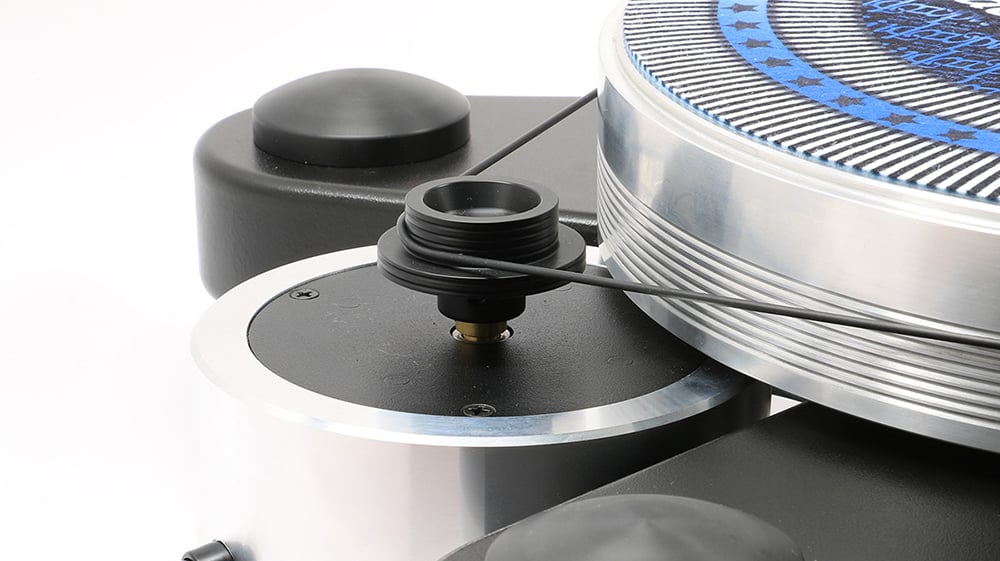
It will be pretty clear whether your turntable has a motor that sits under the main platter or outside the main platter. If it’s under the platter, go ahead and install the belt on the inner platter and wrap it around the motor pulley. If there are two spots to wrap it on the motor, use the top one as the bottom one is for 45 RPM records.
If you have a motor that sits outside of the turntable, you’ll need to install the outer platter before you install the belt.
In both cases, then just give the platter a gentle spin and the belt will self-center.
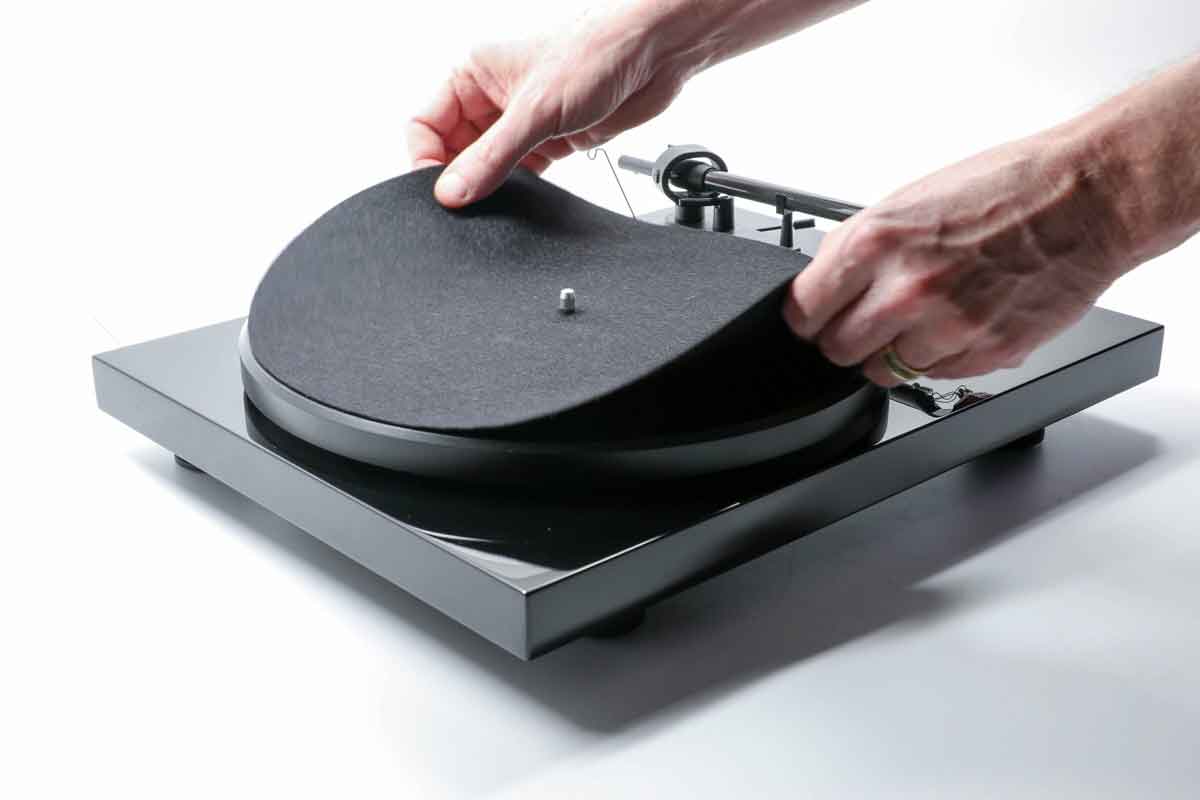
Place the mat that came with your turntable on top of the platter then gently and carefully remove the stylus guard and set it aside. We recommend that you keep this guard in case you have to move the turntable later.
Setting the Tracking Force and Antiskate
Inside your turntable box you will find a card with the recommended tracking force for your cartridge. Here’s where you’ll need to use it.
Almost all of our turntables, with the exception of two models, use a zero gravity method first, then you apply the correct tracking force.
If you have a VPI Player, yours is already set and you can skip this step.
If you have a Rega Planar 1, simply screw the round counterweight on to the back of the tonearm and turn it all the way forward.
For all others, find the round counterweight and screw it onto the back of your tonearm with the numbers (if it has them) on the weight pointing towards the front of your turntable.
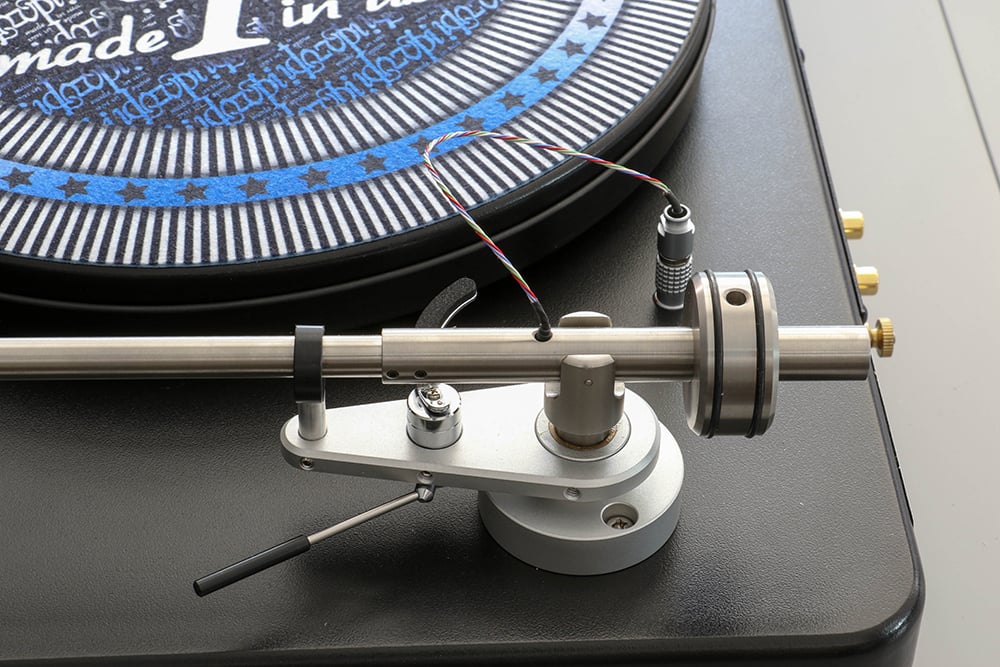
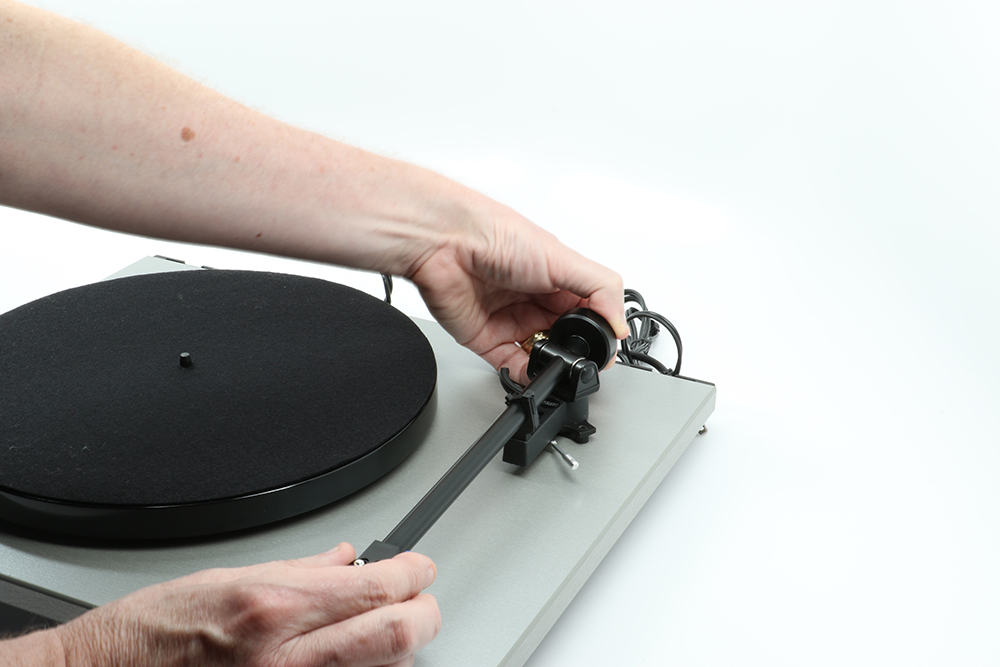
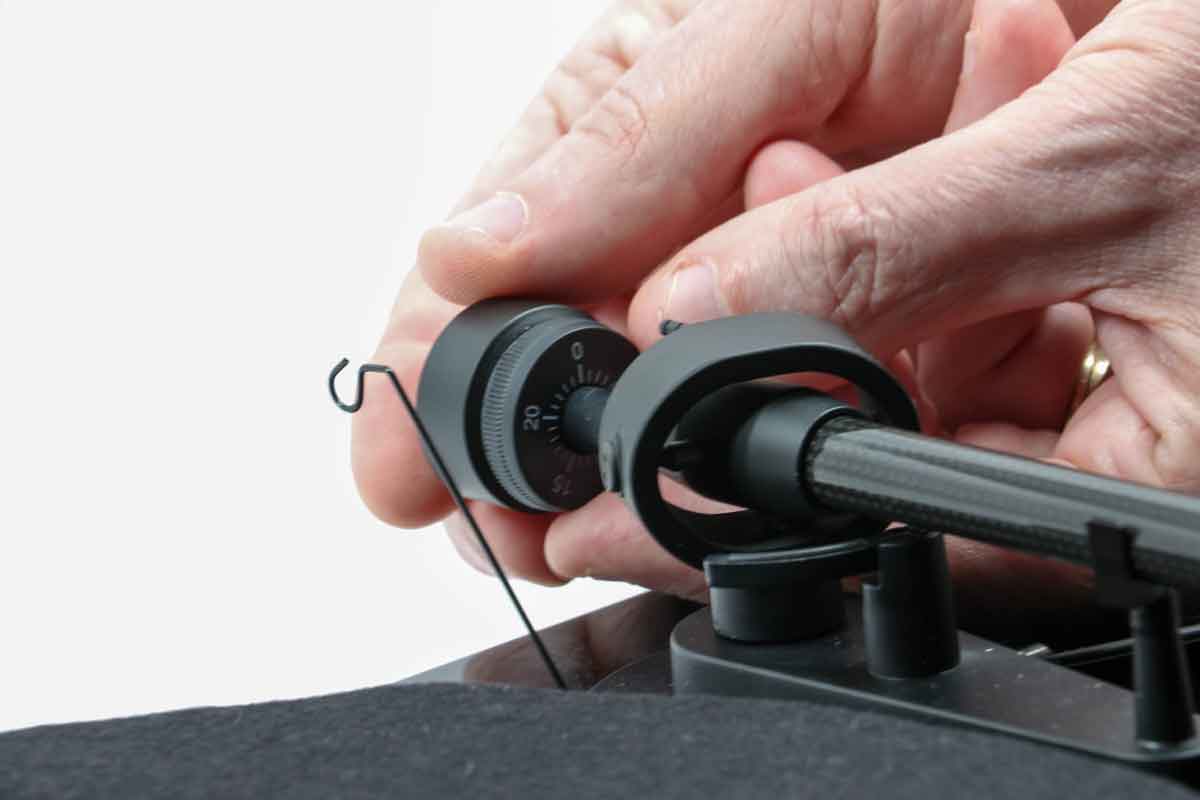
If your counterweight has no numbers, there will also be a dial on the side of the tonearm. Make sure the dial is set to zero (0).
Now it's time to remove the stylus cover or guard. The first step is to remove the strap that is tying down your tonearm. After you do this, make sure the little lock for the tonearm is engaged so it will not move out of its rest. Finally, make sure the cueing lever is in the up position. This is the little lever towards the back of your tonearm. Then carefully remove the stylus guard. Some stylus guards will slide straight down, others require you to lift a catch from the back, then tilt it down and off, while others just pull straight off. We recommend you keep the guard handy as you will want to put it back on if you have to move your turntable.
Next, you will need to find the zero balance point of the tonearm. Remove it from its rest and move it out over the platter. While keeping the tonearm from falling down on the platter, turn the counterweight back and forth with your other hand until you feel the tonearm start to just float in your hand. You can let go to check once you get close and then pick it back up and fine-tune the weight until it’s simply floating at zero gravity.
Then put the tonearm back in its rest and secure the tonearm lock.
-
If your counterweight has numbers on it, hold the rear of the counterweight with one hand and do not let it move, while with your other hand, spin the front dial with the numbers until zero (0) is pointing straight up.
-
Then turn the whole assembly by moving the rear part of the counterweight forward until the gauge shows the proper tracking force. For example, if your recommended tracking force is 1.8 grams, you turn the assembly until 1.8 is straight up.
-
If your counterweight has no numbers, take the dial you initially set to zero and now turn it until you get to the correct tracking force.
-
Some very high-performance turntables do not have numbers on the counterweight and you must use a tracking force piece of test gear to know you have the weight in the right spot. This will be included with your turntable if this is the case. Please feel free to call our support line if you have any questions.
Anti-skating
Anti-skating is used to keep your stylus centered in the groove of your record. There are typically three different methods: gravity, a dial, or a slider.
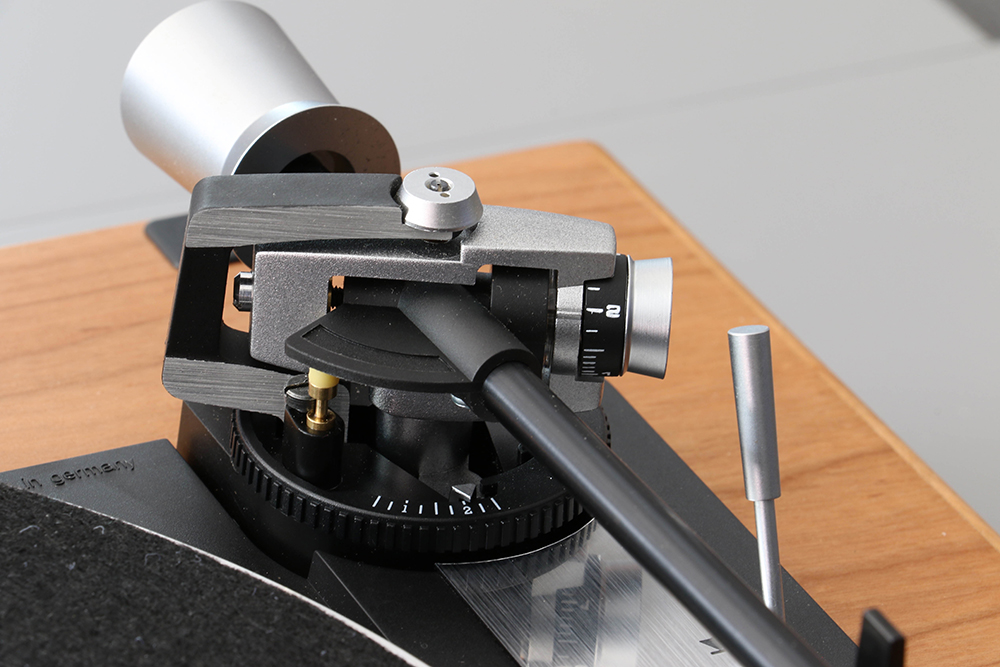

If you have an anti-skate dial or slider, simply set it to the same number as your tracking force.
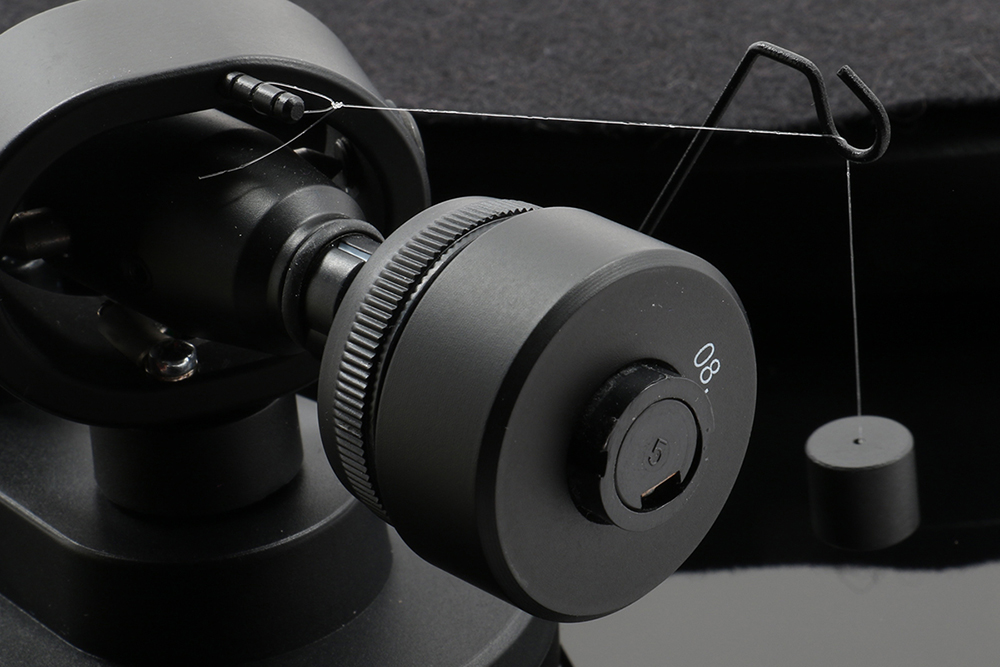
If you have the gravity method, you’ll find with your packaging a very small weight with a tiny piece of monofilament running through it. One end of the monofilament will have a loop on it.
On the back of your tonearm, you’ll see a tiny post with little notches in it. There are usually three notches. Choose the one closest to the recommended tracking force and place the small loop around the post centered in the correct notch. For example, if your recommended tracking force is 1.8, choose the second notch. The first notch is the one closest to the tonearm.
Next, take the monofilament that has the weight on it and loop it through the little hook so the weight hangs freely.
Connections
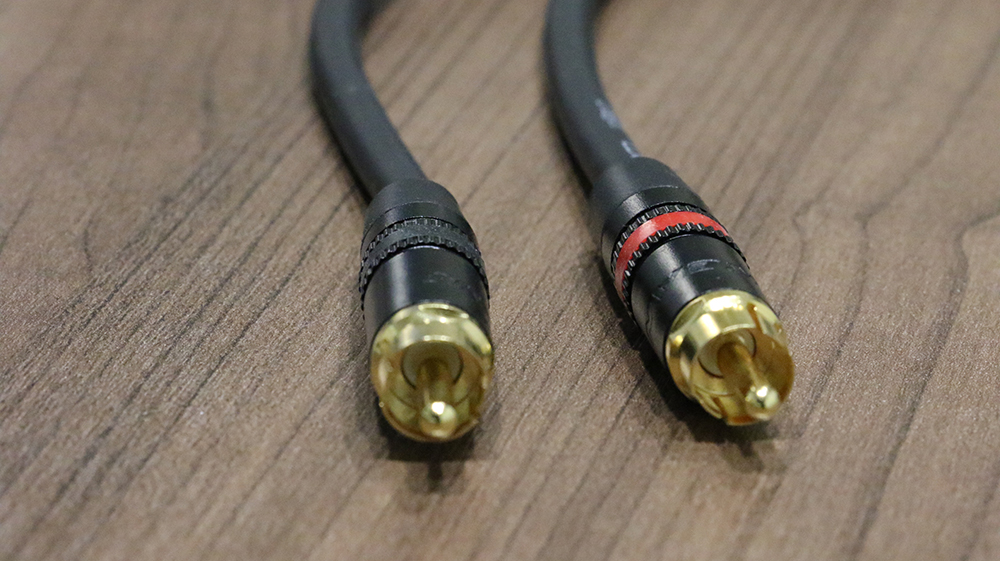
If your turntable came with cables, connect them to your receiver’s phono input or your separate phono stage. Make sure you pay attention to left and right. The right channel is always the red wire, and the left channel may be black or white. If your turntable has a ground wire, make sure this is snugly connected to the ground screw on your receiver or phono preamp.
Some turntables require you to connect the cable at both the turntable and receiver. Make sure all connections are tight and secure.
Audio Advice Tip
The signal coming through your phono cables is super low in level. Try to keep the phono cable away from the power cables, and never tie power cables and your phono cable together. If they have to cross each other, try to cross them at a 90 degree angle.
Power
Connect the power supply or AC power cord to the turntable. Keep the power cord away from your phono cables.
Put a record on your turntable and turn on the power. The power switch is usually located under the turntable, on top of the turntable, or on the motor.
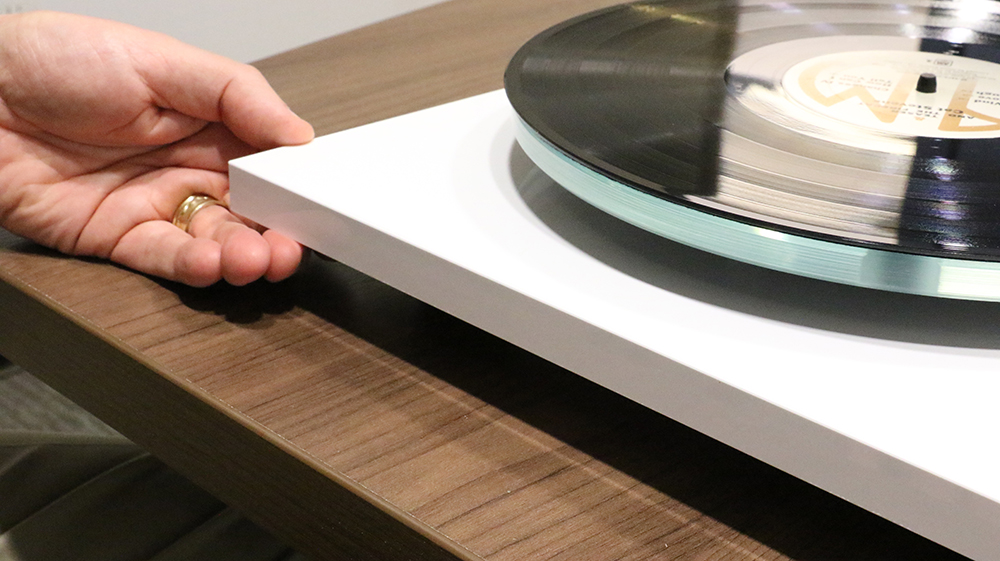
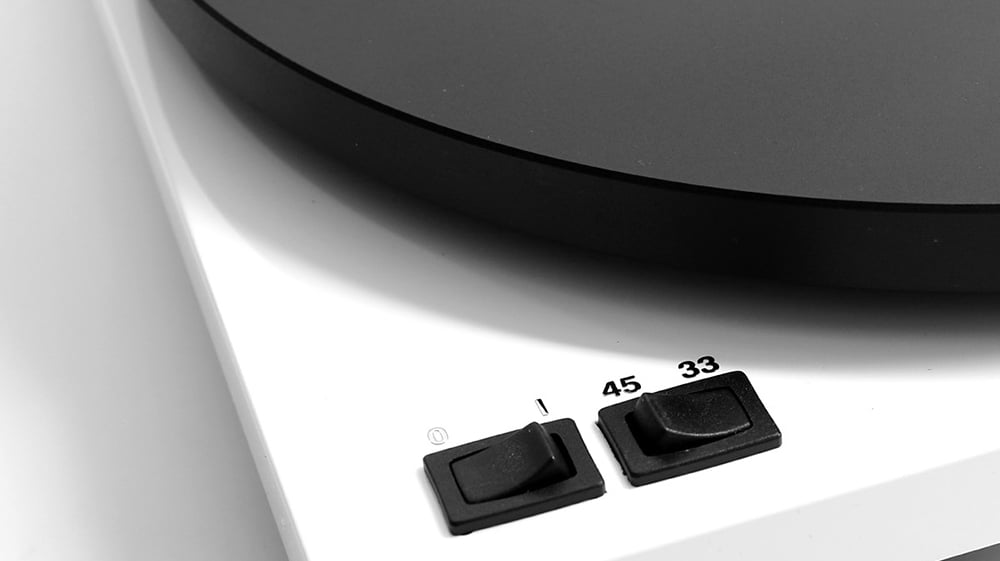
Remove the tonearm from its rest and make sure the cueing lever is in the up position. Or, if you have a fully automatic turntable, just move the start lever.
Next, move the tonearm over the outer record groove and using the cueing lever, lower it onto the record.
Audio Advice Tip
We have found that most phono cartridges go through a short break-in period. You will probably find your sound has improved after you have played about 50 albums, so get to listening!
Care and Feeling
Dirt is the enemy of good sounding vinyl. It shows up in two places, on your records and on your stylus tip from scraping dirt out of the grooves.
We highly recommend that you purchase LAST record care products, such as the stylus cleaner which comes with a stiff brush you can move from back to front to carefully remove dirt. You may need to occasionally use some of the stylus cleaning fluid, but for everyday use, the brush will do the trick.
For cleaning your records, LAST cleaners are a great value. If you want to do an even better job and get even better sound, we also have options from Spin Clean, VPI and Audio Desk. Feel free to contact us for more details on these great products.
After about 5 years of use, it’s a good idea to replace your turntable belt. Even if you do not use your table that often, the belt is still sitting there being stretched out. If you don’t plan to use your table for several months, you can extend the life of your belt by removing it.
We hope you love your new turntable and enjoy exploring the world of vinyl. Feel free to send us a message or chat with us if you have any questions.
