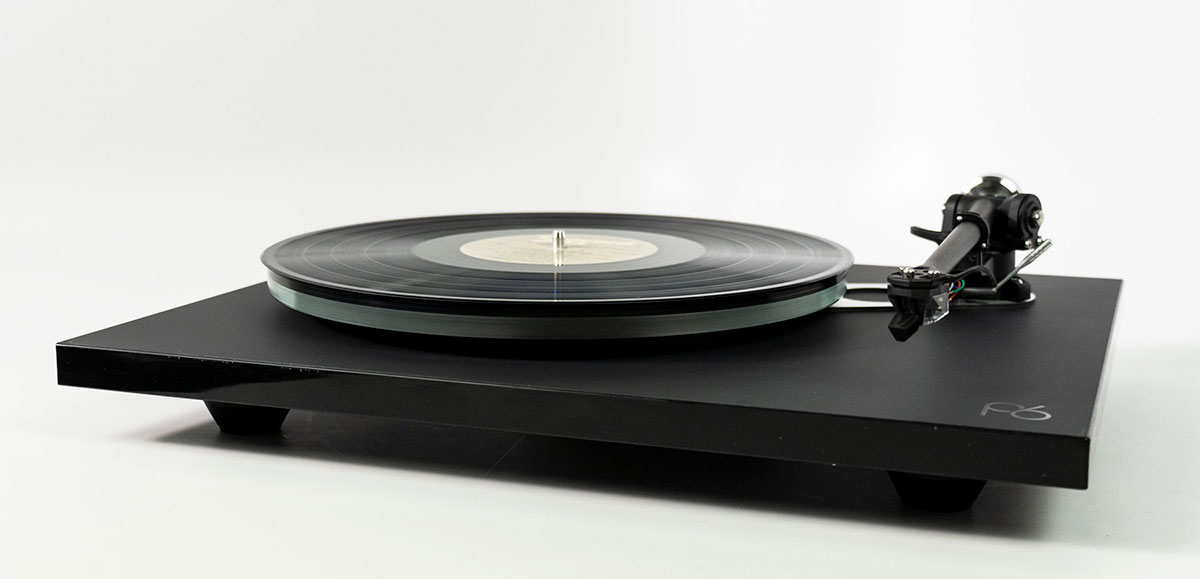
Rega Planar 6 Turntable Setup Guide
Setting you your Rega Planar 6 turntable will be fun and go smoothly if you prepare for everything you’ll need in advance. We hope this guide enables you to be spinning some vinyl and enjoying music faster than you expected.
Preparing Where You Will Place Your Rega Planar 6 Turntable
If you have large speakers, it's a good idea to not put your new turntable next to your speakers or a subwoofer. Having your turntable too close to speakers can cause acoustic feedback which is a howling sound you’ll only need to hear once to know you’ve done something wrong! Help your turntable get off to a good start by putting it on a solid, level surface.
You will want your turntable to be pretty close to your amplifier or phono preamp. It is important to remember the cables coming out of your turntable are carrying a very low-level signal. They are short on purpose for this reason. You also do not want to have an AC power cord running parallel to them.
Unboxing your Rega Planar 6 Turntable
We suggest you unbox your turntable either on the floor or on a table near its final position. Save all of the packing (it will come in very handy when you move) and lay everything out so it's easy to get to.
Go ahead and put your turntable in the spot you picked out for it
We feel like it's best to connect everything up before you do the final assembly as it's easier to turn things around while the turntable is not fully assembled and everything should still be protected at this point.
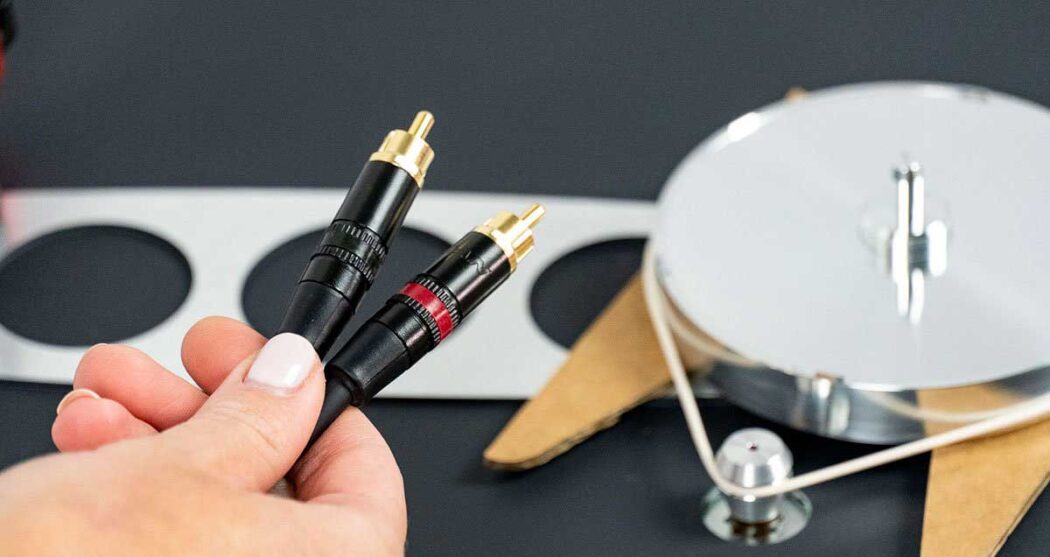
Make the audio connections
Your turntable has the audio wiring coming out of the back. The right and left cable should be connected to the right and left input on your phono preamp or amp’s phono input. Make sure they go on all the way. If you are using a separate phono preamp, make sure to connect cables from it to your amp. From a separate phono preamp, you should go into an AUX type input on your amp, NOT a phono input.
Make the power connections
Your Planar 6 comes with the Neo power supply. One end of it will plug into an AC outlet and the other end has a keyed connector that goes into the back of the Planar 6. We suggest you position the Neo to the side of the table, the cord is long enough to get it pretty far away if needed. Keep your audio cables away from the power cables.
Start Assembling Your Rega Planar 6 Turntable
Remove the little piece of cardboard that supports the inner platter.
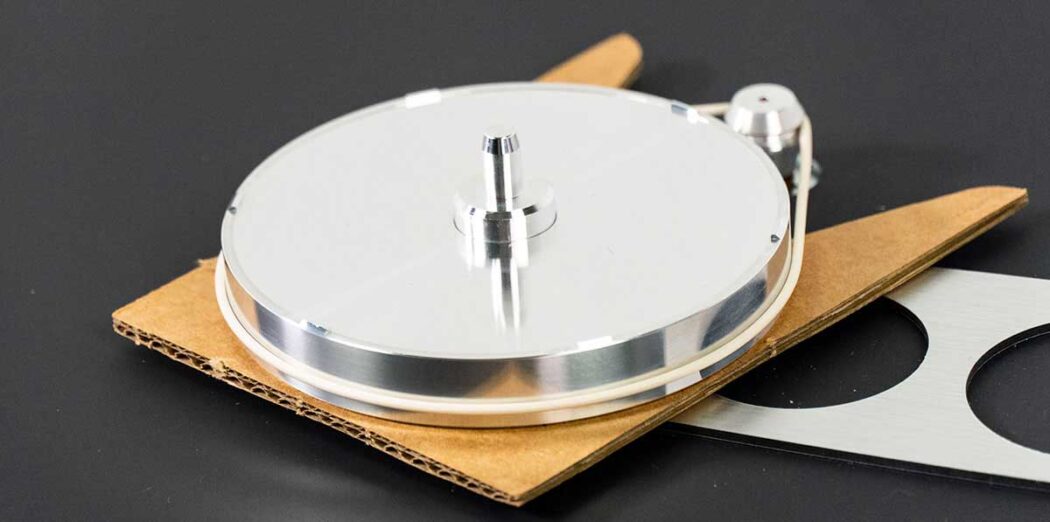
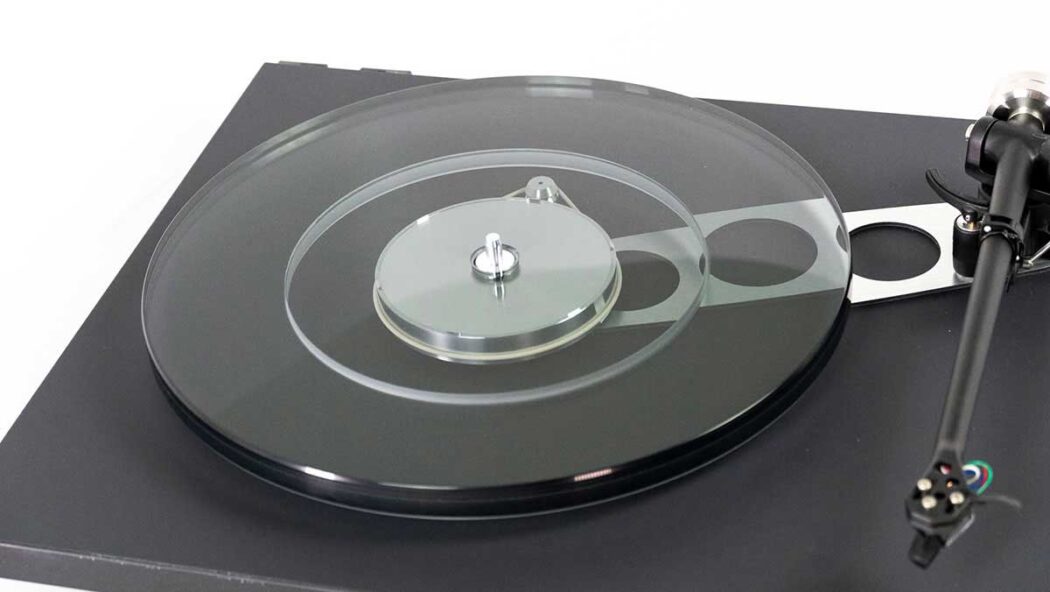
Make sure the belt is on the pulley. Carefully place the glass platter on top of the inner platter. Then place the felt mat on the glass platter.
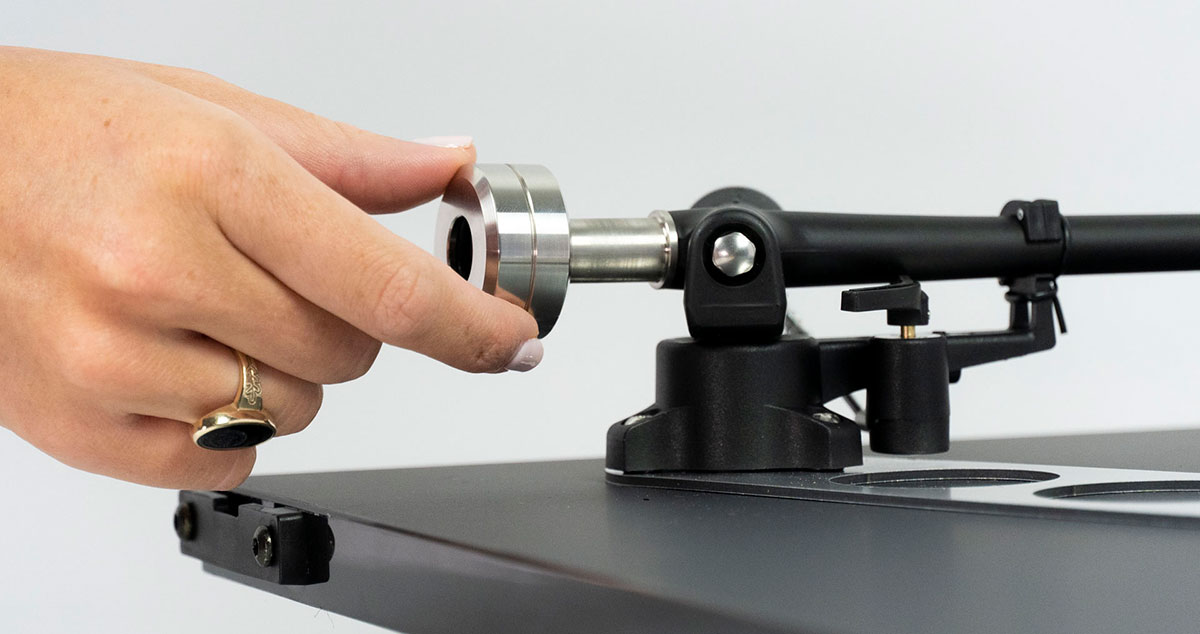
Find the round counterbalance weight and push it onto the back of the tonearm, rotate it to about the middle of the back section of the tonearm.
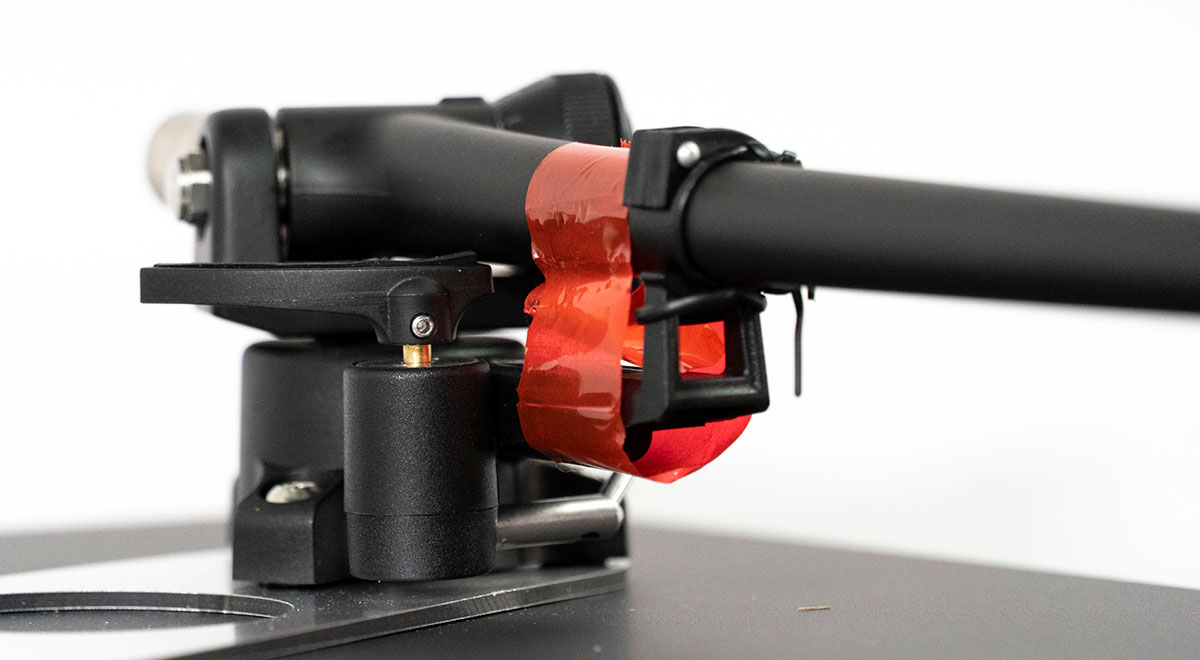
Carefully remove any tape holding the tonearm in place.
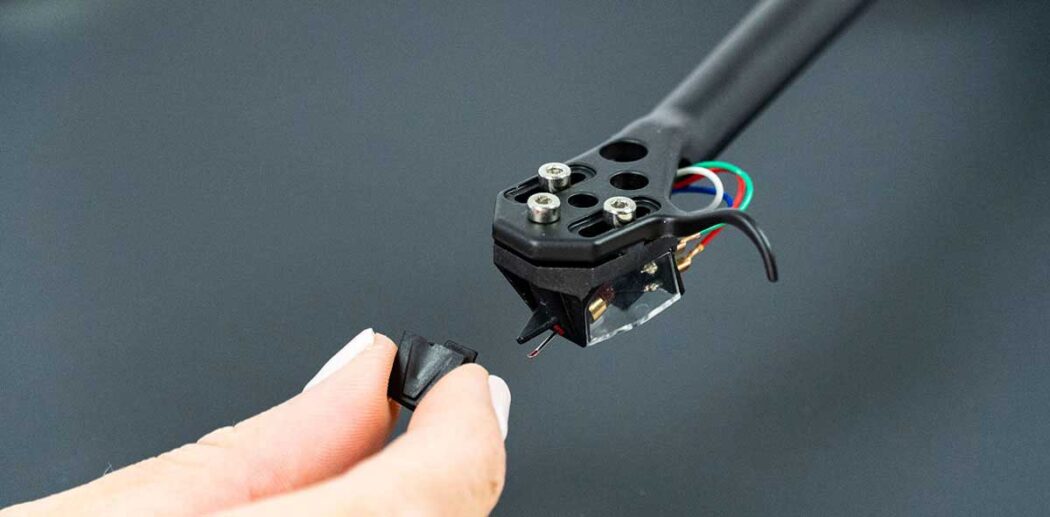
This next step is the only part you have to be a little careful with. We need to remove the stylus guard from the cartridge. It is a piece of plastic covering the end of the cartridge. Depending on the cartridge you had installed, it will pull out, down or down and out. If you purchased a Rega Ania with your P6, it has a very small grey guard that just pulls straight off. Be sure to store it in your turntable box. However, if you have a cleaning service in your home, it's a good idea to put it back on before they come so you might want to keep it handy.
Next, we want to get the tonearm to zero balance, floating above the platter. First, make sure the little knob on the side of the tonearm is set to “0”. Hold the tonearm in one hand and move it over the platter, then turn the counterweight back and forth with your other hand until the arm feels like it is floating. It may tend to drift back towards its resting position when you get it to zero gravity. Just support it a little with your hand as you make the adjustments.
Put the arm back in the tonearm rest and flip the lock over to hold it down. Now you can put the felt mat on top of the glass platter.
Now we will set the tracking force to the amount needed for your cartridge. Use the knob on the side of the tonearm to set it to the recommended force. This will be between 1.5 and 2.8 grams for most cartridges. The anti-skate needs to be set to match. It is a little slider just under the tonearm, next to the cue lever.

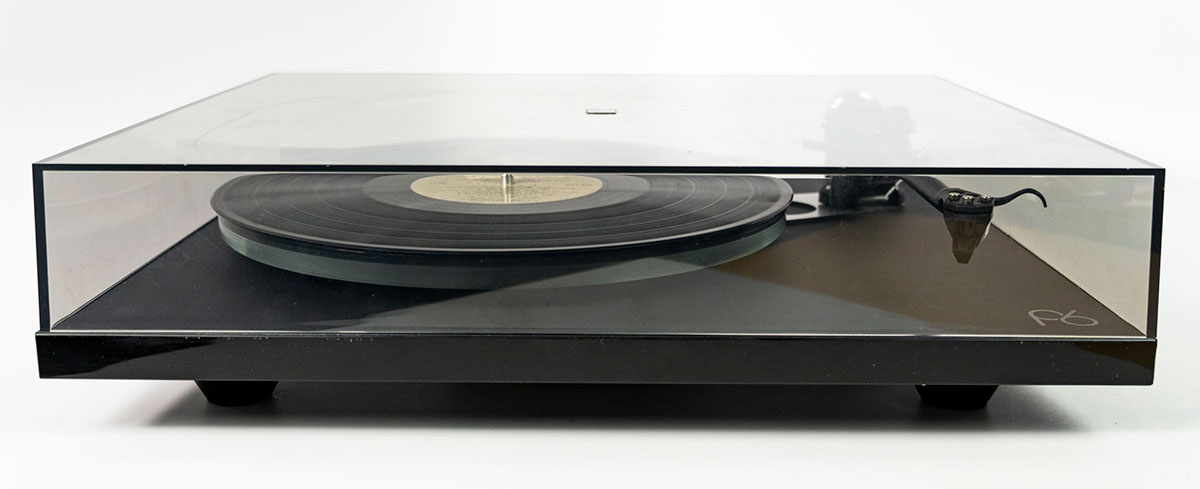
The dust cover is the last step and it just fits into the two slots in the rear of your Planar 6.
Enjoy Some Music!
Put on your favorite album, then turn on your Rega Planar 6 using the on button on the Neo power supply.
Make sure the cueing arm is in the up position, move the tonearm over the beginning of your record, lower the cue and enjoy the music!
When the record ends, you will need to lift up the cueing lever, return the arm to its rest, and switch off the motor. Or better yet, play another record!
Should you ever need to transport your turntable more than across the room, its a good idea to remove the platter and lock the tonearm down with a twisty tie. You might also consider placing the stylus guard back on.
We hope you enjoy your new turntable for many years to come. If you have any other set up questions (or any questions at all), hop into our online chat, email us, or give us a call. We are here to help!
If you are in research mode and want to learn more about the Rega Planar 6, we have a complete review on our blog. Click here to the our Rega Planar 6 Turntable Review.