Inside Our Nashville Flagship Home Theater: How We Designed a 190-Inch 11.6.6 Cinema

Inside Our Nashville Flagship Home Theater: How We Designed a 190-Inch 11.6.6 Cinema video cover
Play

It Started With a 190-Inch Screen

When we began designing the room, one of the first questions was how large we could realistically make the image. We wanted the theater to feel truly immersive, but screen size is never something you should choose in isolation. Viewing distance, projector brightness, seating positions, ceiling height, speaker placement, and sightlines all have to work with it.

We ultimately landed on a 190-inch Stewart Filmscreen StreamPro using Harmony G3 acoustically transparent material. It is an enormous image, especially from the first row, but because we modeled the seating locations and sightlines ahead of time, it does not feel like we simply put the biggest screen we could fit on the wall.

The StreamPro also gives us motorized masking. That means when we move between different aspect ratios, the screen can physically mask off the unused area. For a 16:9 presentation, we can use the full height of the screen, while a wider 2.40:1 movie can be framed with true black masking above and below the image.

That might sound like a relatively small detail until you see it in person. With projection, the unused portions of the screen are not always completely black. There can still be a faint gray area where the projector is producing little or no image information. Once you surround the movie with actual black masking material, perceived contrast improves and your attention stays much more focused on the active image.

The screen is also woven and acoustically transparent because our front left, center, and right speakers are directly behind it. That allows dialogue to come from the middle of the image and lets the entire front soundstage sit at the proper height instead of forcing the center channel below a gigantic screen.

We specifically liked a woven material here because the front row is relatively close. With some perforated screen materials, there is a possibility of seeing the perforation pattern as you move closer. The woven surface works extremely well for this seating distance while still allowing sound from the speakers behind it to pass through.

Of course, an acoustically transparent screen this large creates another challenge: you need a lot of light.


Choosing a Projector That Could Actually Fill It

Once we committed to the screen, the projector decision became much easier. We needed something capable of producing a bright, convincing HDR image across 190 inches while also accounting for the light loss of an acoustically transparent screen.

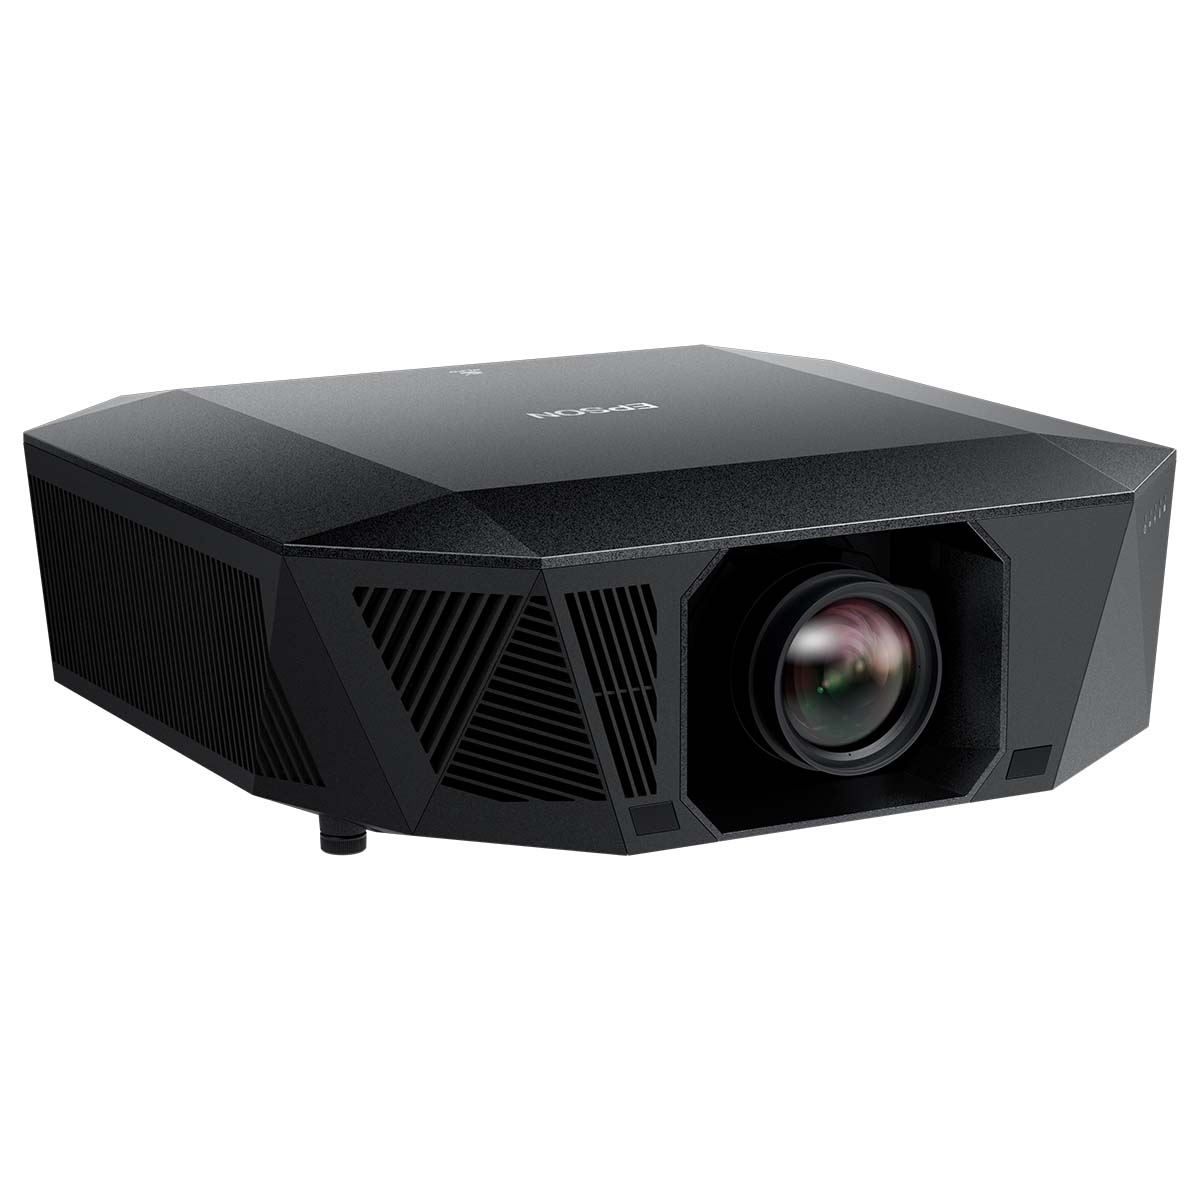
That led us to the Epson QL7000.

The QL7000 is capable of producing up to 10,000 lumens, which gives us the light output we need for a screen of this scale. You can buy an excellent projector and still end up disappointed if it is being asked to illuminate more screen than it was designed for. As the image gets larger, that light is being spread over significantly more surface area, so brightness becomes increasingly important.

The other major advantage of the QL7000 is its interchangeable lens system. Instead of designing the entire room around one fixed throw range, we could choose the lens that made sense for the projector location and screen size.

This is an area where projector design becomes much more complicated than simply looking at a specification sheet. You need to know the width of the screen, the available throw distance, the throw ratio of the lens, where the seating will be positioned, and what else may be competing for space on the ceiling. In some rooms, moving the projector only a few feet can make a major difference.

It is also one of the reasons we built a Projector Throw Distance Calculator. Once you enter the dimensions of your room and start experimenting with screen sizes and projector locations, you can see whether the combination you are considering will actually work before anything gets mounted.

In this particular theater, the QL7000 has another nice advantage. For something capable of producing this much light, it is surprisingly unobtrusive when it is running. We have spent a lot of time in this room watching demos with seats relatively close to the projector, and fan noise has never become a distraction.

Building the Rest of the Video Chain Around the Projector

The projector is only one part of the video system. When you build an image this large, source quality and video processing become much easier to see, which is why the theater uses Kaleidescape as its primary movie source along with a madVR Envy Extreme MK3 video processor.

You can absolutely stream Netflix, Disney+, Apple TV, and other services in this room, and most people probably will from time to time. But when we are showing what the theater is really capable of, Kaleidescape gives us a much higher-quality source to start with.

On a smaller screen, some differences in compression can be fairly subtle. Stretch the image across 190 inches and those differences become easier to see. Fine detail, dark gradients, motion, and difficult scenes give the display system much more information to work with when you start from a better source.

From there, the signal goes through the madVR Envy Extreme MK3. The Epson already has very good internal processing, but an external video processor gives us another level of control over things like HDR tone mapping, scaling, aspect ratios, and subtitle positioning.

HDR is particularly important with projection because movies can be mastered for brightness levels that no projector can reproduce in the same way as a high-output direct-view display. The job of the video processor is not simply to make everything brighter. It is to intelligently fit that HDR information into the capabilities of the projector and screen so highlights, dark scenes, colors, and overall contrast remain convincing.

The Envy also works nicely with our masking system. If we are watching widescreen material, it can help manage the different aspect ratios, and it can reposition subtitles that might otherwise appear partially outside the active image once the masking closes.

It is a good example of how everything in this room is connected. The screen choice affects the projector, the projector affects how we handle HDR, and the masking system affects how different content needs to be displayed.


Hiding an 11.6.6 JBL Synthesis System in the Room

The audio system is probably the part of this theater that surprises people the most because when you first walk in, you really do not see many speakers. But there are a lot of them!

The theater is built around an 11.6.6 JBL Synthesis layout. We have eleven ear-level speakers around the room, six subwoofers, and six overhead speakers. The goal was not simply to fit as many channels into the room as possible. Every speaker was placed to create proper coverage across both seating rows and to make transitions through the room feel continuous.

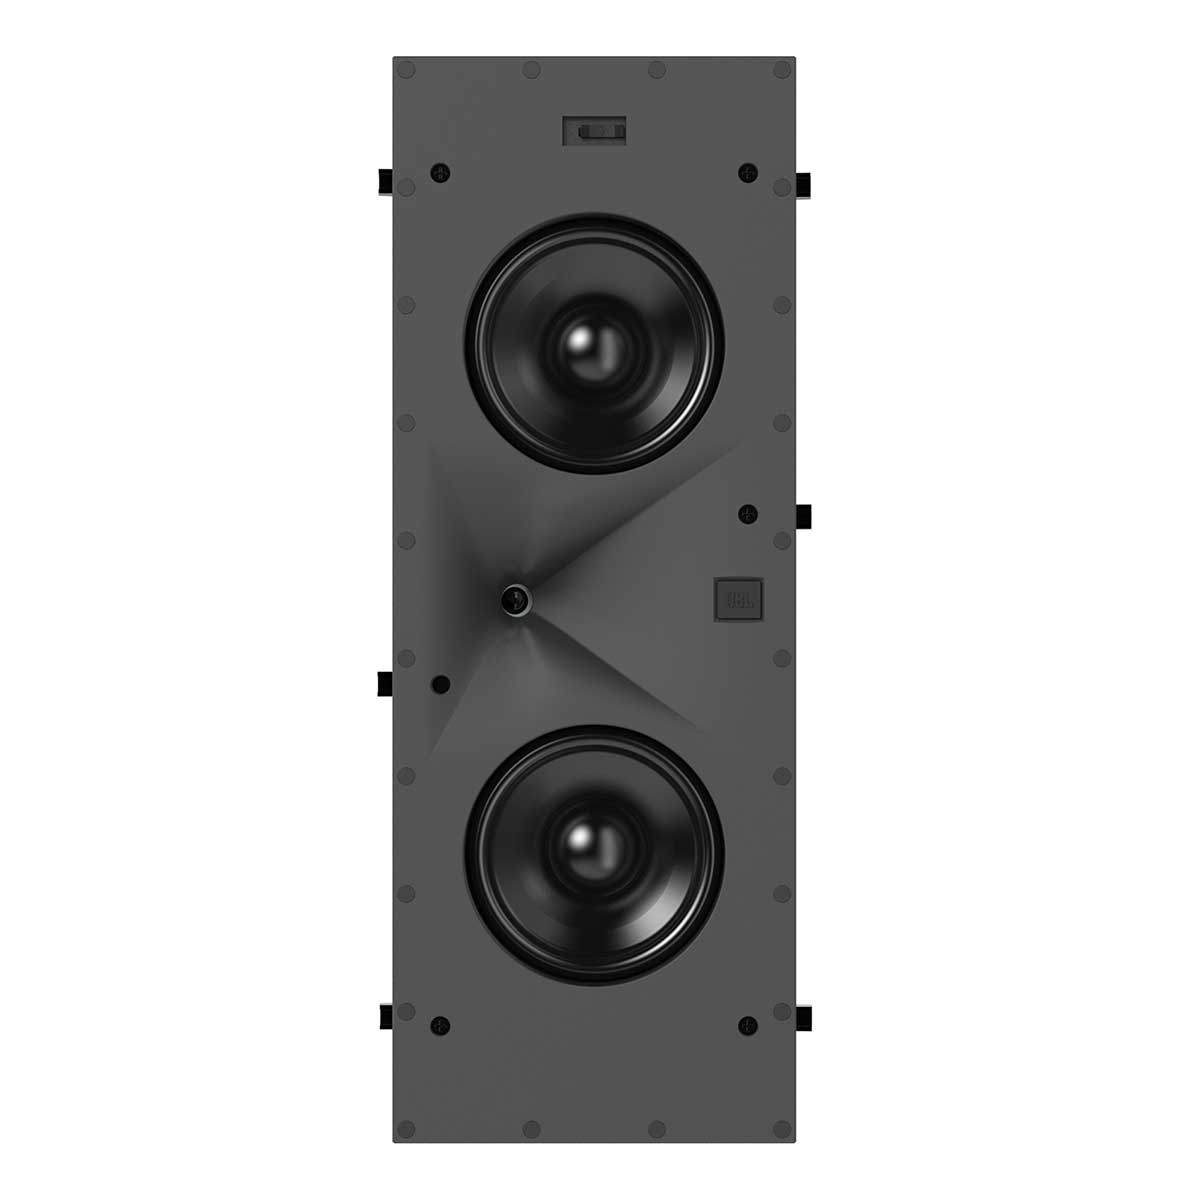
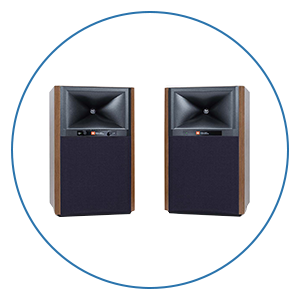
Behind the screen, we have three JBL Synthesis SCL-2 speakers for the left, center, and right channels. Those are installed inside custom enclosures that we built behind the front wall, and rather than locking the speakers into one fixed position, we put those enclosures on pivots.

That allowed us to physically adjust the toe-in of the front speakers during calibration. We could make small changes to the angle, listen and measure again, then continue until we found the position that gave us the coverage and imaging we wanted across the seating area.

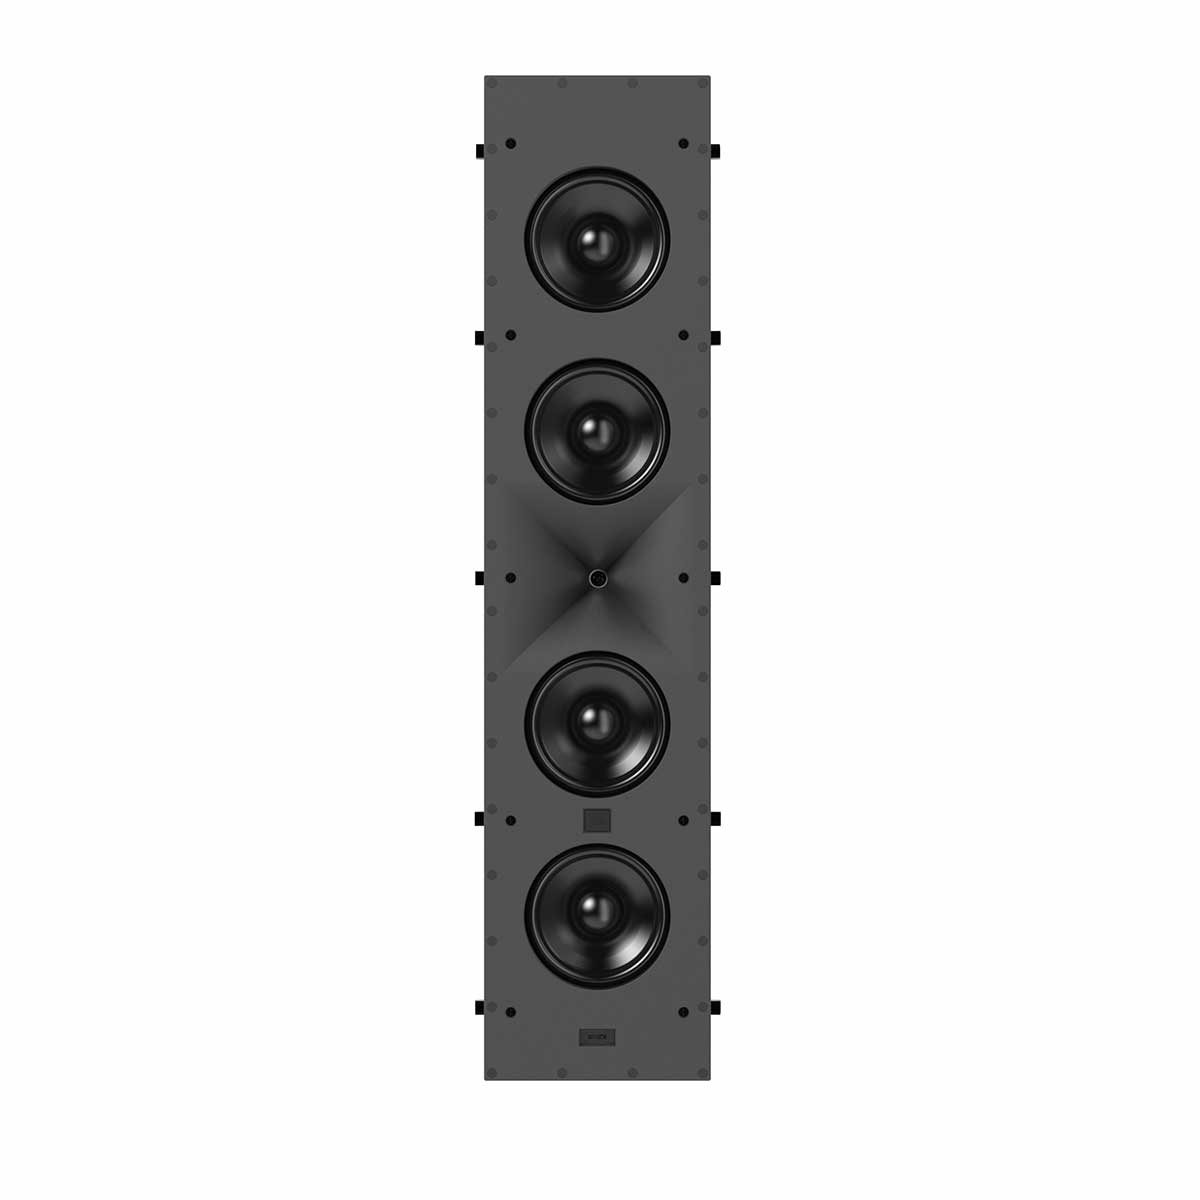
That flexibility also gives us room to change the front speakers in the future. We designed this theater as an Experience Center, so being able to demonstrate newer products as they become available was an important consideration. We are already planning to work the newer JBL Synthesis SCL-2XL into the system.

It is something worth thinking about even in a residential theater. Once walls are finished and covered, changing a speaker position can become very difficult. If you can build some adjustability or serviceability into the room from the beginning, you have much more freedom later.

The rest of the ear-level system uses JBL Synthesis speakers selected based on where they needed to cover. SCL-7s handle the front wide positions, where their angled design works well for directing energy toward the listening area. We then use SCL-6 speakers for the surrounds and rear channels, including surround coverage for both rows.

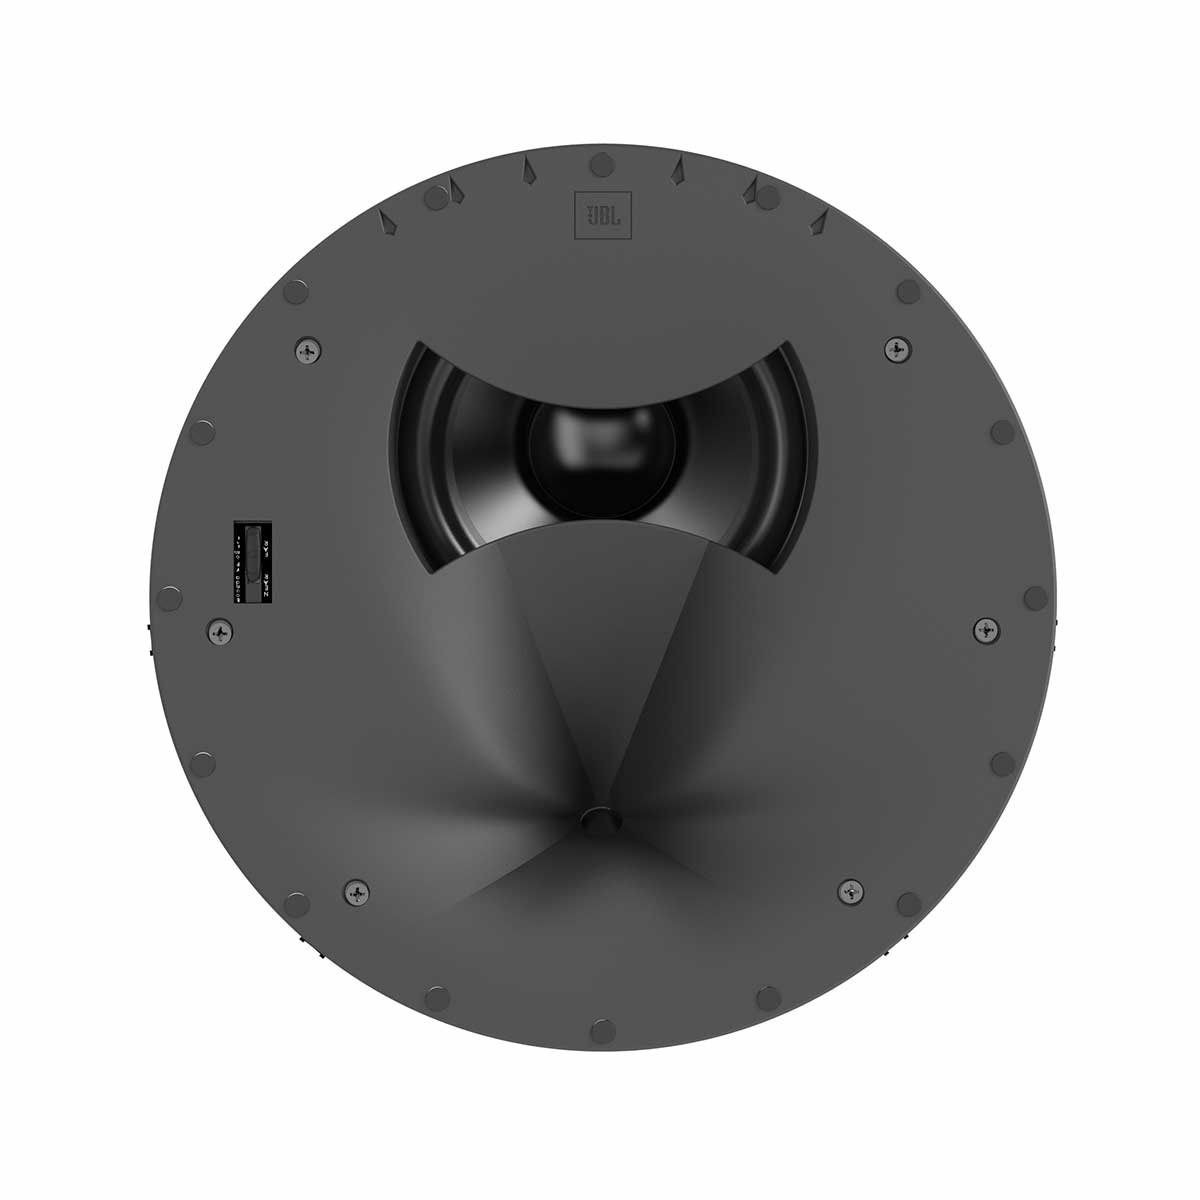
Above the seating area are six SCL-5 speakers arranged in front, middle, and rear pairs. When everything is calibrated correctly, you should not be consciously listening to any one of those speakers. The goal is for a sound to be able to move from the screen, alongside you, behind you, and over your head without your attention jumping from one speaker location to another.

That is what creates the immersive bubble people are expecting when they hear a really good Dolby Atmos system.


Why We Used Six Subwoofers

The six subwoofers are another part of the design that can look excessive until you understand what we are trying to accomplish.

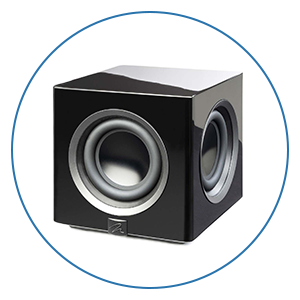
There are three JBL Synthesis SSW-2 subwoofers across the front of the theater and another three across the rear. Each SSW-2 uses two 12-inch drivers, which means there are twelve 12-inch subwoofer drivers in the room.

That gives the theater tremendous output, but raw output was not the main reason for doing it.

One of the hardest problems in home theater is getting consistent bass across multiple seats. Low frequencies interact with the dimensions of the room and create peaks and nulls. You can have a seat where a certain bass frequency is extremely strong and another seat only a short distance away where that same frequency nearly disappears.

Using multiple subwoofers and planning their locations as part of the room allows us to attack that problem much more effectively.

Without waveforming on left, with waveforming on right.


The front and rear arrangement in this theater also allows us to use waveforming techniques to control how bass energy moves through the room. Rather than simply producing low frequencies and letting them bounce around until they decay naturally, the system can use the relationship between the front and rear subwoofers to improve both decay and seat-to-seat consistency. The result is not just more bass. It is tighter bass.

When an explosion hits, there is tremendous weight and impact, but when the effect ends, the bass stops instead of hanging around the room. More importantly, we can move between the different seats and get a much more consistent experience than we would from a conventional single-subwoofer setup.

That is probably one of the hardest things about this theater to communicate in a video. You really have to sit in the room and feel what the system is doing.


Processing, Amplification, and Calibration

Managing a room with this many discrete speakers requires quite a bit of processing power. At the center of the audio system is the JBL Synthesis SDP-80 processor, which gives us enough channels and flexibility to treat every speaker in the room individually.

That becomes important during calibration because no two speaker positions are interacting with the room in exactly the same way. We can adjust levels, timing, frequency response, bass integration, and other parameters for each channel instead of treating large groups of speakers as though they are doing the same job.

From there, JBL Synthesis amplification powers the system. One of the interesting things about the newer JBL amplifiers is their ability to use speaker-specific DSP profiles created from measurements of JBL's own loudspeakers

That allows some of the optimization to happen with an understanding of how the speaker itself is designed to behave before the room-correction system begins dealing with what the actual room is adding or taking away.

This is also where the physical design work we did earlier pays off. Calibration is extremely powerful, but it should not be used as an excuse for poor speaker placement or bad room design. We want to get the speakers, subwoofers, seating, and acoustics as close as possible physically, then use processing to finish the job.

The Acoustic Treatment Is Part of the Architecture

One of our favorite things about the finished theater is how little equipment you actually see. Nearly the entire room is wrapped in floor-to-ceiling fabric panels, which gave us the clean, minimal look we wanted while hiding the acoustic treatment and speakers underneath.

We worked with Acoustic Innovations on this portion of the room. Behind the fabric, different sections of the walls are doing different things. Some areas use absorption, others use diffusion, and sections in front of speakers are designed to remain acoustically open.

The goal with acoustic treatment is not to absorb every reflection and create a completely dead room. A theater can absolutely be over-treated. If you remove too much energy, the room starts to feel unnatural and lifeless.

Instead, we are trying to control reflections and decay so dialogue stays clear, imaging remains precise, and the room does not add a long acoustic tail to everything you hear.

The treatment also had to work aesthetically. Nick wanted the room to stay fairly simple visually, so instead of covering the walls with visibly different acoustic panels, the treatment disappears behind a consistent fabric surface. The speakers disappear with it, which helps keep your attention on the screen rather than the equipment.

Sightlines, Riser Height, and Seating Were Designed Together

The two seating rows are another good example of why we model a theater before construction starts.

It is very easy to build a riser based on a rough guess, place the second row on it, and only later realize that someone's head in the front row blocks the bottom of the screen. The opposite can happen too. You can overcompensate with a very tall riser and create unnecessary problems with ceiling height, steps, speaker locations, and construction.

For this theater, we modeled the sightline from the second row to the bottom of the screen so that it passes just above the front row. That gave us the riser height and screen position we needed without making either one more extreme than necessary.

Our Home Theater Design Tool lets you experiment with these same variables. You can change the room dimensions, screen size, seating location, projector, and other elements, then look at the sightline before you ever start construction.

Once a project becomes more complicated, our design team takes that process further with full floor plans, elevation drawings, 3D renderings, equipment layouts, and construction details. We used that same process on the Nashville theater, so by the time construction began, we knew where nearly everything needed to go.

The chairs themselves are our Revelation Luxury Home Theater Seats. Beyond the heat, massage, charging, tray tables, and other convenience features, one of the most useful aspects from a design standpoint is how little room they need behind them to recline.

That matters a lot in a two-row theater. We have roughly six feet from the back of one row to the back of the next, which gives us enough space for the seating and a usable walkway without wasting a huge amount of room.

The adjustable headrest is also much more important than people realize. When a normal recliner leans back, your head tends to tilt toward the ceiling. A powered headrest allows you to recline your body while bringing your head back into a natural viewing position, which makes a real difference when you are watching a two or three-hour movie.


Lighting and Control Finish the Room

Once you hide most of the technology, lighting starts to play a much bigger role in how the room feels. We kept the lighting fairly minimal, using architectural accents along the walls and integrated lighting around the steps rather than filling the room with decorative fixtures.

Everything is tied into Control4 along with the rest of the theater.

There are a lot of individual components operating behind the scenes, but we never want the person using the room to think about that. You should not need five remotes or a printed instruction sheet just to watch a movie.

With Control4, we can build scenes that take care of several things at once. Starting a movie can turn on the necessary equipment, select the source, and bring the lighting down. An intermission or popcorn scene can illuminate the steps without washing out the screen, and an all-off command can shut everything down when you leave.

Those scenes can be customized around how someone actually uses their theater. The technology underneath can be extremely sophisticated, but the interface should remain simple enough that anyone in the house can walk in and use it.

The Biggest Lesson From This Theater

It is easy to look at the Nashville theater and focus on individual pieces of equipment. A 190-inch screen is impressive. A 10,000-lumen projector is impressive. Six subwoofers and an 11.6.6 JBL Synthesis system certainly make for a good specification list. But none of those things are really what makes the theater work.

What matters is that the screen size influenced the seating distance and projector choice. The screen material influenced how much projector brightness we needed. The acoustically transparent screen allowed the front speakers to be placed behind the image. The seating positions affected speaker coverage and sightlines. The sightlines determined the riser height. The dimensions of the room affected the subwoofer array and acoustic treatment. All of that then influenced the processing, amplification, calibration, lighting, and control. That is the real difference between designing a home theater and simply putting home theater equipment in a room.

You do not need a theater this large to use the same process. A smaller room with a more modest system can benefit just as much from getting the fundamentals right before construction starts.


We’re Here to Help!

If you have further questions, contact our experts via chat, phone, or email. Or simply visit one of our world-class showrooms to experience speakers, projectors, TVs, and everything in between for yourself before you make a purchase!

If you’re planning your home theater or media room, check out our Home Theater Design page, where we have everything Home Theater related, including our FREE Home Theater Design Tool.

When you buy from Audio Advice, you’re buying from a trusted seller since 1978. We offer Free Shipping, Lifetime Expert Support, and our Price Guarantee. We look forward to serving you!