Home Theater DIY: How To Install In-Wall & In-Ceiling Speakers

A do-it-yourself in-wall & in-ceiling speaker installation for your home theater system should be pretty straightforward with the right tools and knowledge. 

This article is part of our Home Theater Design Series that covers virtually everything about designing a home theater.


Typically included with in-wall and in-ceiling speakers:

  • Speaker Assembly (baffle, frame, grille)
  • Cut-out template
  • Paint mask
  • Document pack containing quick start guide and warranty information
focal chora center channel speaker- lifestyle image

Step 1: Choose the best in-wall & in-ceiling speakers for your home

The selection of home theater speakers on the market is certainly very wide with all kinds of sizes, shapes, and pricing. We’ve written a full guide on how to choose the ideal in-wall and in-ceiling speakers for your home theater or media room. This guide will give you some insight into different types of built-in speakers and the best use case for each one. While some of these are great for music listening, we focus on how to pick the best in-wall & in-ceiling speakers for your home theater system.

In-Wall & In-Ceiling Speaker Buying Guide ▸

Step 2: Determine your speaker placement

In our Guide to Home Theater Speaker Layout Options, we explain the best speaker configurations and how to integrate them into your room with options for almost any situation. We’ll help you understand the Dolby Labs speaker terminology and what is best for your home theater. In addition to our world-class home theater design tool, we've given you everything you need to begin your home theater journey in Home Theater Central.

Guide To Home Theater Speaker Layout Options ▸

Step 3: Prepare for installation

Before installing your in-wall and in-ceiling speakers, you should be sure that the wall locations you have chosen are free of obstructions such as pipes, ductwork, or wiring that may interfere with the installation. 

You should have the following tools nearby:

  • Drywall Saw
  • Level
  • Stud Finder
  • Screwdriver
  • Utility Knife
  • Wire Stripper
  • Drill & Drill Bits
  • Glow Rods
  • Masking Tape
  • Pencil

Step 4: Map out your speaker locations & check for obstructions

Most in-wall speakers require 3 ½” of depth and most in-ceiling speakers need 5” or more behind the drywall for proper installation, but be sure to check the specifications on your speakers to verify.  Once you’ve determined where you’ll be mounting your speakers, be sure you have enough space in the wall or in the ceiling to accommodate.  Next, make sure the wall is clear - high-quality stud finders can detect pipes, electrical wires, and other obstructions that may cause a problem. You can also drill a small hole through the drywall and use a wire coat hanger to feel around for cables or wiring that may be in the way.

Using your stud finder, detect which way your joists & studs run.

focal chora center channel speaker- lifestyle image

Step 5: Trace your speaker template & cut

Once you determine that your desired placement is free of obstructions, it’s time to cut! First, use a level to align the speaker template and ensure it’s straight. Using the supplied cut-out template, mark a cut line on the existing wall. Check that the cut line defines the correct dimensions specified for your speaker. Cut along the line with a drywall saw to carve the cutout. 

Expert Advice: Start by cutting a smaller hole within the final cutout.  This will allow you to use your hand and/or a glow rod to feel & around be sure your path is clear up and down the wall to run your speaker cable before cutting out the full size of the speaker. Cut this exploratory hole with beveled edges, with the point of the blade pointing toward the center of the speaker location (as if you’re carving the top of a pumpkin)  as you move around. If you need to change your speaker location, the piece you cut out will fit into the hole like a lid and make for easier drywall repair.

For new construction or pre-drywall installation, you can usually purchase rough-in brackets from the speaker company that will mount between two studs. Rough-in brackets will mark your speaker placement before the drywall goes up and provides a sturdy bracing between two studs.

If your speakers are installed in a wall between two rooms, you may want to consider adding a backer-box to limit the sound that leaks through.
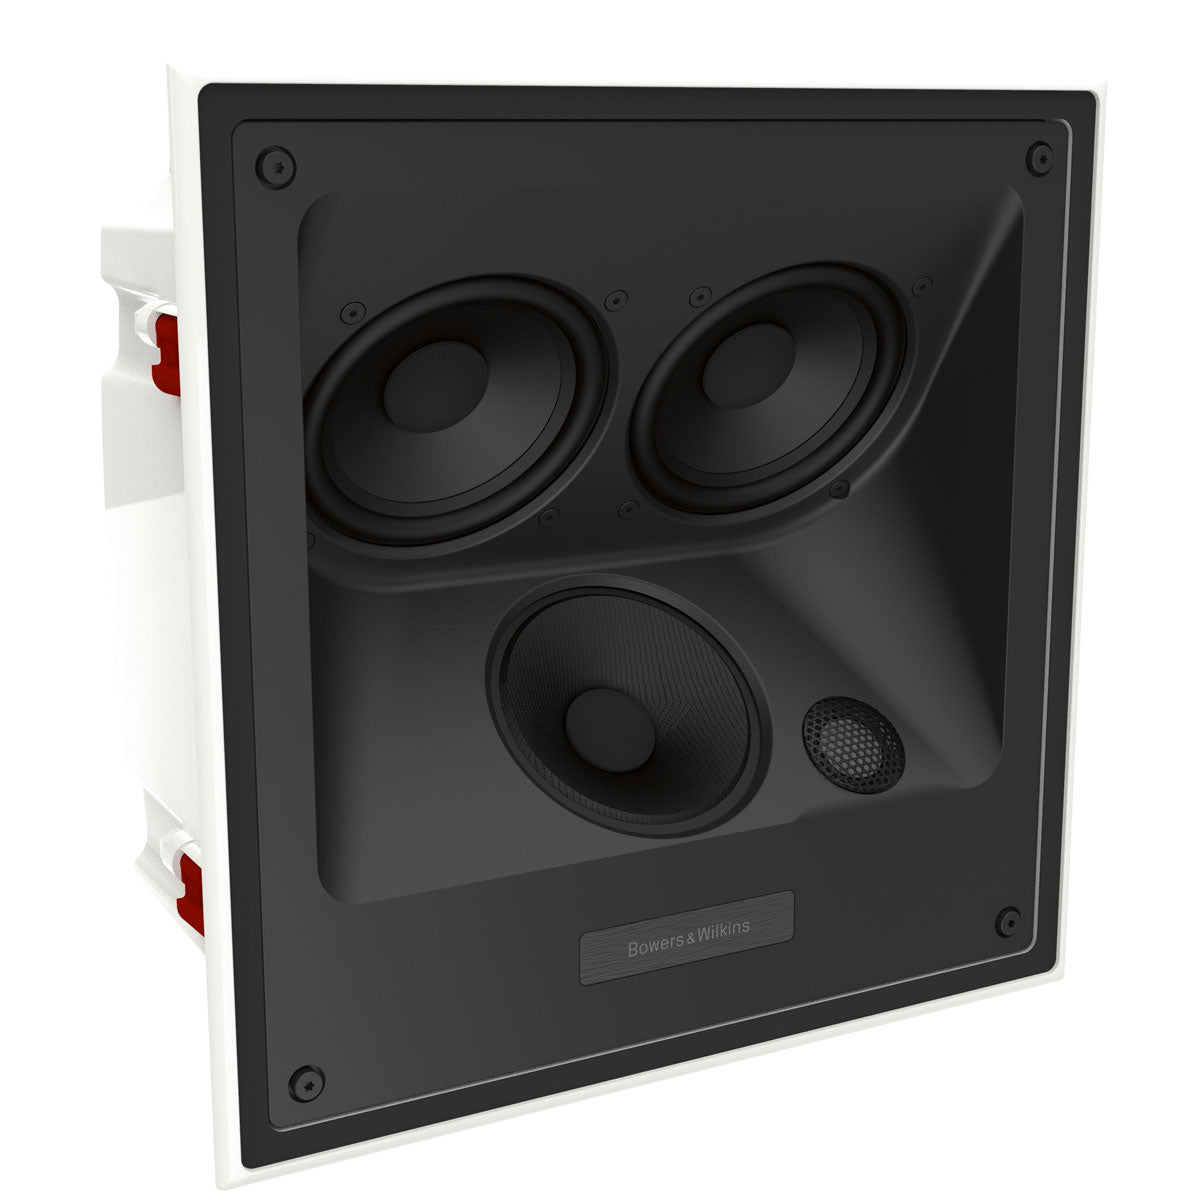
focal chora center channel speaker- lifestyle image

Step 6: Running the speaker wires

Depending on where your room is, you may be able to run the speaker wires through an attic space or beneath the floor. If neither is an option, you can consider removing your baseboards & channeling the wires into the drywall behind the baseboards.

Always use high-quality, low resistance, in-wall rated speaker cable. Low resistance is especially important if the length of cable from the amplifier to speaker exceeds 15’.  We like to use at least a 16 gauge wire and 14 or 12 gauge is even better.  Reach out to our design experts if you have any questions on selecting the appropriate speaker cable.

Expert Advice: Leave enough spare cable at the speaker end to ease connection to the speaker, you can always let the extra cable drop-down for in-wall speakers and push it aside for in-ceiling speakers.

focal chora center channel speaker- lifestyle image

Step 7: In-Wall & In-Ceiling Speaker Installation

If you plan to paint the frames and speaker grilles, it’s much easier to do so before installation. Consider using spray paint or a paint sprayer for a streak-free finish. Be sure to mask the speaker components & areas that you do not wish to paint and use very thin, light coats to ensure you don’t clog the grille perforations.  If your speaker grilles come pre-finished in white or black, be sure to lightly sand them with fine-grit sandpaper to ensure proper paint adhesion.

With your wire run to the hole that you’ve cut, attach the speaker wire to the binding posts.  Ensure that the speaker connection polarity is correct: the cable connected to the positive terminal on the amplifier should be connected to the red spring terminal on the frame. Similarly, the cable connected to the negative terminal on the amplifier should be connected to the black spring terminal on the frame. If your amplifier is already connected to the cable, it should be turned off while connecting the speakers.

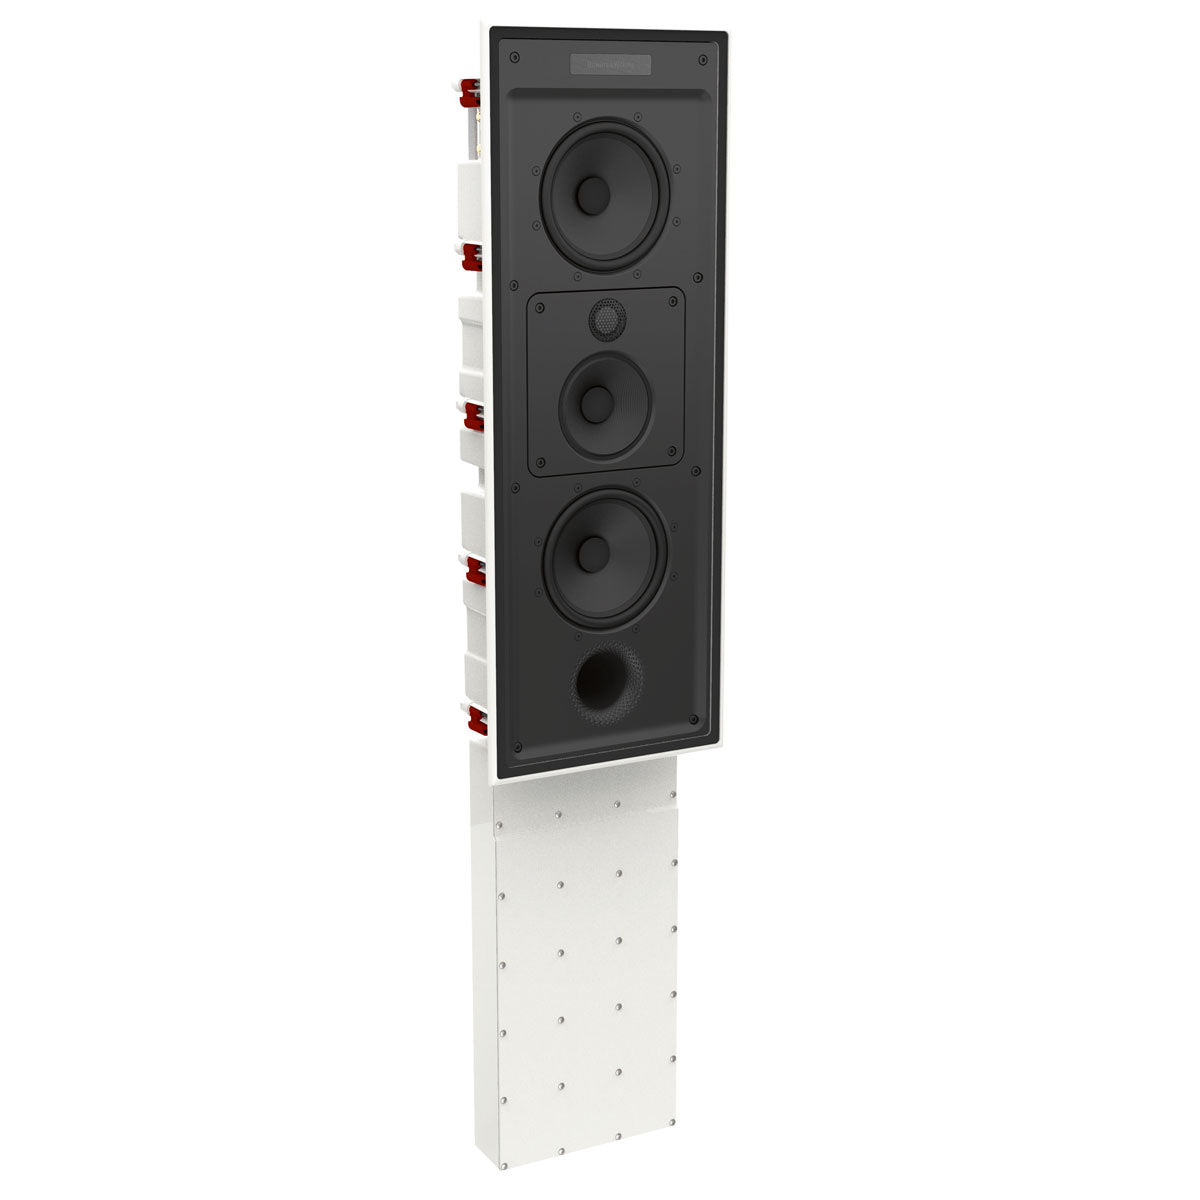
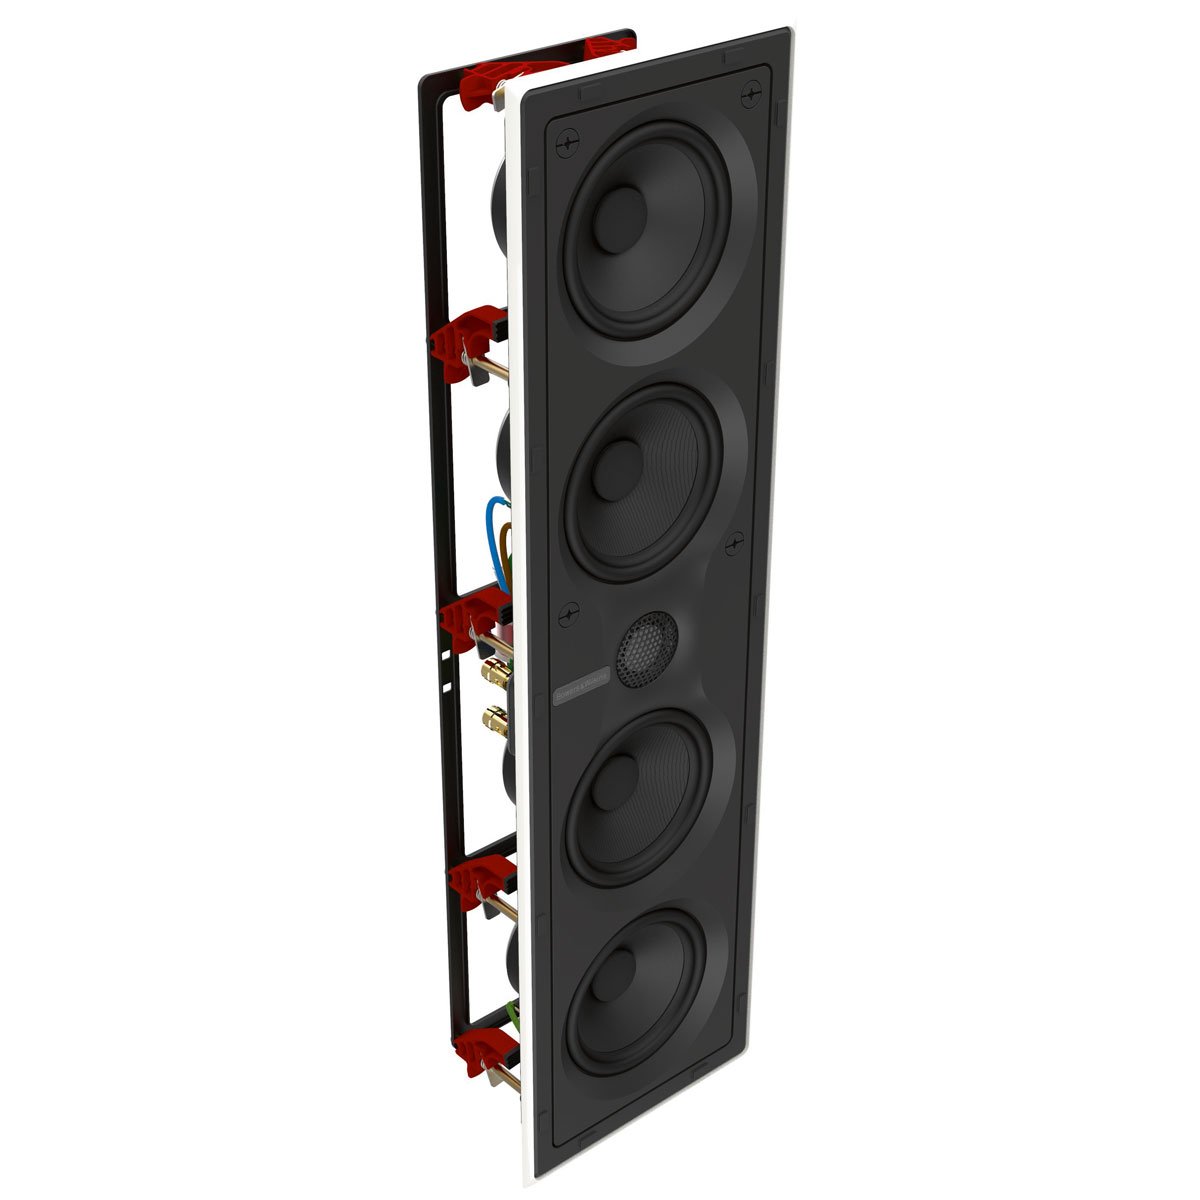
Most in-wall speakers utilize dog-leg clamps to secure the speaker to the wall. If the frame is a two-piece design, attach it to the wall using the clamps first, connect your cables, and then lock your speaker in by tightening up the screws.  You just want to get things snug but not so tight that the speaker frame starts to bow.

Recommendations

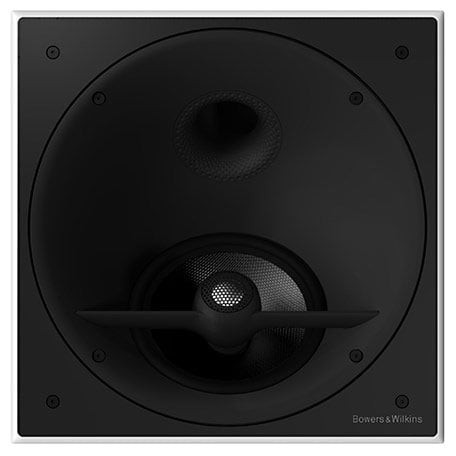
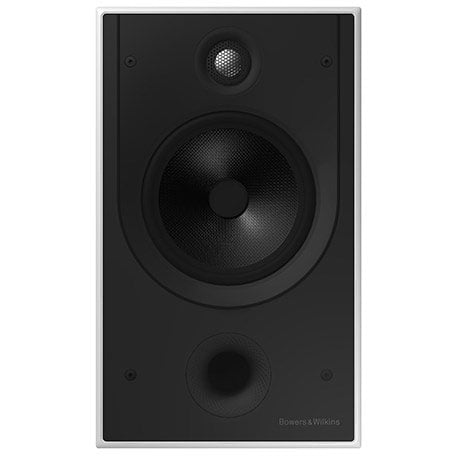
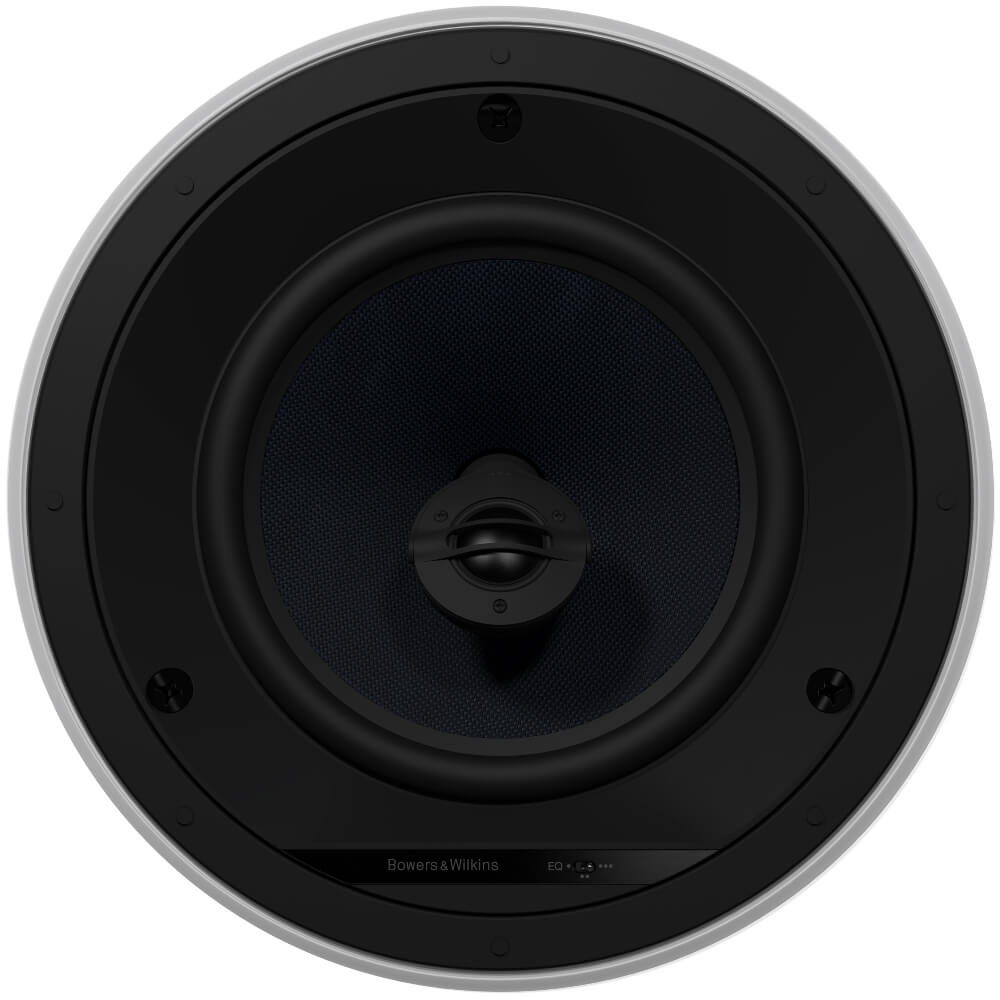
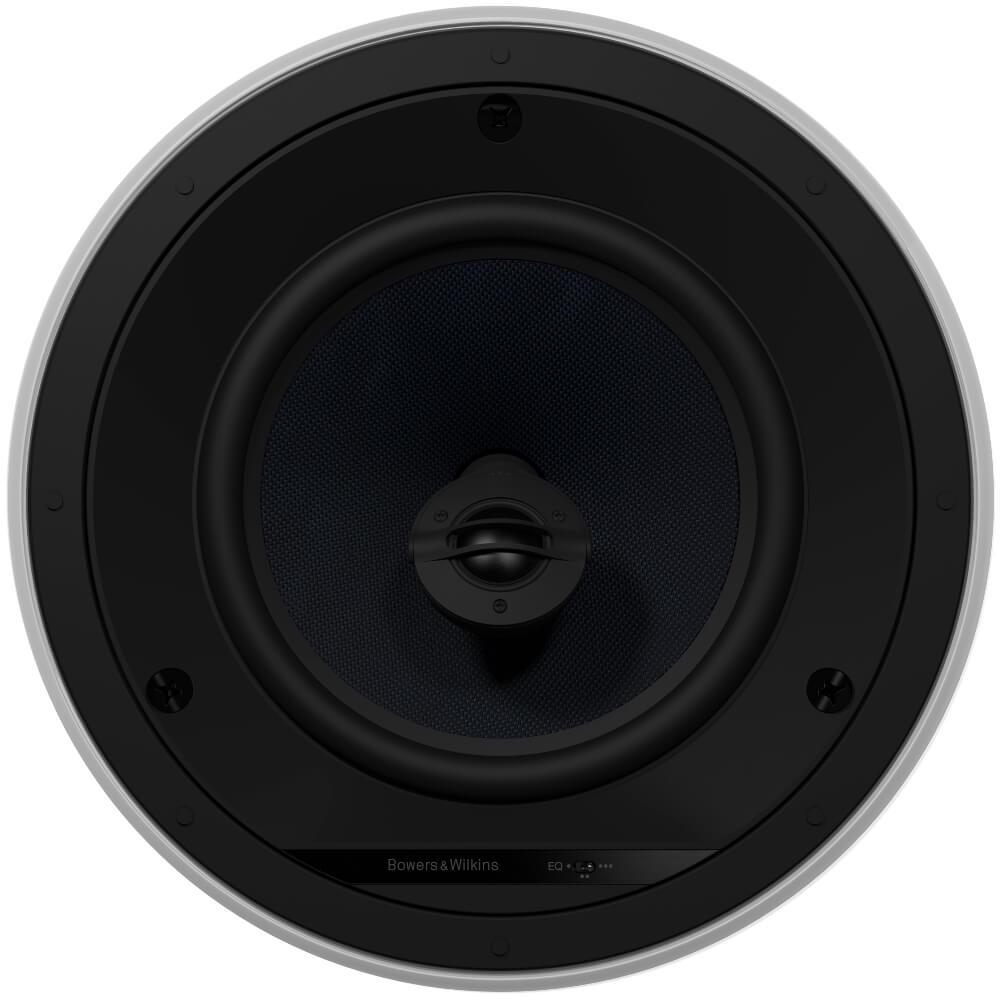
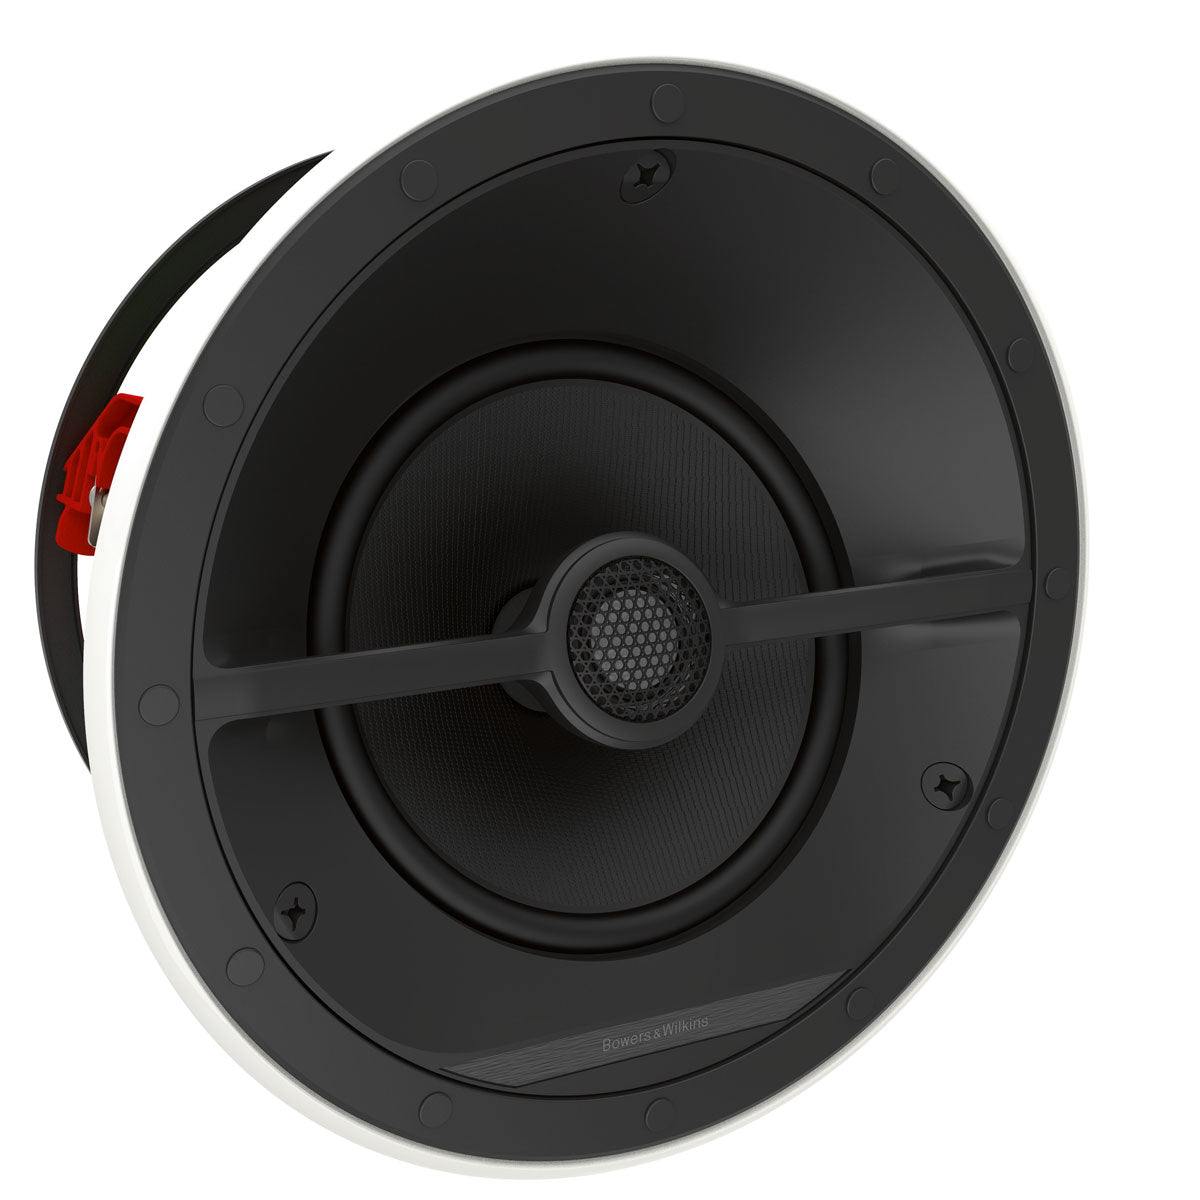
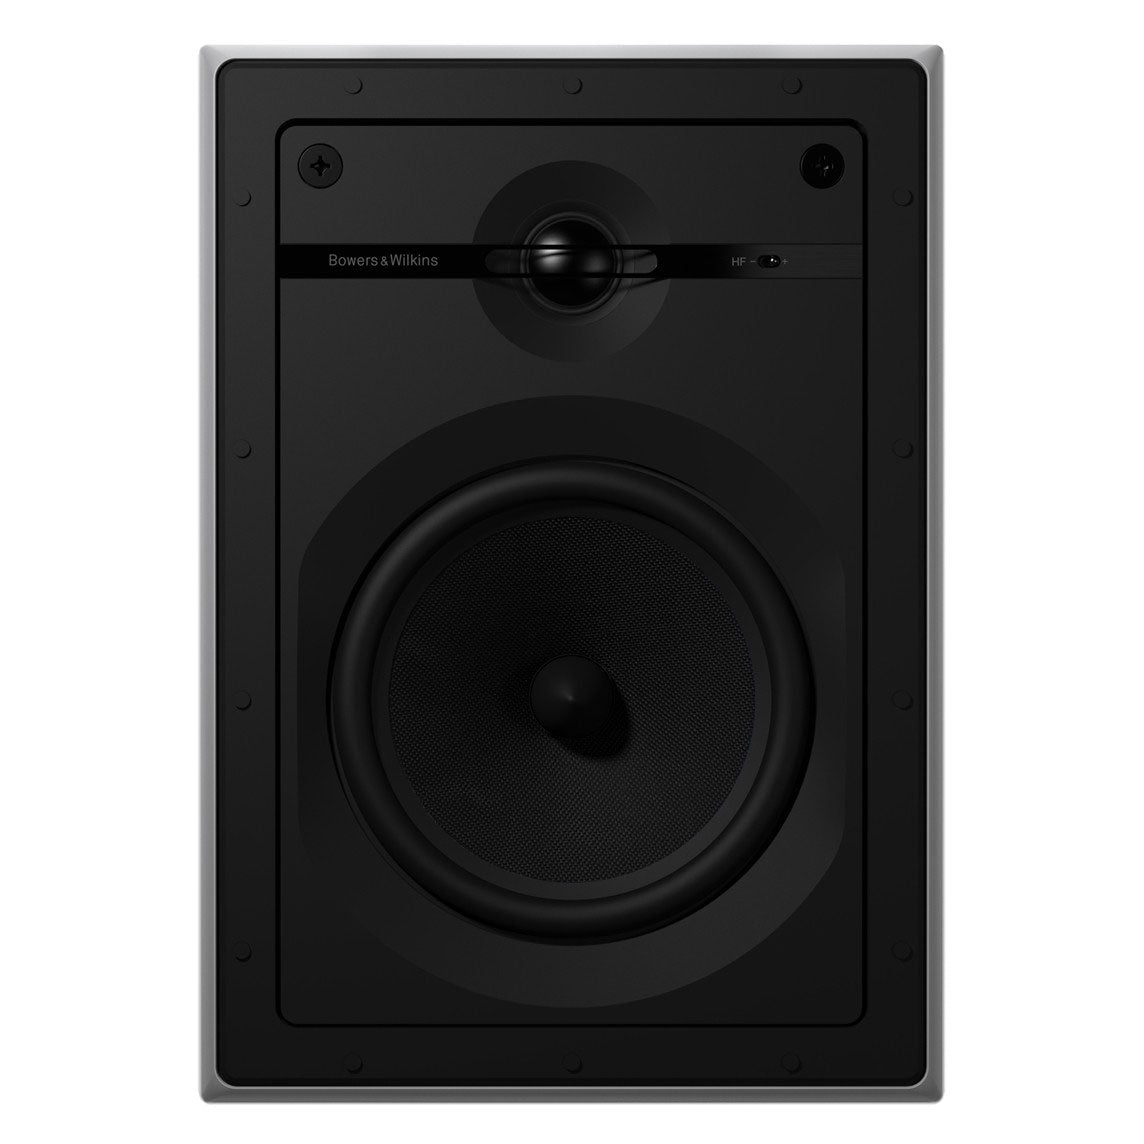
Bowers & Wilkins speakers have always been an Audio Advice favorite and are known for their fantastic sound. The B&W lineup of speakers that you can build into your walls or ceilings is one of the largest on the market, with a model for just about every possible situation. With their line of in-wall and in-ceiling speakers, B&W also makes DIY installation foolproof.

Discover Our Top B&W In-Wall And In-Ceiling Speaker Options ▸

We suggest you make use of our free home theater design tool to get started on your planning, then set up a consultation with one of our home theater experts to help find the best speakers for your plan and budget.

If you are in or near North Carolina, please stop by one of our showrooms to see things in person.

FREE Interactive 3D Home Theater Design Tool

Enter your room dimensions, audio, and video preferences while it designs your theater in real-time. Receive optimal screen size, seating locations, speaker locations, and receive precise measurements for your room layout. Work with our system designers via chat, email, phone, or in-store for expert advice, product selections, and more.

Home Theater Buying Guide

If you are in the market for a new home theater system or improving part (or all) of the one you already own, you’ve probably figured out that the options can be more confusing than advanced algebra! Explore our guide to understand the available options and how they might work or not work in your particular situation. If you need help customizing a solution for your space, reach out - we're happy to help!

Wishlist
Copyright © 2024 Audio Advice. All rights reserved.