Let’s go over some of the steps and why they matter:
Step 1 - Gather the right tools
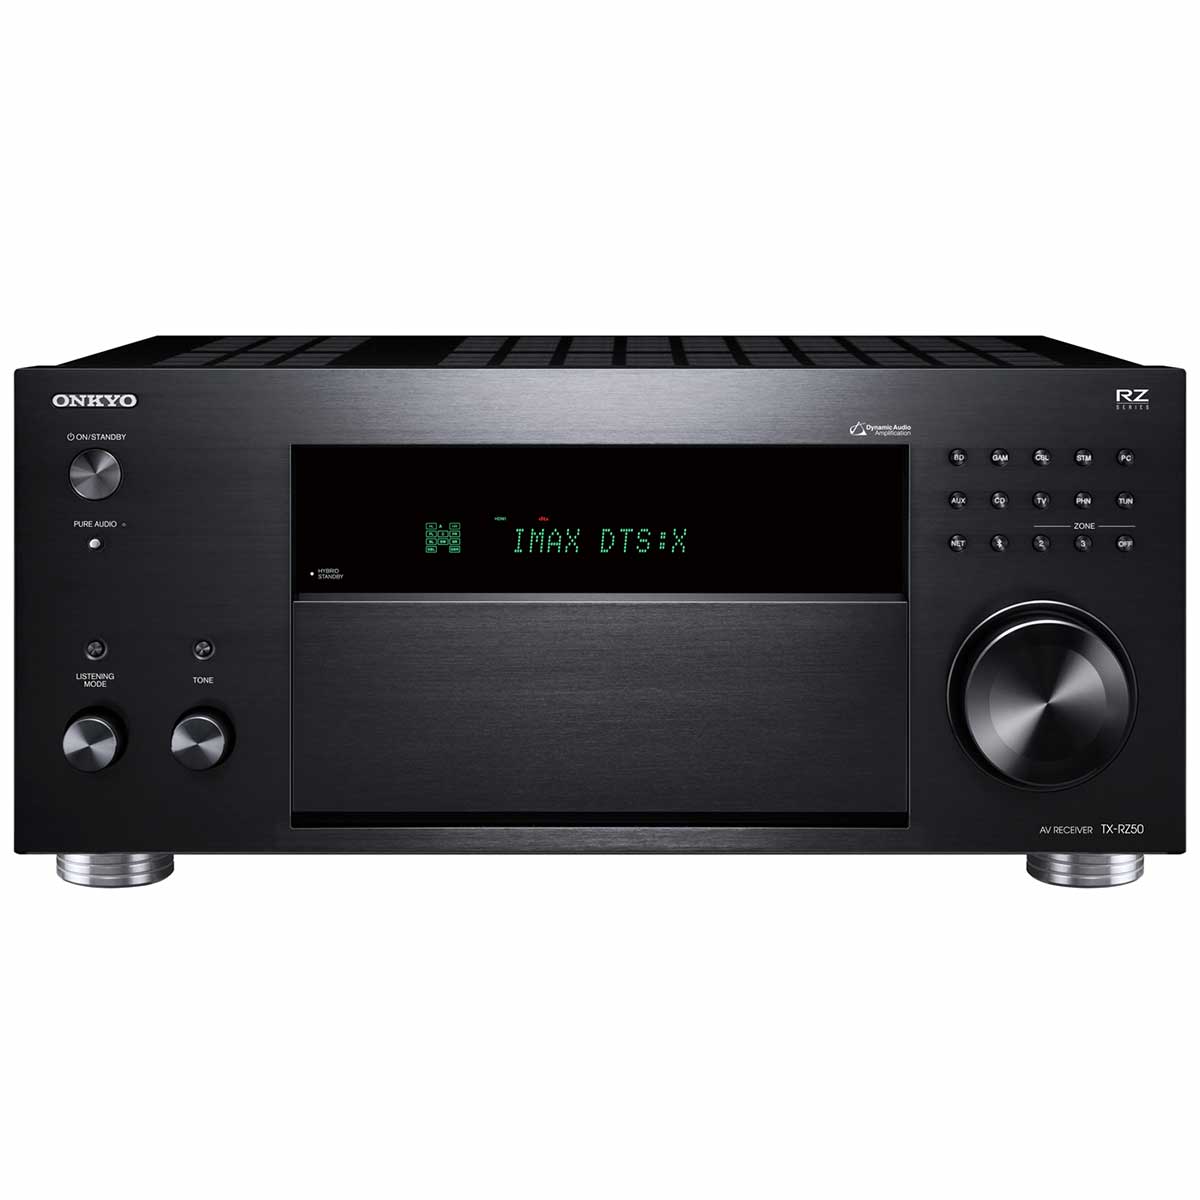
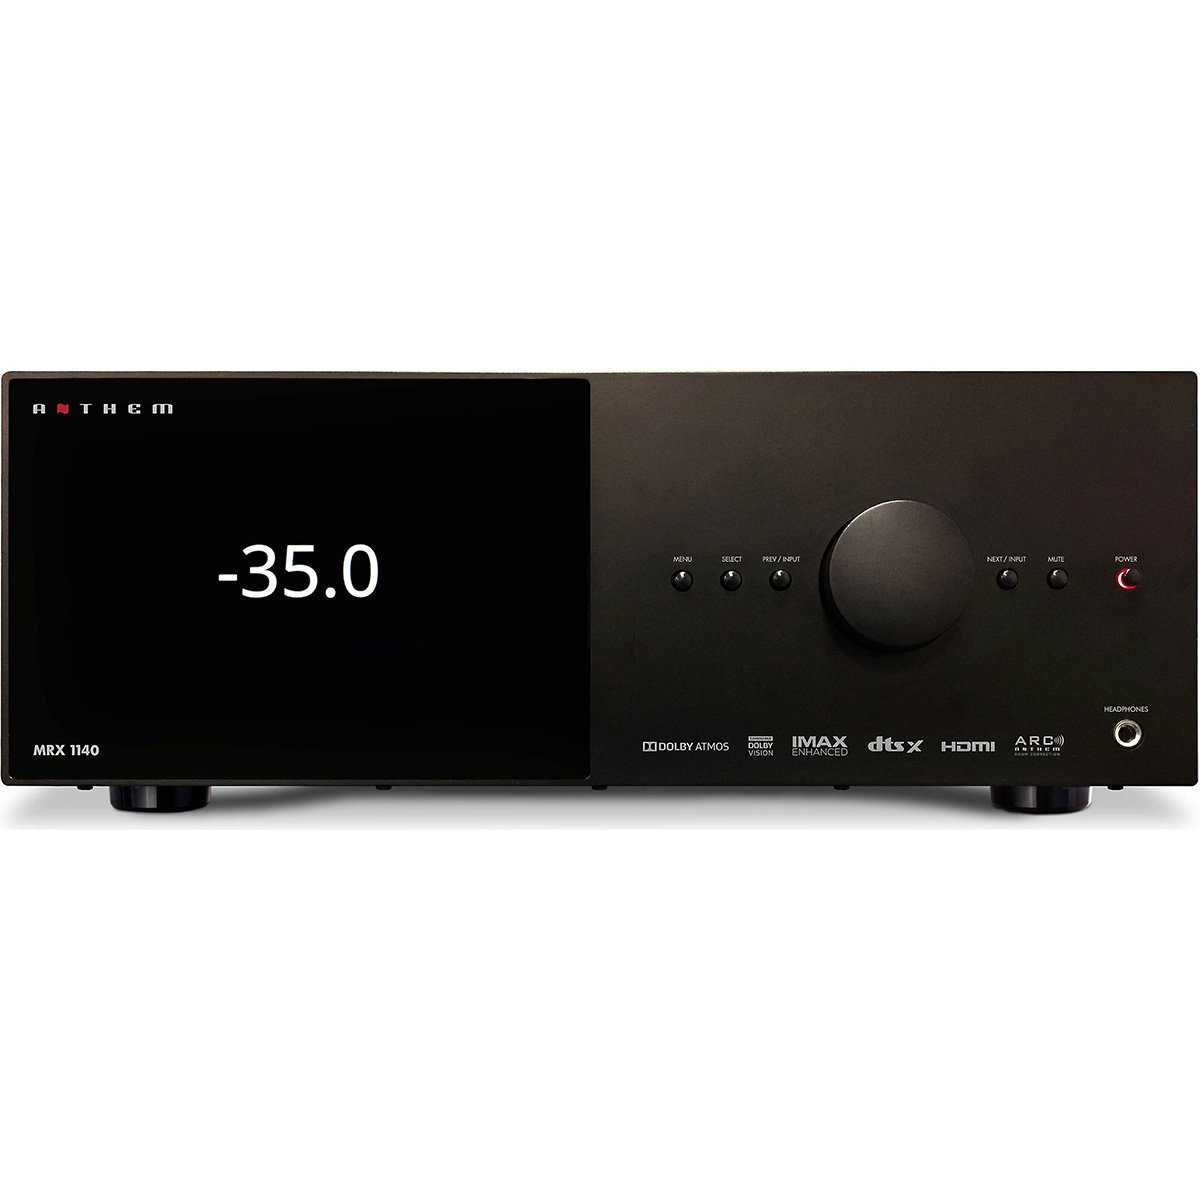
If your new home theater receiver has automatic room EQ, it will come with a microphone. In some cases, you will have to download a microphone calibration file from the company website. Normally, everything will work great with the included microphone. However, if you have a system that uses Dirac, we highly recommend you purchase a better microphone than the one included. Mini DSP makes a good one for under $100 you can find on their website. For those of you wondering about spending $100 on a microphone, please remember some of the receivers with Dirac are multi-thousand dollar receivers.
You’ll need something to hold your microphone. Some brands of receivers include a tripod stand, if yours does not, we recommend you find a way to hold the microphone steady and level or just purchase an inexpensive microphone boom stand (they are usually under $20)
Grab a good tape measure and download an SPL app for your smartphone.
Step 2 - Take Some Time
Once you have all of the right tools, set aside about 20 minutes to an hour to get everything done. Your house is going to need to be quiet while the microphone is taking all the measurements and you’re going to hear some loud test tones that might make a dog start barking. Plan for this in advance and you will not have to start over halfway in!
Step 3 - Taking the Measurements
This is the critical part. The software in your receiver will usually have you start out with the microphone perfectly centered in your main listening position. You’ll get better results if you use a tape measure, but the really important part is to make sure the microphone is pointing straight up. Every calibration system we have seen relies on the microphone pointing exactly straight up. As the system asks you to move the microphone around, pay special attention to the height and depth it asks for. Some systems will give you a visual reference where you can do a top and front view to get a sense of where the microphone should go.
Expert Tip: If you want to fine-tune the room EQ for your main seat and don’t care as much about the other seats, don’t spread the microphone out as far across the seating area. You’ll still need each measurement to usually be about 20” apart, but if the system is asking you to spread the measurements out over the whole couch and you only listen in the middle, move things in some. If you want the EQ to be averaged for a larger seating area, just follow the on-screen prompts.
A few systems even let you choose if you are setting things up for a single-seat, multiple rows, or a couch, which makes things simple for your choice.
We have found systems vary in whether they default the test tones to an appropriate level or rely on you setting the volume control at the right point. We suggest you just go ahead and adjust your volume to what is a relatively loud level before you get into the setup menu to start the EQ process.
Taking the measurements will usually require you to put the microphone in one position, press go, then repeat until you are done. The more speakers you have in your system, the longer the process will take.