The day has finally come. You have a high-end home theater AV receiver. You’ve connected everything up and are probably really proud you’ve got both picture and sound working. So the big question is, do you sit back and enjoy what you’ve done, or do you spend a little bit more time reading the manual to really dial in your new setup?
As a company with thousands of installations under our belt, we go behind lots of systems installed by other companies. It may surprise you to know that there are an awful lot of home theater AV receivers out there — installed by alleged professionals — that did nothing more than connecting the wire just like we described above. The audio-video world is one of the few areas where you can only halfway finish and things will still work! In this article, we will walk you through the major steps for getting the most out of your surround sound home theater AV receiver.
Why is calibration so important and why are almost all of our installation clients amazed when they hear the before and after? It really comes down to enabling your system to perform up to its best potential, and heck, it only takes some extra time!
You are essentially making adjustments that allow your home theater AV receiver to deliver the sound to your ears that is as close as possible to what the engineer who mixed the soundtrack envisioned. Let’s go through the key steps of setting up your receiver and why they matter.
Let’s go over some of the steps for your AV Receiver and why they matter:
This one is the first step to take before doing anything else. Ideally, you want your left and right speakers to be the exact same distance from the main listening position and the same distance off the wall behind them — and if they are angled, at the same angle. If you are designing your theater now or have the ability to move your speaker around, go input your room dimensions in our free home theater design tool and it will show the optimal locations for your speakers. If you don’t have full flexibility, just make sure they are between 45 and 60 degrees from the primary listening position.


Next, listen to a track you know well with a single vocalist and try to move the speakers and the angle on them until it sounds like the voice is coming from the center point between the speakers. Getting your center channel and subwoofers placed and set up correctly is so critical that we created specific articles on how to get them optimized to the AV receiver.
Now let’s move on to setting speaker size and crossover. Almost every home theater will have a subwoofer that is designed to handle the low bass tones and deep special effects. Most AV receivers default to having your front speakers set to large, meaning that they will play the full frequency range. However, if you have a dedicated subwoofer in your system, then for 95% of speakers other than the very largest tower speakers with great power, you are better off setting all of your speakers to the small setting so that the lower frequencies will play to your subwoofer. This takes the load off of your main speakers, helping them to perform better in the mid and high frequencies, and letting your subwoofer do its job for bass. Frankly, a subwoofer or subwoofers will normally do a much better job of reproducing the deep bass. In most cases, you should set your crossover to 80hz for all of your speakers. If you have smaller sides or ceiling speakers, you might test moving these up to 90 or 100hz. If you really want to nail the voicing from your center channel speaker, then watch our video on center channel calibration that also has very specific test tracks that will enable you to get the perfect crossover for your center channel.
This is one of the critical ones. When your receiver is brand new before calibration, every single speaker is going to get the exact same level of volume from the amplifier section. You might think, well that seems like the right thing, but it's actually not for a couple of reasons. First, you want the sound from each of your speakers to be at roughly the same volume. It’s ok to turn your center channel up a little bit or boost your subwoofer for personal taste, but in general, your speakers should be set close to each other in volume level. All speakers are not made equal and some speakers will play far louder than others with the same amount of power coming into them.
Also, even the position in your room can affect how loud a speaker sounds to your ears as the room may reinforce or take away from the perceived output level. Fortunately, all home theater AV receivers have what is called a speaker level control to balance out your speaker volume. All you have to do is turn on the receiver’s test tones, measure the levels using an SPL meter, and make adjustments up or down on each speaker until they are the same. The simplest way to do this if you don’t have a professional mic is to download an SPL Meter app to your phone. Then, run the test tones and set all of your speakers to 75db. If you have multiple subs, set your combined subwoofer level to 75db. If you have questions on how to do this, check out our subwoofer calibration video.
The sound engineers who create those amazing effects in today’s movies spend a great deal of time producing a soundtrack that fills the room with immersive sound. To get this magic to occur, the sound has to get to our ears at the same time from all of the speakers. Obviously, in a typical room, almost every speaker is a different distance from our ears. The good news is, every home theater receiver also has a way to correct this. You simply measure the distance each speaker is from your main seat, put in these values, and the receiver makes the corrections to allow the sound to arrive at your ears at the same time. The one caveat here is that if you have a subwoofer that has digital processing in it that you enable through a phone app or the subwoofer control panel, then you will need to increase the distance of the subwoofer by approximately 1 foot for every millisecond of delay. If you don’t know the delay in your subwoofer, you can find it by playing an 80hz test tone (or whatever level your crossover is) and slowly increasing your distance in one-foot increments while measuring the SPL. When the subwoofer is in phase with the rest of your speakers, the SPL will hit its highest point.
The last step is to run room correction if your receiver has it. Many modern surround sound receivers have added a new feature that can actually correct for problems created by your room. Every room impacts the sound in a pretty dramatic way, reducing some frequencies and boosting others. Room correction or room equalization systems have gotten very good at eliminating a lot of these problems. Completing this step can make a HUGE difference in some rooms, but it can be a little technical for some systems. We’ve created an entire how-to guide to help you understand room EQ, it’s definitely worth checking out. We also have videos on the major room correction systems like Dirac and ARC Genesis.
So now that you know why, you are probably ready to jump in and do your first calibration. Calibrating a home theater AV receiver used to be a daunting task of menu after submenu that felt as if it required a Ph.D. in owners manual speak to get a good outcome. Today’s home theater receivers have made the process much easier, and in some cases, it's all totally automatic. Just make sure you keep the microphone you’ll get with your receiver pointing straight up as it walks you through the process. If your unit did not come with a tripod, it's a good idea to invest in an inexpensive tripod so you can get the microphone at ear level. Many will step you through the process with an easy-to-understand on-screen display.
If your system automatically adjusts everything, it's a good idea to go back into the menus and confirm everything looks and sounds okay. We’ve seen distances and crossover points be way off. Most automatic systems seem to do a decent job with the levels. It’s an easy matter to just recheck your distances with a tape measure and confirm your crossover settings are close to 80 Hz after the auto-calibration runs.

While you are in your home theater settings, there is another thing we highly recommend you do to your audio settings. There is still a lot of content that is being produced in just stereo. However, all modern home theater receivers and processors can take that stereo signal and upconvert it to surround sound. You just have to tell your system to do this. This setting is usually found under the input menus which means you will need to do it for each input. Find the setting under the input for stereo and change that to Dolby Surround, DTS, or your favorite type. Doing this will greatly enhance your experience and put the voices in the center channel where they should be.
So now that you know why, you are probably ready to jump in and do your first calibration.
If you really want to take your system to the next level, check out our playlist for the best free home theater audio and video upgrades. In this playlist, we have videos with test tones for nailing lip-sync, center channel crossover, subwoofer calibration, and even video calibration videos you can use right from YouTube. We have a feeling that once you are done, you will be very proud of the improvement you have made in your system. If you have any questions about how to best optimize your system, call 888.899.8776, chat with us, or stop by our award-winning showrooms. At Audio Advice, we've been designing and installing high-performance home theaters & smart home systems for our customers in North Carolina and the surrounding areas for decades. In fact, we've delivered more custom theaters than anyone in the Southeast! We are now offering Home Theater Design no matter where you live in the United States! If you are interested in a custom home theater or upgrading your current system, give us a call at 888.899.8776, chat with us, or stop by our award-winning showrooms. We can't wait to help you build your ultimate home theater!


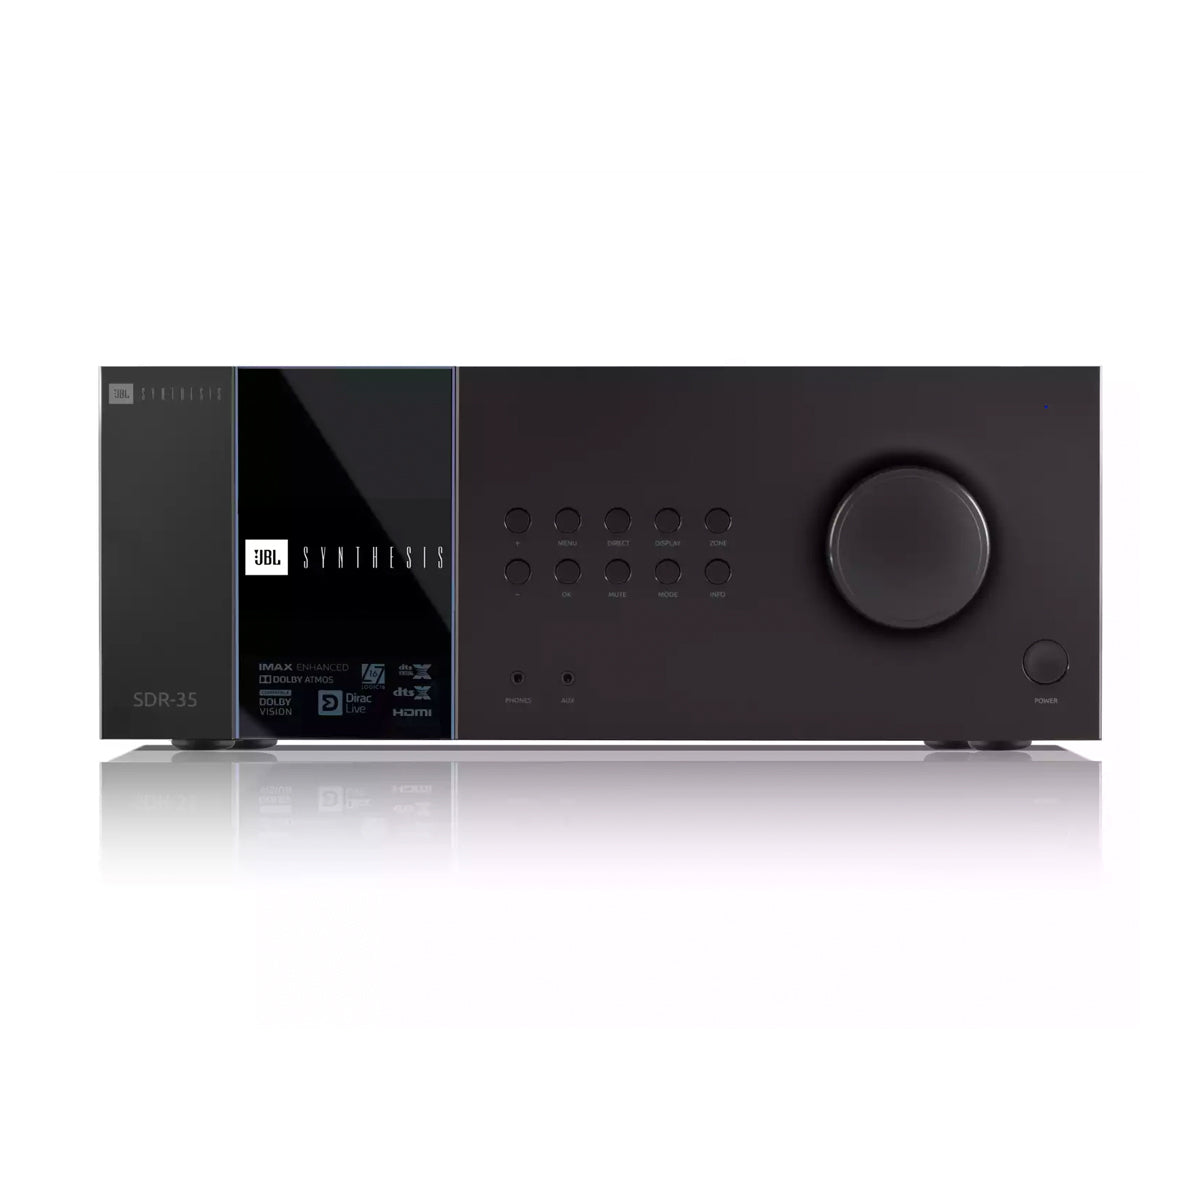
JBL Synthesis SDR-35 Surround Sound AV Receiver
$8,250.00

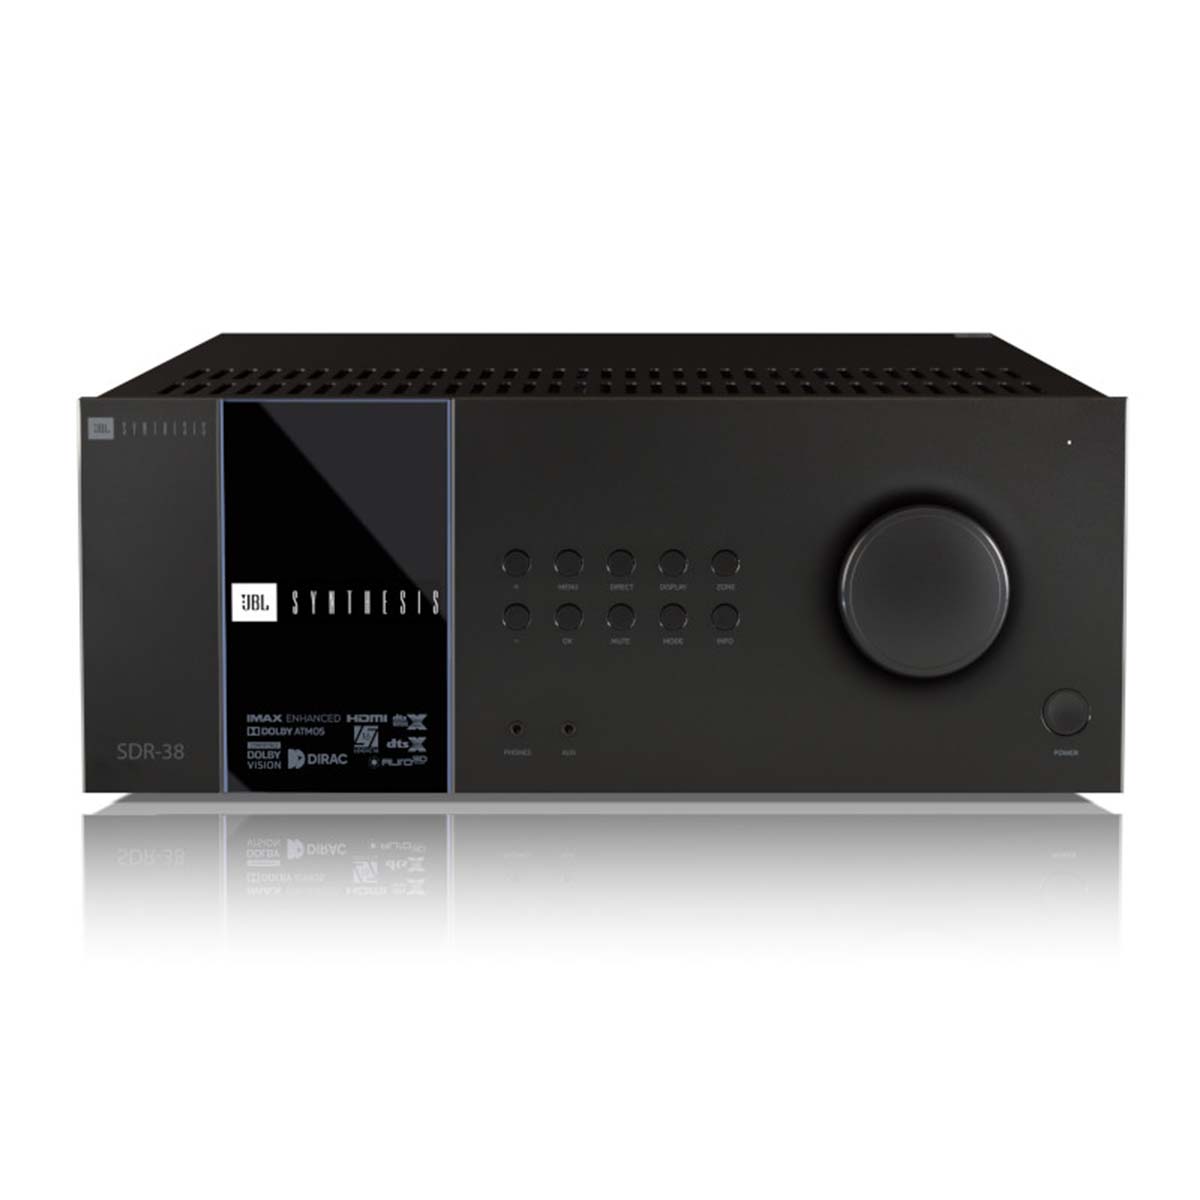
JBL Synthesis SDR-38 Surround Sound Receiver
$8,550.00
You'll be among the first to know about product launches, exclusive online deals, and the hottest audio trends.
