


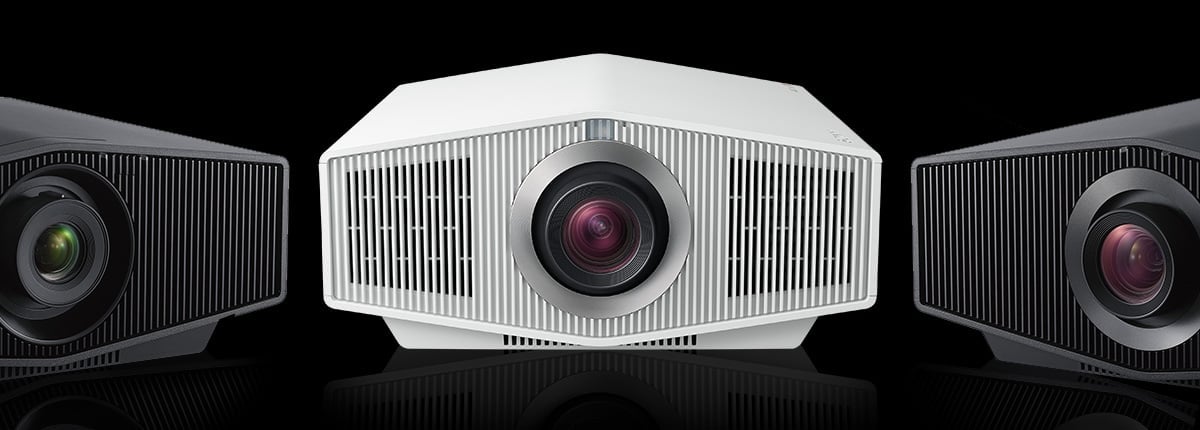
Sony VPL-XW Home Theater Projector Setup Guide

If you are reading this, it is likely you are either a lucky new owner of a new Sony VPL-XW projector — or perhaps you are considering a Sony VPL-XW projector and wondering how the setup will go. For those of you who are new owners, congratulations!
Sony 4K home theater projectors are pretty simple to install for someone with some basic DIY skills. There are some settings very deep in the expert menu that should be reserved for a professional calibrator.
However, there are many things you can do when you install your projector that will make a big difference in its performance that only require some patience. Anyone doing a DIY installation should be capable of taking these steps. Getting our suggestions done right is actually a bigger deal than hiring a professional calibrator in our opinion.
How To Install Your Sony Projector
We suspect most of you will be mounting your new Sony on the ceiling. We like the fact that Sony projectors come preset to the front/ceiling mode so you can just mount it and start adjusting without having to look at a menu upside down.
Audio Advice Pro Tip: There is a catch in using the menu in all front projectors and if this is your first one, you may not know it. The menu will not be visible unless you have a source plugged in. Be sure to plug some kind of source into your projector when you are initially setting things up and turn on that source.
Make sure you have a way to solidly mount your projector to the ceiling. Using toggle bolts into sheetrock is not recommended. We also suggest you have a projector mount that allows you to adjust the level from both side to side and front to back.
Finding the Right Location
Projectors all have what is called a throw distance spec. This is a minimum and maximum distance the particular model will be able to properly fill your screen. The Sony manuals are pretty cryptic when it comes to helping you figure out the correct range where your projector will properly fill the screen.
The good news is Sony uses an Aspherical lens which means you get great performance at either end of the throw distance.
We have tested all of the new Sony projectors in our internal testing lab and have found they all have the highest light output at the shortest end of their throw range. The good news about Sony lenses is that their light output falls off far less than other brands as you move them further back.
The best way to find the right location is to use our projector throw distance tool. Simply choose your Sony model and follow the steps. The tool will show you the nits, which is an important factor for HDR content. If you are installing a 2.40 widescreen, be sure to select that aspect ratio option to see the correct throw distance ranges.
In most situations, placing your Sony closer to the screen will be the best option for the most light output.
Audio Advice Pro Tip: When you are making your final measurements, remember the throw distance is the distance from the screen material to the front of the projector lens.
You will also want to get the height of your projector in relation to the screen at the ideal position. In the perfect world, it would be dead centered on the screen, but that is usually not possible in a typical home theater. While Sony projectors do have lens shift, we highly recommend you get your projector perfectly centered left to right and keep the top of the lens height right at or below the height your screen material is off the floor.
Also, be sure both your screen and projector are perfectly level.
How To Adjust Sony Projector To Fit Screen
Once you have your projector hung in the right spot, it’s time to get your image perfectly zoomed in and focused. While the Sony projector does have some patterns, we actually find it easiest to just put an image up on the screen. For a 16:9 screen, pull up a known 16:9 source.
The Sony VPL-XW5000ES has manual knobs for shift and focus. We suggest you have a helper at the screen to tell you when you are perfectly focused or use a pair of binoculars.
The Sony VPL-XW6000ES & VPL-XW7000ES models have motorized functions for zoom, shift, and focus.
It is a good idea to first push the SHIFT button on your remote, then press RESET to just recenter everything. Then you use the ZOOM and SHIFT functions to make sure your image fills the screen from top to bottom and left to right. It is a good idea to have just a tiny bit spilling over into the black fabric around your screen.
How To Set Sony Lens Memory
All of the VPL-XW projectors except the VPL-XW5000ES have a lens memory. To set the lens memory, go to the Screen Memory selection of the menu, choose Picture Position, then store it under 1:85 or Custom 1. Make sure you select YES when it asks you to save.
If you have a 2.35 or 2.40 screen, find a source in that ratio and follow the same process to get the image to fill the screen, leaving a tiny bit of overlap, and save those settings under 2.35 or Custom 2.
Then use the Focus function to get the picture as sharp as possible.
Sony Projector Panel Alignment
During shipping, it is highly likely that the 3 panels in your Sony projector have gotten slightly out of alignment. This is the part that will make the biggest difference of anything you can do! It is a bit time-consuming, but in our opinion is well worth it.
You will want to warm up your projector for at least 30 minutes before you start this. There is no need for your projector to have burned in at all though, you can do this right out of the box.
Sony’s web guide has detailed instructions on how to do this.
Be sure to use the zone settings and complete the steps for each color.
Audio Advice Pro Tip: It is a tedious process and the best tip we can give you is to give your eyes a break as you are going to be staring at some bright white lines. We find if you’ll close your eyes for about 10-20 seconds before you go to the next zone, you’ll be able to focus better on the adjustments.
This step usually takes 30-60 minutes, but is the best thing you can do for a great picture.
Explore more free home theater video optimization & upgrade tips
Sony VPL-WX Setting Adjustments
We have spoken extensively about properly setting up a Sony projector with the technical team at Sony. The good news is that your projector has several modes with different settings for various situations. For 95% of the home theater systems you would put a Sony projector in, Cinema Film 1 for SDR and Cinema Film 2 for HDR will give you the best results.
Audio Advice Pro Tip: You will need to display an HDR source to the settings for HDR.
After you have selected Cinema One Film, there are a few areas you will want to experiment with based on how large your screen is and how much ambient light is in your room.
The really great thing about the new X1 Processor for projectors is it lets you set different settings for both SDR and HDR content. To access these settings you will need the correct type of content playing through the projector. In other words, to adjust SDR, you will need an SDR source and for HDR, you will need an HDR source playing. This means you will need to make the adjustments we suggest twice, once for each type of content.
*Sony projectors have quite a lot of adjustments you can access. Some of them that are deep in the expert settings should only be changed by a professional calibrator. We do not recommend you make adjustments in the color correction section you will find under the expert menu where you can access the different levels for red, green, and blue.
We appreciate your support of Audio Advice and hope these tips will help you get the best out of your new projector.
At Audio Advice, we've been designing and installing high-performance home theaters & smart home systems for decades. In fact, we've delivered more custom theaters than anyone in the Southeast! We are now offering Home Theater Design no matter where you live in the United States. If you are interested in a custom home theater or upgrading your current system, give us a call at 888.899.8776, chat with us, or stop by one of our award-winning showrooms.