


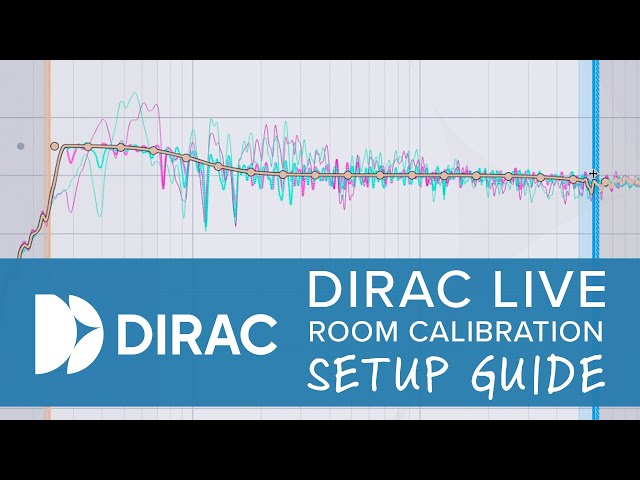
Dirac Live Tips & Tricks Setup Guide
If you are reading this, you are likely a happy new owner of a brand new Dirac Live-enabled home theater receiver or stereo preamp. Congrats on your new purchase–with Dirac Live, you have an incredibly powerful tool at your disposal.
Several years ago, we made a video on how to set up Dirac, and it quickly became the number-one watched Dirac setup video in the world. Since then, Dirac has progressed substantially, so we decided it was time to update our setup guide.
In our updated video, Audio Advice CEO Scott Newnam walks you through each step to ensure you get the most out of your Dirac Live-enabled device. We recommend you watch the video, but we’ve also included a text version below for your convenience.
First, let us orient you to the different versions of Dirac. Bear in mind that different equipment either comes with different levels of Dirac Live software licenses or is Dirac Live-enabled, meaning the equipment is capable, but you need to purchase a license from the Dirac website or upgrade the license that came with it. Most people will start by using Dirac Live Limited Bandwidth. This will set the distances, gains, and improve impulse response and general room eq from 20hz to 500hz. This is the most important range to cover. An upgrade to this version is the full bandwidth version, which will do the same thing but adjust all the way from 20hz to 20kilohertz. Then, if you want to go up a level even higher, you can add Dirac Live Bass Control, which sets its own crossover and phase aligns your subs with the mains and each other. Bass Control is available for either one sub or multisub.
These are all largely done the same way, both theater and two-channel equipment, so I will walk you step by step how our team does it both onsite for customers and if we are remoting into a system and doing it with a DIY home theater customer who purchased through AudioAdvice.com. Before shooting this video, Scott talked extensively with the team at Dirac to integrate both Audio Advice’s and Dirac’s best tips and tricks into this setup guide.
Let’s jump to the computer and begin.
First, set up your receiver or processor as you always would: setting exact speaker configuration, distances, and levels. Technically, you could skip setting distances and levels as Dirac will replace them with its calculated values, but setting them has a few advantages. First, if you ever turn Dirac off, you’ll still be set up with distance measurements. Plus, it can ensure your subs and speakers are at reasonably matched levels before you start.
A few quick protips: Always first set a maximum volume level on your processor, maybe at 90%, so your system is protected if someone accidentally sits on the volume control or something else happens.
Also, if your subwoofers have room equalization capability, calibrate with the crossover on your sub itself turned off through the entire process, as you will use your processor for crossing over. Finally, set the crossover in your theater processor. For 95% of theaters, you are going to want to set the crossover in your theater to 80hz, even if you have large front speakers, so that you can leverage the power of your subs and get the most out of your other speakers. You can set it a little lower if you know that you have full-bandwidth speakers with enough amplification.
Next, set up your room as you will normally use it. For instance, if curtains will be closed and your chairs reclined while you watch or listen, then do that. Now turn off all HVAC, fans, or other extraneous noises so you can minimize the noise floor in the room. If you have a loud projector directly over your head, turn that off, too.
Next, go to Dirac Live, create a login, and download the current Dirac Live software for your computer. The software does not automatically download new versions, so make sure you have the latest version to get the best experience.
Before you open the Dirac Live software, make sure your theater system is turned on and set the input on your system to an analog input. There are a few devices where if you have the input set to an HDMI input, you could end up getting clicks instead of pink noise when you set your volume levels in Dirac. So choose an input on your processor that is CD or anything that has analog inputs to avoid this edge case issue.
Make sure that your computer is on the same network as your theater processor. Go ahead and plug in the microphone that came with the processor, or if you have an upgraded mic, plug that in instead. Now open Dirac Live and log in. You should now see your theater or stereo device show up on your network and choose that device. In our video, you see us choosing the JBL Synthesis processor.
Next, you will be taken to the page where you choose your microphone. Look for the microphone that you connected. You should have received a calibration file for your microphone with your purchase, or you can find it at the manufacturer's website for your equipment. You right-click below the microphone to load the calibration file. It's important to load this calibration file to receive accurate results. If you are using a Umik type of microphone, be sure to upload the 90-degree file, which is the correct one for when the microphone is sitting straight up.
Now click “Proceed to Volume Calibration.” The goal in this step is to set the volume level of the speakers for calibration. There is often confusion about this step, so let us give you the theory you are following. Ideally you want to calibrate using the volume level that you will typically listen at. The reason is that speakers have different frequency response curves at different volume levels. We are also trying to have a relatively high signal-to-noise ratio–meaning the signal from the speakers compared to the noise floor that you have already tried to minimize in the room by turning all extra sounds off. You also want all of the speakers set to a similar level within about 3db of each other. To do this, set the master volume low so you don’t risk hurting a speaker, leave the microphone at 100%, and note what it tells you the noise floor is in the room when it is perfectly quiet (in our case, around -60db). Then, play one of your speakers and slowly move up the master volume to a reasonable listening level so you can see the level of the speaker. Another quick pro tip–if for some reason you don’t get a sound when you click play below a speaker, just stop that speaker, move to a different one, and come back. At this point, quickly play each of your speakers to see which speaker or speakers have the lowest gain. Most of the time, it will be your surrounds or heights. Then, slowly move the master volume up until that speaker reaches your expected normal listening level–if you are not sure, then target somewhere around 30db louder than the noise floor. So, in our case, that would be around -30db, which is 30 higher than the -60db noise floor.
Once you’ve got the quietest speaker up to that level, all you have to do is pull down the individual speaker gains of all other speakers to get them all to approximately the same level.
Once all speakers are pretty close in level, click “Proceed to select arrangement.” Don’t get too worked up about these different arrangements, as it's really just telling Dirac how many measurements you are going to take. For simplicity here, do it like this. If this is for a two-channel system where you are always going to be in one spot, then choose “tightly focused imaging.” If you have a theater room where you really are focused on one or two seats for the calibration, then choose “focused imaging.” If you have multiple rows or lots of seats that you want to balance the best sound across, then choose “wide imaging.” A key point here is that you might have two rows of four seats each, but 95% of the time, it's just two people watching in the two middle back row seats. If you really care more about those, then choose the middle option here and focus your measurements on those. If your processor has two or more filter slots you could do one calibration for those two seats and another for all the seats if you wanted to, but most people want to really focus on some select seats. Don’t get too worried here about which you pick. It's more about measuring the right spots.
Now click “Proceed to measure”. Make sure everything is perfectly quiet in the room before you start to measure. The first measurement is the most important and is the middle one that should put the microphone exactly where you sit. Let me demonstrate in a theater room for you.
Recline the seats to where they would be when you are listening. Then, put the microphone as close to where your ears will be as possible, with straight mics facing upward to match the 90-degree file you loaded earlier. Click “measure selected position,” and be quiet and do not stand between a speaker and the microphone.
Another pro tip that we discussed with the team at Dirac: Many people try to replicate the positions they see on the screen, often putting the microphone way too far forward or higher than they should. The concept here is to take measurements in the potential areas that your ears will be. So, focus on getting measurements in the various left, right, and center positions horizontally, forward and backward and vertically across the seats you care about. That's the concept.
Let us mention here the two most common errors we get calls about. The first is clipping. This happens when a speaker is playing too loud for the measurement. Identify which speaker that is and turn it down a bit. That usually will fix it. Or it could happen when you are taking a measurement too close to a speaker. So for instance, maybe in a side seat right next to a speaker. Just back off a little from the wall for that measurement.
The second is a signal-to-noise ratio that is too low. This happens when the system can’t get a good measurement because the system is not loud enough compared to the noise floor. You fix this first by turning off any noise in the room. If that does not work, then bring up the gain a little. That should fix it.
Now click on each of the measurement circles and click to measure position. If it's only one or two seats, you can get away with 5-7 measurements with small incremental gains from more. Try to stay a foot away from any walls if you can. The circles showing you where the measurements go are just spots to make sure you cover up, down, forward, back, and side to side. The order or which ones you click does not actually impact the measurement. Remember that it's averaging in every new measurement, so don’t start putting the microphone in crazy places to hit the recommended number. Once you’ve got it reasonably covered, click “Proceed to Filter Design.” If you did not do the recommended number of measurements, you will get a pop-up confirming that you want to move forward. As long as you have more than five measurements, just click to move forward to filter design.
Dirac has progressed substantially in this section. You will see that it has grouped your speakers naturally, such as the fronts left and right together here. What is really cool now in Dirac is that it attempts to create a great curve for the natural output of your room and speakers, whereas previously, you had to do that yourself. For the vast majority of folks using Dirac Live without Bass Control, you can literally click “Proceed to Filter Export” here and try your new filter in your system.
A common experience of people is that once they run room calibration, they sometimes think they lost bass compared to with no calibration. This usually happens because there is a natural bass peak in the room that has been way too loud and dominates the other frequencies, but you’ve been feeling that high peak impact. Once the calibration is done, the peaks are leveled out, and the bass is much tighter and more accurate. However, because that peak is gone, you may perceive it as less bass.
The other thing that happens is that the total SPL or loudness of the system is reduced at the same volume setting level because the peaks have been reduced. So, if you are used to listening at a volume setting of 70 percent, you may now need to have the volume set at 73 percent to achieve the same SPL in the room. We encourage homeowners to live with this for a while, and you will usually find it way better because the bass is cleaner and tighter, and it's also not fatiguing like big muffled bass peaks are.
If you feel you still want more bass, there are two ways to get it. The first is to simply pull up the handle on the left, which will adjust the curve set based on your system. You can do this up or down for the bass handle or the high-frequency handle on the right. This has become so good and is customized to your particular system that it is now our recommended way for most people.
The other option is to create or upload your own curve. Audio Advice has calibrated so many theaters now that we created our own curves based on the known science and our practical experience of what customers prefer in their homes. If you purchased your system from Audio Advice, you should have gotten an email with the Audio Advice curves that make most rooms sound incredible.
To load one of those curves, you simply click the menu bar at the top left and choose “Load Target Curve.” It will ask you which set of speakers to apply it to. Choose “All Groups” so that you will have the same curve to all speakers. Even though some speakers are bigger or smaller, the crossover that you used when you set your system up will do its work here. Then navigate to one of the saved curves on your computer–the Audio Advice curves are named with the amount of bass gain added, so if you like more bass, choose one with a higher number. Click Open, and it will apply the curve. Dirac Live will then calculate the corrected curve and has built-in limits such that the max filter gain is 10db, so you don’t try to push your speakers too hard. Even with this max, be smart and don’t make upward adjustments that are beyond the capability of your speakers. If you have one small subwoofer, don’t try to push the bass up 8db. If for some reason you want to have Dirac Live only adjust between certain frequencies, you can pull the left curtain to the right to tell it not to adjust anything below or the right curtain to the left to not adjust anything above. We don’t recommend expanding the curtains outward unless you are an expert, as they are based on the capability of the speakers. For instance, if you want a more lively but less tight or room-corrected sound in the upper frequencies, you can pull the right curtain down to say 5 kilohertz. That will prohibit Dirac from adjusting frequencies over 5 kilohertz, which will remove the advantage of its impulse response correction, so you will sense more reverb or feeling of the room itself since it has not been corrected.
If your system is capable of Bass Control, then you will see Bass Management as an option. If you have Dirac Bass Control, just skip Bass Management. If you don’t have Bass Control, then you would really only use Bass Management if you want to set different crossovers than what you did in your processor. In Dirac Live. it crosses over wherever you told it when you set up your processor. With Bass Management and Bass Control, it calculates the suggested crossover, which you can adjust up or down, and the crossover in Dirac then overrides the crossover you originally put in your receiver.
Let’s move on to Bass Control: you will find that Dirac Bass Control takes the system to another level by time and phase aligning all of your subs with the mains and with each other. For a stereo setup with two subwoofers, I would invest in Bass Control if you have the budget. For theaters, using it for two subs is helpful, but anything more than two subs, it really shines.
If you have Bass Control, click on it in the top right. It calculates the suggested crossover, which currently has a minimum of 70hz by default, even though you can manually move it up or down. We’ve talked with the team at Dirac and made a compelling argument as to why they should allow it to go lower or, better yet, remove the crossover when you have full-range speakers and utilize the combination of the subs and full-range speakers to produce the best bass. I think they generally agree, and we will likely see this upgraded in the software in the future. For now, I would follow the same steps as I described for Dirac Live. Either use the side handle to increase bass some (for most situations targeting 3 to 4 db extra) or load a curve like the Audio Advice curve. Be sure to click calculate at the bottom right before exporting a Bass Control filter, as it requires a lot of calculation once you make any changes. For most people, this is all you need to do.
If you are a professional in the business and you want to go to the next level, you can test different curve gains and crossover levels–click calculate and then take a snapshot. Be sure to edit the name of the snapshot to whatever you changed–I generally include the bass gain and crossover level in the name. This way, you could take several snapshots, then export them to your processor, and then come back and make adjustments to any one of the snapshots.
Many Dirac-enabled devices allow you to load multiple filters. Why would you want to do this? Well, you might have one filter that is a tight set of measurements around just one listening chair that you use all of the time. Then, you might have a second filter that includes more measurements for when friends are over and the curtains are open. You get the point. It is quite powerful.
The final thinking you want to do is to save your project so you can come back later and make adjustments if you ever want to.
We hope this setup guide has been helpful to you. If you are looking to get the very best out of your home theater or two-channel system, you can find other great setup guides and audio and video calibration videos on our YouTube channel. If you have further questions, stop by one of our award-winning showroom or chat/call with our experts!
We’re here to help!
Audio Advice has been in the industry since 1978, and throughout the years, we’ve developed a team of professionals who live and breathe all things audio and video. We spend countless hours testing and reviewing every product we sell to be sure it stands up to our extremely high-quality standards. With our state-of-the-art home theater audio lab, we can become product experts and provide our customers with in-depth, honest feedback. If you are considering building a home theater or media room, check out our free home theater design tool. There, we also have many buyer guides, an inspiration gallery, best-in-class equipment, and home theater seating options. You can also stop by one of our award-winning showrooms.
When you buy from Audio Advice, you’re buying from a trusted seller since 1978. We offer Free Shipping, Lifetime Expert Support, and our Price Guarantee. We look forward to serving you!
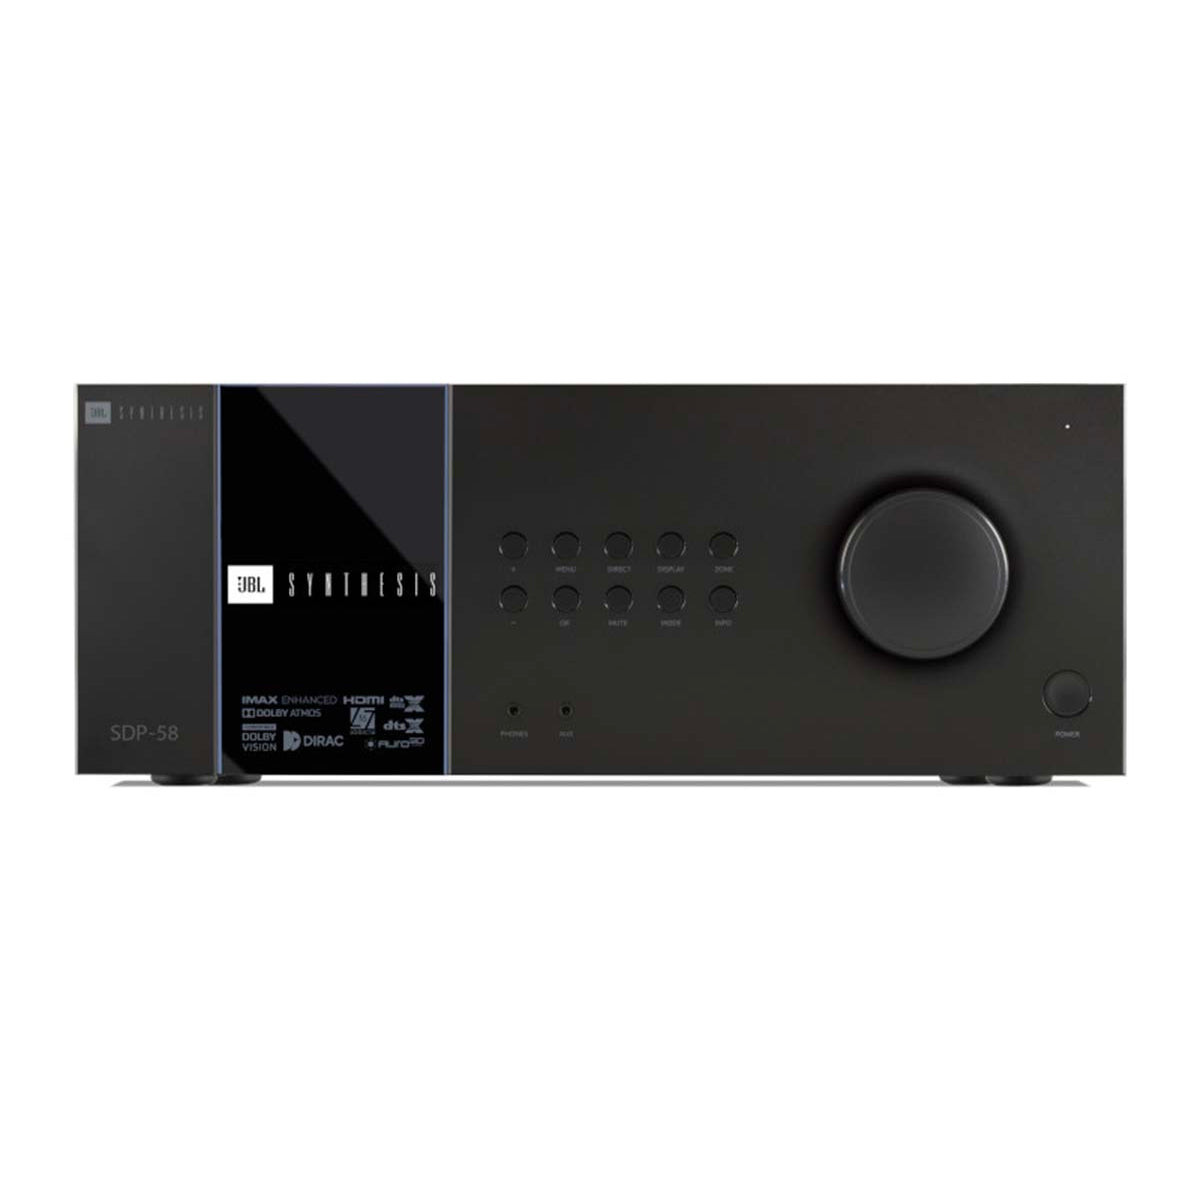
JBL Synthesis SDP-58 Surround Sound Processor
$6,900.00

Onkyo TX-RZ70 11.2-Channel Home Theater Receiver
$2,299.99