How To Set Up a Sony Z Series TV HDR

We hope you find these tips helpful to get the most out of your Z series Sony TV. These are designed to help you set things up to get the best picture from HDR sources. Please follow the steps in the order below.
Make sure your software is up to date
You may have turned off software updates to avoid those pop ups but we will need the latest for Dolby Vision and support for HDMI 2.0a. Luckily Sony has been great at providing software updates.
Go into the right input
You must use HDMI 2 or 3. These support full 4K HDR at up to 60 fps.
Make sure you have an HDMI cable that supports 18Gbps.
Double check to make sure your receiver or surround sound processor supports HDMI 2.0a - this is a critical part of the equation. If you have an older receiver, you’ll want to run a direct HDMI feed to your TV and get audio back to your system either through its digital out or HDMI ARC connection.
Setting up the Inputs
By default the HDMI inputs are not set up for full 18Gbps 4K HDR signals
Here is what you need to do:
- Press the Home key on the TV’s remote
- Scroll to the Settings Icon and select it
- Select “External Inputs”
- Select “HDMI Signal Format”
- Select “Enhanced Format”
Setting up the Picture Settings
These are of course subjective but are what we feel will give you a great HDR picture. These settings assume you are in a light controlled room with no shining on your TV
First start playing something on your HDR source, and go to its input to make sure you are adjusting the right one.
Press the Action Menu button on the TV remote, then choose “Picture Adjustments”- It is important to note, these settings are accessed through the Action menu and not the main menu.
Use these settings:
Picture Mode = Cinema Pro Auto Picture Mode = Off Brightness = 40 Color = 50 Light sensor = Off
Now, just under the light sensor settings, choose Advanced Settings. You will see several tabs go to each one and confirm these settings below.
Brightness Settings:
Brightness = 40 Contrast = 90 Gamma = -2 Black Level = 50 Black Adjust = Off Auto Local Dimming = Medium X-tended Dynamic Range = Off
Color Settings:
Color = 50 Hue = 0 Color Temperature = Expert 1 Leave Advanced Color Temp at the defaults Live Color = Off
Clarity Settings:
Sharpness = 50 Reality Creation = Manual Resolution = 20 Random Noise Reduction = Off Digital Noise Reduction = Off Smooth Gradation = Off
Motion Settings:
Motionflow= Custom Smoothness= Minimum Clearness= Minimum Cinemotion= Off
Video Settings:
HDR Mode = Auto HDMI Video Range = Auto Color Space = Auto
Apple TV Settings
Many of you may be using a new 4K Apple TV unit. These are where we got the best results.
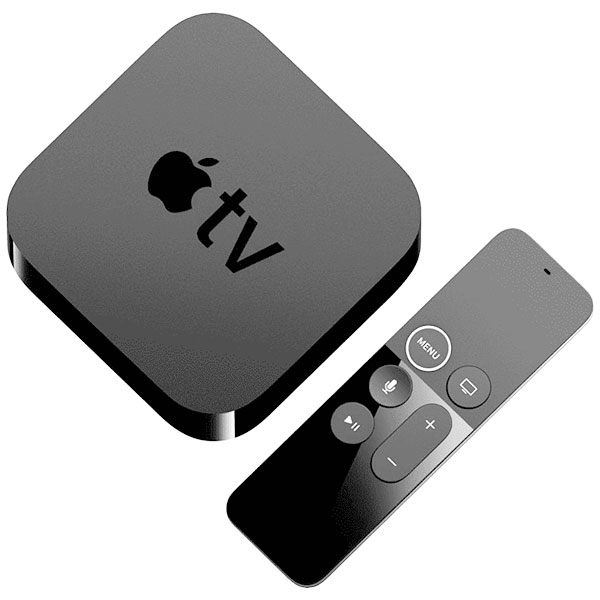
If your software is up to date on the Apple TV, it will now ask you if you want to test for Dolby Vision. It will ask to check your cable, then you confirm it worked. If it did work, you can skip the next two steps.
First go into Settings/Audio and Video/Format
If you have done everything above correctly, you should see 4K Dolby Vision 60HZ, choose it.
If you do not see it, you may not have done the software update, or something in the chain is blocking it. 4K HDR 60Hz will still work well if you can’t select Dolby Vision.
If you were not able to select Dolby Vision, select Chroma.
Change the setting (if it allows) from 4.2.0 to 4.2.2.
Now, the one downside to the Apple TV is that it tries to convert all signals it sees to HDR, which results in some artifacts, in our opinion. To only see HDR when the source is HDR (which we suggest) luckily, you can change this.
Go to Settings/Audio and Video/Match Content. Turn on both Match Dynamic Range and Match Frame Rate.
You will likely experience a delay or black screen when the Apple TV switches to different rates, but in our opinion, it's worth it for the picture.
BluRay Player Settings
There are now many 4K BluRay players on the market. The instructions above for Apple TV will help you get the best outcome as some players will allow you access to similar settings. As always, feel free to experiment!
We hope this guide helps you get a great picture from your Sony Z9 series TV! If you have any questions or need additional help, call us (888) 899-8776 or hop in our online chat.


