Audio Advice has designed and installed over a thousand theaters and this video is part of our Home Theater Design Series that covers virtually everything about designing a home theater. In this video, we discuss the physical space for your home theater layout, as well as the best options. We look at the various aspects of laying out your room and how to handle the elements of your room that you can control, as well as those that you cannot control. In addition to our world-class home theater design tool, we've given you everything you need to begin your home theater journey in Home Theater Central.
Ask any recording engineer and they will tell you that the physical room size has a huge impact on the sound you’ll be able to get in that room. If you’re lucky enough to be designing your dream home theater from scratch, there are some ratios you can use to get your room to a great basic shape. While this is a matter of some small debate, if you get somewhere between a ratio of 1 to 1.6 or 1.7 and 2.3 to 2.4, you will be well on your way to an ideal home theater layout.
As an example, if you went 1 to 1.6 to 2.4, a room with a 10’ high ceiling would be 16’ wide and 24’ long. Staying within this ratio will ensure your room has fairly consistent bass in the main seating area of the room. The worst possible room would be a cube, say 10 by 10 by 10.
Try to stay away from dimensions that are close to each other. Even the best sound system can not overcome a bad room. If you are planning on multiple rows of seating, remember to account for riser height. In other words, keep the ceiling at 9’ or greater if you plan on more than one row.
For the best surround sound, you’ll have quite a few speakers all over your home theater or media room. You may also have some acoustic treatment to reduce sound reflections. If you have the luxury of designing your room from scratch take a look at our article on speaker layouts to get an idea of where they might need to be located before you start adding other elements that might be exactly where a critical speaker needs to be located. A good place to start is to use our Home Theater Designer which will enable you to interactively build a custom home theater layout and see where the speakers and other elements should go.
When you’re designing your home theater layout, in general, the screen wall for your screen or video display will typically be the short wall. This will let you have some seating right in the middle of the screen with the main speakers fairly equidistant from the seats from left to right. Obviously your seating layout will affect this, especially in family rooms, but at the very least try to get the screen centered on the seating area with your speakers an equal distance off to each side of the video display if it is a television.
If you are doing a front projection system and can fill up the entire front screen wall with the screen, you’ll have a huge wow factor in your great home theater.
Many of you might want to outfit your bonus room above the garage with a great home theater. Usually, there is a window right where the big screen needs to go, but we came up with a solution for this decades ago. Since most of us are concerned with the resale value, it's probably not a good idea to remove a window (plus it costs one heck of a lot).
A clever solution is to take a piece of white vinyl and tack it up around the sides of the window frame using very small tacks. This will totally block out the light from the window and allow you to mount that big 120” screen right over the top of it and you’ll never know it’s there, and from the outside of your home, the white vinyl looks like you just have a blind pulled shut!
You will find that viewing a two-hour movie or three-hour game will be a lot more comfortable if the screen is at or about eye level which gives a comfortable viewing angle. When flat-panel TVs came on the scene, many people felt it would be cool to mount the TV above the fireplace mantle. We do not feel this setup is great for the muscles in your neck, so if you can, put your TV at eye level.
Audio Advice Tip: There are now TV mounting brackets that allow your TV to have the great look of being above the fireplace, but can easily move the TV down in front of the fireplace for viewing. These mounts are either manual or powered. This gives you the best of both worlds with the clean look of above the mantle and also giving your neck a break by moving the TV down to a good position.
If you think about the last time you were in a commercial theater you probably noticed there were no windows and the walls and ceiling were not a light color. When designing your room you want to try to do it in such a way that light from windows does not spill on your screen. If you have windows, consider using some sort of blackout curtain or shade. Heavy curtains often provide an acoustic benefit too!
For rooms with a front projection movie screen, you will want the walls and ceiling to be dark in color. The screen will reflect light off of it in a pretty wide-angle and you don’t want that light reflecting back off the walls. Dark grey is an ideal color, but whatever you choose, make sure you use a matte or flat paint finish.
We have an entire article devoted to home theater lighting. Needless to say, you will want task lighting, accent lighting, and safety lighting. Spend some time thinking about your lighting plan when designing your home theater. Adding remote control to the lighting also adds a super cool wow factor to your home theater as well.
If you are going for a real home theater experience with a front projection system and a large screen, you will need to think about something called sightlines. When you are in a typical, older commercial cinema and someone tall or with big hair sits down in front of you, that is an example of sightlines being off. The newer cinemas with stadium seating came about for this reason. You need to think of your home theater the same way. Read more about sightlines.
When you are looking through interior design magazines or websites you will probably find lots of home theater design ideas. You’ll probably see lots of room ideas but you will likely notice when you see more than one row of home theater seating, you’ll also see home theater platforms.


If your seating arrangement only has one row of seating, sight lines are not really an issue. For home theaters that have more than one row, sight lines become very important. Putting one row of chairs behind another row without some kind of riser for the back row is a very bad idea. You really must do a riser. The biggest factors influencing correct sight lines are the height of the riser and the height the screen is off the floor.
Our experience tells us that a 6” riser does not cut it, and an 8” one is barely enough. If you have the ceiling height for a 12” or 16” platform you will be much happier.
We have also found through experience that putting the bottom of the screen 30-36” in height above the floor off the primary row gives you a very comfortable screen height. This is high enough to keep your feet out of the picture when you recline but not so high as to strain your neck. 34” to 36” height off the floor usually works out well with a 12” riser.
Audio Advice Tip: If you go with a riser, be sure to put in some kind of step light to make the step easy to see. If you can, place the step light in the side of the riser as opposed to the front of the step to prevent the step light from being a light that shines right on your screen.
Riser depth should be a minimum of 6’ to allow for people to pass in front of the footrests on a reclined theater chair, and if you can, 6’6” to 7’ is an even better riser depth. You can get by with a shallower depth if you are using seating that does not recline or commercial-like, movie theater rocker seats with no recline. With a couch or fixed types of seating, you can get by with a 5’ deep riser in most cases.
For those of you who are thinking about putting a multi-row home theater system into a living room or spare bedroom, fear not! There are companies out there who make prefab risers so you do not have to do any permanent construction. Also, if you have some basic carpentry skills, they are not too hard to make yourself with some lumber, plywood and carpet!
Audio Advice Tip: Many people want three rows of seating to accommodate more people but do not have the ceiling height or depth of a room needed for two risers. A great solution is to make the rear riser extend to the back of the room and put a bar behind the second row of seats. The barstools will get the people in that row up high enough to avoid any sightline issues and barstools take up far less depth than a home theater recliner. Plus, you’ll have a great spot for the big spread you’ll put out for your Super Bowl party!

We hope this brief overview of some of the important points about designing the best home theater layout for your home has been helpful. As always, should you have any questions, feel free to contact us via chat, phone, or visit one of our stores in Raleigh or Charlotte, NC.

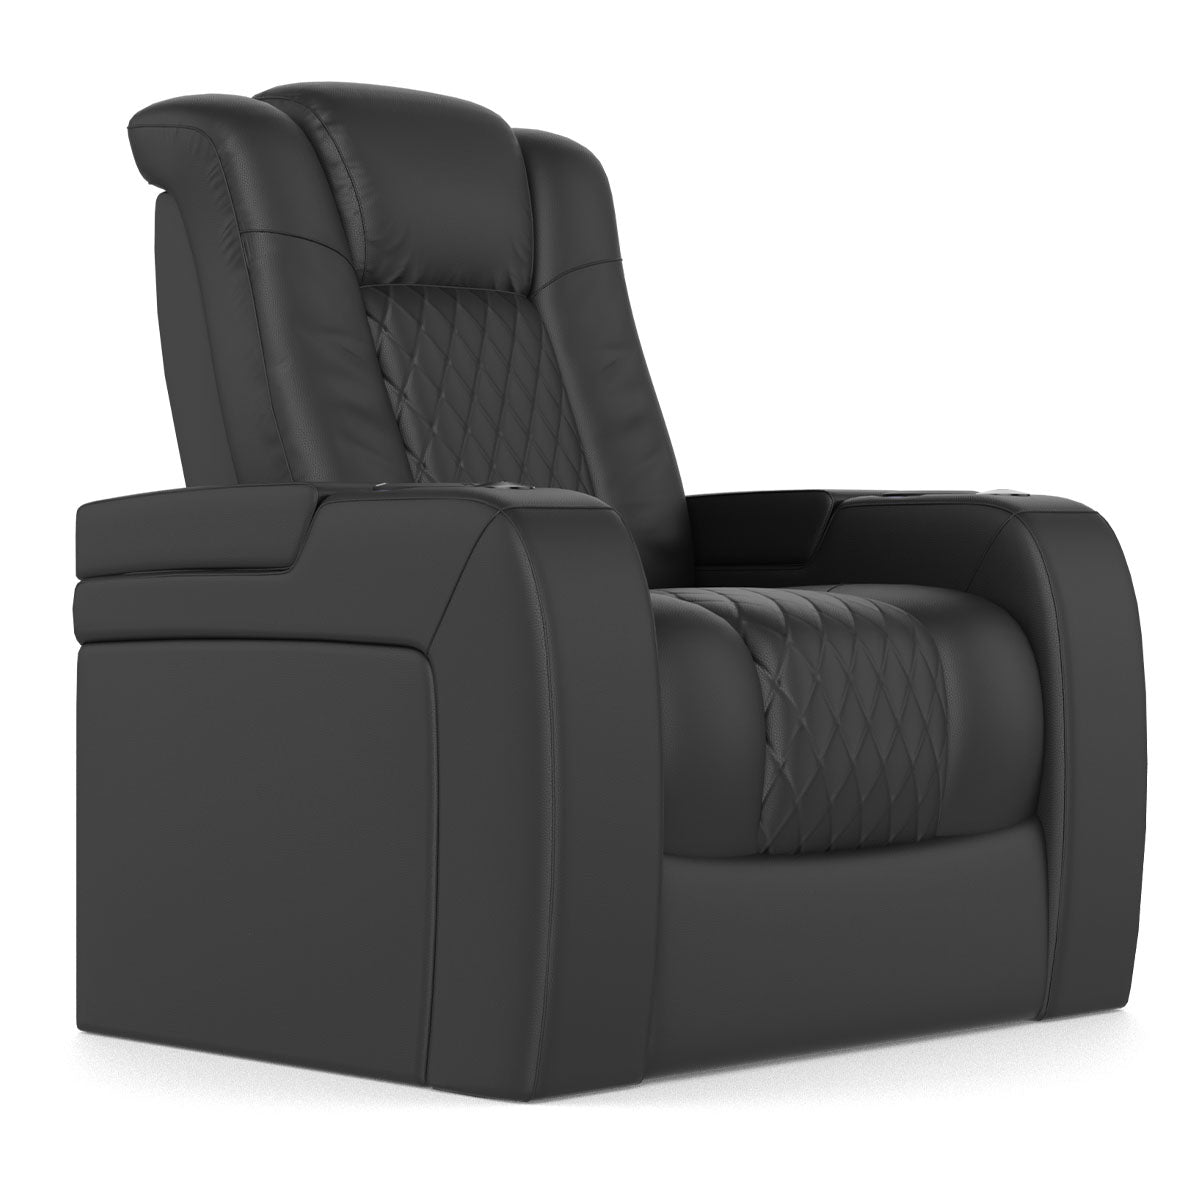
Revelation Home Theater Seating - Audio Advice
$1,149.00

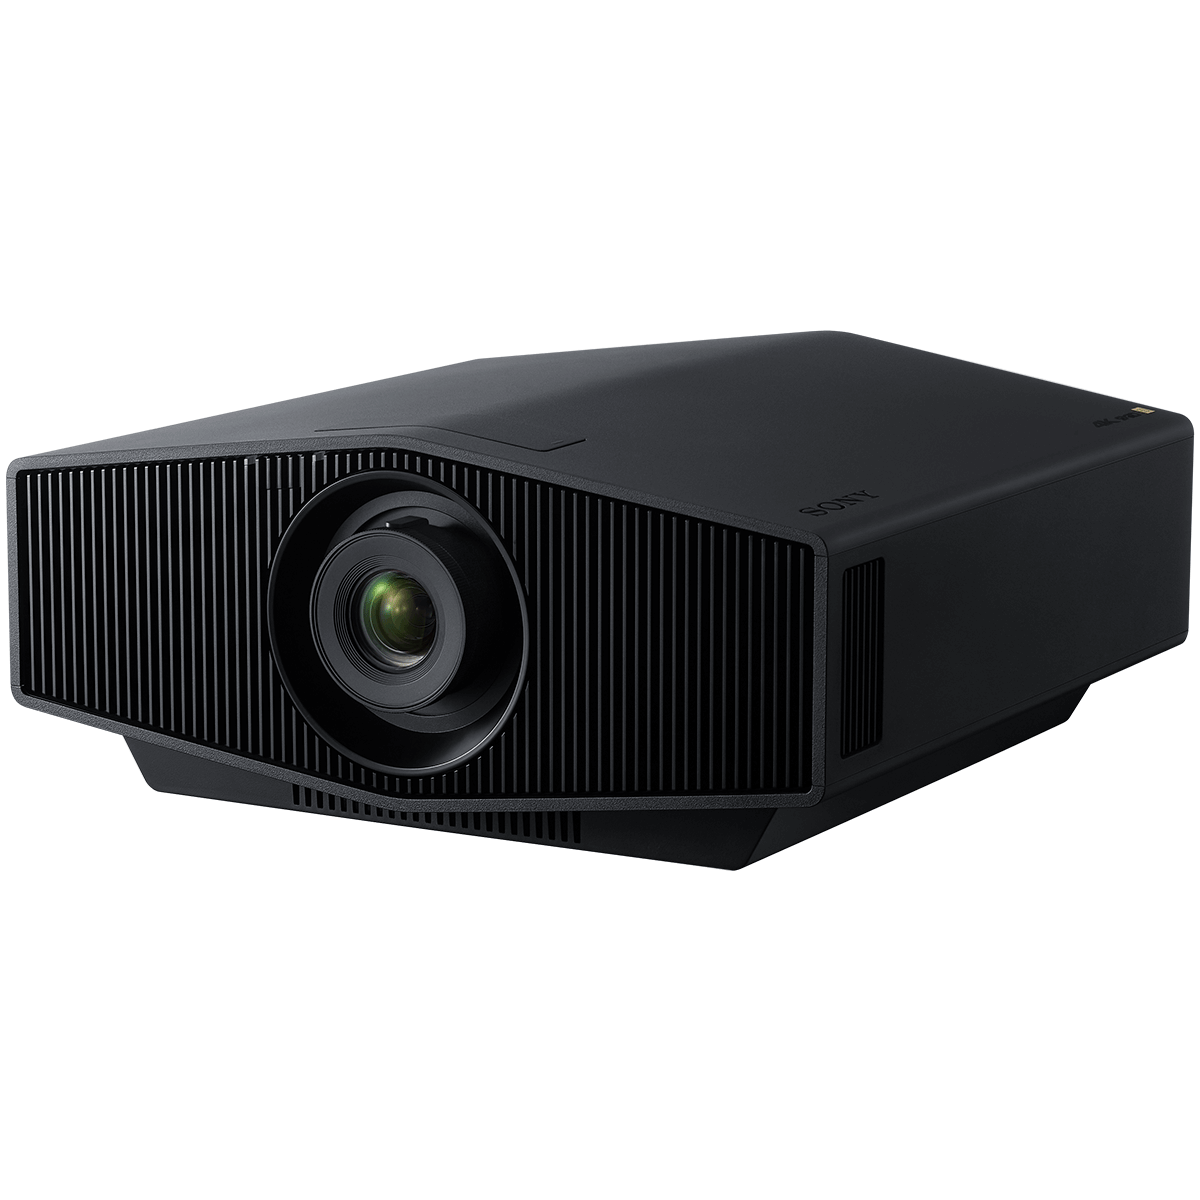
Sony VPL-XW5000ES Native 4K SXRD Laser Projector
$5,998.00

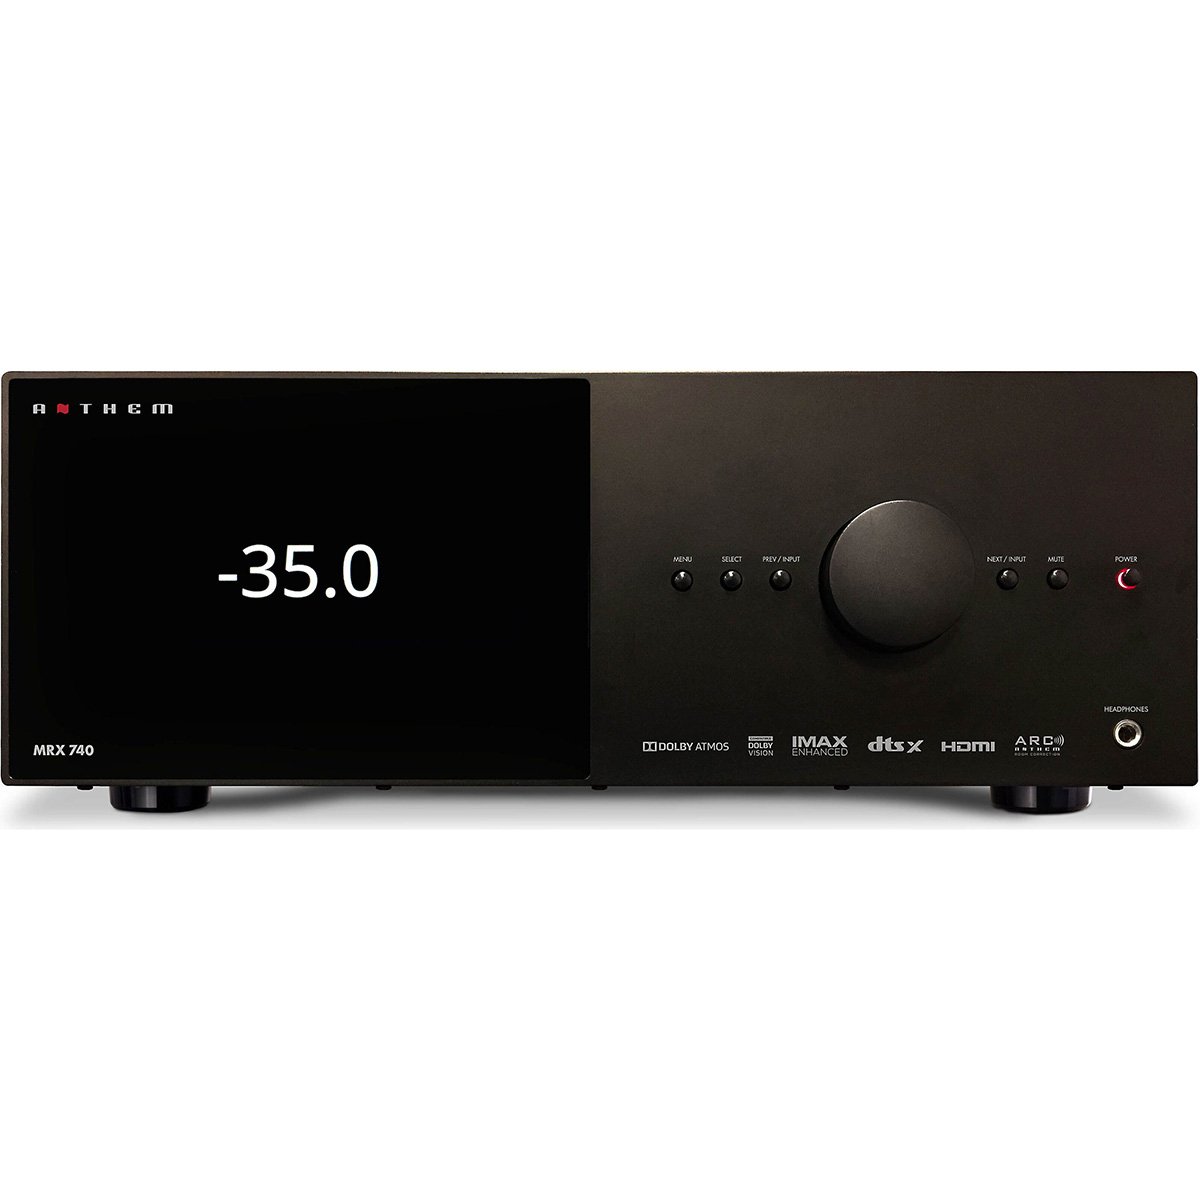
Anthem MRX 740 8K Home Theater Receiver
$3,099.95
You'll be among the first to know about product launches, exclusive online deals, and the hottest audio trends.
