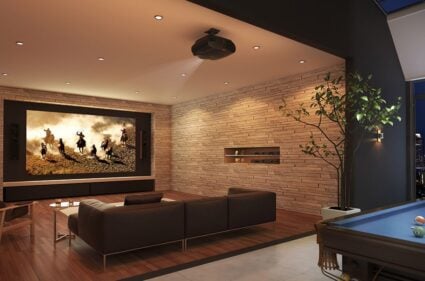
Sony Projector Setup Guide

VPL-VW1025ES, VPL-VW915ES, VPL-VW715ES, VPL-VW325ES Tips & Tricks

If you are reading this, it is likely you are either a lucky new owner of a new Sony projector — or, perhaps you are considering a Sony projector and wondering how the setup will go. For those of you who are new owners, congratulations!

Sony projectors are pretty simple to install for someone with some basic DIY skills. There are some settings very deep in the expert menu that should be reserved for a professional calibrator. 

However, there are many things you can do when you install your projector that will make a big difference in its performance that only require some patience. Anyone completing a DIY installation should be capable of taking these steps. Getting our suggestions done right is actually a bigger deal than hiring a professional calibrator in our opinion.

Initial Installation

We suspect most of you will be mounting your new Sony on the ceiling. We like the fact that Sony projectors come preset to the front/ceiling mode so you can just mount it and start adjusting without having to look at a menu upside down. 

There is a catch in using the menu in all front projectors and if this is your first one, you may not know it. The menu will not be visible unless you have a source plugged in. So be sure to plug some kind of source into your projector when you are initially setting things up and turn on that source.

Make sure you have a way to solidly mount your projector to the ceiling. Using toggle bolts into sheetrock is not recommended. We also suggest you have a projector mount that allows you to adjust the level from both side-to-side and front-to-back. 

close up shot of Klipsch The Fives rear panel.

Finding the Right Location

Projectors all have what is called a throw distance spec. This is the minimum and maximum distance the particular model will be able to properly fill your screen. The Sony manuals are pretty cryptic when it comes to helping you figure out the correct range where your projector will properly fill the screen.

The good news is Sony uses an Aspherical lens which means you get great performance at either end of the throw distance. 

When you are using a 2.35 or 2.40 widescreen with the VPL-WV715ES and up, you have to consider two different sets of throw distances, which adds a layer of complexity.

We decided to make it very simple for you and do all the math calculations in the background. Simply use the calculator below to define your screen shape (16:9, 2.35, or 2.40), plug in your screen diagonal in inches, and select your Sony projector model — then, you'll see the range of distances for the optimal placement for mounting your projector. 

Projector Distance Calculator

When you are making your final measurements, remember the throw distance is the distance from the screen material to the front of the projector lens. 

You will also want to get the height of your projector in relation to the screen at the ideal position. In the perfect world, it would be dead centered on the screen, but that is usually not possible in a typical home theater. While Sony projectors do have lens shift, we highly recommend you get your projector perfectly centered left to right and keep the top of the lens height parallel to the top of the screen or just below the top of the screen.

Also, be sure both your screen and projector are perfectly level.

Fine Tuning

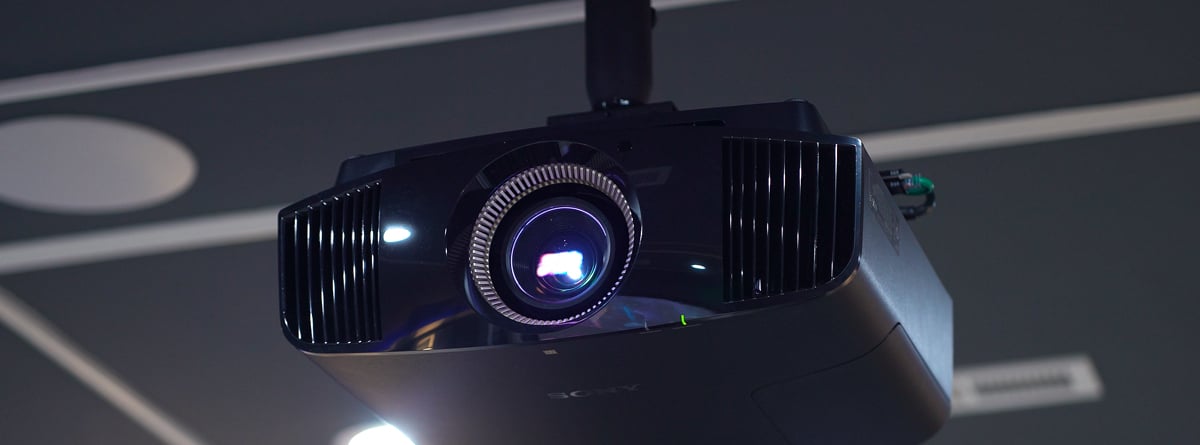
Once you have your projector hung in the right spot, it’s time to get your image perfectly zoomed in and focused. While the Sony projector does have some patterns, we actually find it easiest to just put an image up on the screen. For a 16:9 screen, pull up a known 16:9 source.

It is a good idea to first push the SHIFT button on your remote, then press RESET to just recenter everything. Then, you use the ZOOM and SHIFT functions to make sure your image fills the screen from top to bottom and left to right. It is a good idea to have just a tiny bit over-spilling over into the black fabric around your screen.

Once you are satisfied, you will need to prevent this from being changed. If you have the VPL-VW325ES, go to the installation memory, and set Lens Control to Off. This will prevent any accidental button presses from changing the position.

All of the other projectors have a lens memory. For these, you go to the Screen Memory part of the menu, choose Picture Position, then store it under 1:85 or Custom 1. Make sure you select YES when it asks you to save.

If you have a 2.35 or 2.40 screen, find a source in that ratio and follow the same process to get the image to fill the screen, with a tiny bit of overlap, then save those settings under 2.35 or Custom 2.

Then, use the Focus function to get the picture as sharp as possible.

Panel Alignment

During shipping, it is highly likely the 3 panels in your Sony projector will have gotten slightly out of alignment. This is the step that will make the biggest difference of anything you can do! It is a bit time-consuming, but in our opinion, it is well worth it. 

You will want your projector to have been warming up for at least 30 minutes before you start this. There is no need for your projector to have burned in at all though, you can do this right out of the box.

The instructions for this can be found on page 30 of your manual for the 1025 and 915, page 39 for the 715, and page 36 for the 325. You will want to use the zone settings and do each color.

It is a tedious process and the best tip we can give you is to give your eyes a break as you are going to be staring at some bright white lines. We find if you’ll close your eyes for about 10-20 seconds before you go to the next zone, you’ll be able to focus better on the adjustments. 

We find this usually takes 30-60 minutes but is the best thing you can do for a great picture.

Settings Adjustments

We have spoken extensively about properly setting up a Sony projector with the technical team at Sony. The good news is your projector has several modes with different settings for various situations. For 95% of the home theater systems that use a Sony projector, Cinema Film One will give you the best results. 

After you have selected Cinema One Film, there are a few areas you will want to experiment with based on how large your screen is and how much ambient light is in your room. 

The really great thing about the new X1 Processor for projectors is it lets you create different settings for both SDR and HDR content. To access these settings, you will need the correct type of content playing through the projector. In other words, to adjust SDR, you will need an SDR source and for HDR, you will need an HDR source playing. This means you will need to make the adjustments we suggest twice, once for each type of content.

The charts below show what we recommend for each model. 

Sony projectors have quite a lot of adjustments you can access. Some of them that are deep in the expert settings should only be changed by a professional calibrator. We do not recommend you make adjustments in the color correction section you will find under the expert menu where you can access the different levels for red, green, and blue. 

We appreciate your support of Audio Advice and hope these tips will help you get the best out of your new projector.

VPL-VW1025ES & VPL-VW915ES Settings

  SDR HDR  
Calibration Preset Cinema Film 1 Cinema Film 2  
Reality Creation On On *1
  Database      
  Resolution 40 40  
  Noise Filtering 10 10  
  D Focus Optimizer On On  
Cinema Black Pro Laser Light Setting Dynamic Control Full Full  
Laser Light Output Max (100) Max (100) *2
Contrast Enhancer Middle Middle *3
Motion Flow True Cinema True Cinema  
Contrast/Contrast (HDR) Max (100) 80 *4
Brightness 50 50  
Color 50 50  
Hue 50 50  
Color Temp. D65 D65  
Sharpness 50 50 *5
Expert Setting NR Off Off  
MPEG NR Off Off  
Smooth Gradation Low Low  
Gamma Correction Gamma 2.4    
Color Correction Off Off  
Clear White Off Off  
x.v. Color Off    
HDR Auto Auto  
Color Space Color Space 3 BT2020  
Input Lag Reduction Off Off  


  • Blue settings may need manual adjustment
  • *1 If you wish to adjust these, select Reality Creation, then use the arrow keys to access the settings
  • *2 On smaller screens in SDR, lowering this may give better results
  • *3 The smaller the screen, the lower this can go, and conversely, the bigger your screen, especially above 150" diagonal, you may prefer High
  • *4 On a smaller screen size you can reduce this for SDR to between 80-100, we prefer 80 and up for HDR, but you can go up or down based on screen size
  • *5 Feel free to experiment and take these down as low as 30
  • *6 Change to Gamma 2.4 for SDR

Sony VPL-VW715ES Settings

  SDR HDR  
Calibration Preset Cinema Film 1  
Reality Creation *1
  Database Normal Normal  
  Resolution 40 40  
  Noise Filtering 10 10  
  D Focus Optimizer On On  
Cinema Black Pro Advanced Iris Dynamic Control Full Full  
  Brightness Max (100) Max (100) *2
  Contrast Enhancer Middle Middle *3
Lamp Control High High *4
Motion Flow True Cinema True Cinema  
Contrast/Contrast (HDR) Max (100) 80 *5
Brightness 50 50  
Color 50 50  
Hue 50 50  
Color Temp. D65 D65  
Sharpness 50 50 *6
Expert Setting NR Off Off  
MPEG NR Off Off  
Smooth Gradation Low Low  
Film Mode Auto Auto  
Gamma Correction Gamma 2.4 gA *7
Color Correction Off Off  
Clear White Off Off  
x.v. Color Off    
HDR Auto  
Color Space Color Space 3 BT2020  
Input Lag Reduction Off Off  
  • Blue settings may need manual adjustment
  • *1 If you wish to adjust these, select Reality Creation, then use the arrow keys to access the settings
  • *2 On smaller screens in SDR, lowering this may give better results
  • *3 The smaller the screen, the lower this can go, and conversely, the bigger your screen, especially above 150" diagonal, you may prefer High
  • *4 With smaller screens and light controlled rooms, low may give you better results on SDR
  • *5 On a smaller screen size you can reduce this for SDR to between 80-100, we prefer 80 and up for HDR, but you can go up or down based on screen size
  • *6 Feel free to experiment and take these down as low as 30
  • *7 Change to Gamma 2.4 for SDR

Sony VPL-VW325ES Settings

  SDR HDR  
Calibration Preset Cinema Film 1  
Reality Creation *1
  Database Normal Normal  
  Resolution 40 40  
  Noise Filtering 10 10  
Cinema Black Pro  
  Contrast Enhancer Middle Middle *2
  Lamp Control High High *3
Motion Flow True Cinema True Cinema  
Contrast/Contrast (HDR) Max (100) 80 *4
Brightness 50 50  
Color 50 50  
Hue 50 50  
Color Temp. D65 D65  
Sharpness 50 50 *5
Expert Setting NR Off Off  
MPEG NR Off Off  
Smooth Gradation Low Low  
Gamma Correction Gamma 2.4 N/A *6
Color Correction Off Off  
Clear White Off Off  
x.v. Color Off N/A  
HDR Auto    
Color Space Color Space 3 BT2020  
Input Lag Reduction Off Off  
  • Blue settings may need manual adjustment
  • *1 If you wish to adjust these, select Reality Creation, then use the arrow keys to access the settings
  • *2 The smaller the screen, the lower this can go, and conversely, the bigger your screen, especially above 150" diagonal, you may prefer High
  • *3 With smaller screens and light controlled rooms, low may give you better results on SDR
  • *4 On a smaller screen size you can reduce this for SDR to between 80-100, we prefer 80 and up for HDR, but you can go up or down based on screen size
  • *5 Feel free to experiment and take these down as low as 30
  • *6 Change to Gamma 2.4 for SDR

We hope this quick guide will help you achieve great results quickly. As always, the team at Audio Advice is here to support you. If you have any questions at all, you can always reach out to us via chat, phone, or email.

FREE Interactive 3D Home Theater Design Tool

Enter your room dimensions, audio, and video preferences while it designs your theater in real-time. Receive optimal screen size, seating locations, speaker locations, and receive precise measurements for your room layout. Work with our system designers via chat, email, phone, or in-store for expert advice, product selections, and more.

MORE VIDEOS & REVIEWS

Wishlist
Copyright © 2024 Audio Advice. All rights reserved.