Pro-Ject Debut Carbon EVO Turntable Setup Guide

If you are reading this, it is likely that you are either a lucky new Pro-Ject Debut Carbon Evo owner or perhaps you are considering Pro-Ject and wondering how the setup will go. For those of you who are new owners, congratulations!

Setting you your Pro-Ject EVO turntable will be fun and go smoothly if you prepare for everything you’ll need in advance. We hope this guide enables you to be spinning some vinyl and enjoying music faster than you expected.

Prepare where your turntable will be positioned.

If you have large speakers, it's a good idea to not put your new turntable next to your speakers.  Having your turntable too close to speakers can cause acoustic feedback which is a howling sound you’ll only need to hear once to know you’ve done something wrong!  Help your turntable get off to a good start by putting it on a solid, level surface.  

You will want your turntable to be pretty close to your amplifier or phono preamp.  It is important to remember the cables coming out of your turntable are carrying a very low-level signal. They are short on purpose for this reason.  You also do not want to have an AC power cord running parallel to them.  

Unboxing your turntable

We suggest you unbox your turntable either on the floor or on a table near its final position.  Save all of the packing (it will come in very handy when you move) and lay everything out so it's easy to get to. 

Go ahead and put your turntable in the spot you picked out for it

Level It Up

The EVO has height-adjustable feet.  Simply use a level to get your new EVO perfectly level.

Make the audio connections

We feel like it's best to connect everything up before you do the final assembly as it's easier to turn things around while the turntable is not fully assembled and everything should still be protected at this point.  

The EVO comes with an interconnect cable that has some yellow sleeves on one end of the left and right cables.  Those go into your phono preamp or the phono input on your amp/receiver.  The cartridge on the EVO is a moving magnet cartridge, if you have a choice make sure to select MM.

Making The Power Connections

Your turntable comes with a power supply that will plug into the wall.  You’ll see a small white box with a power supply and a bag inside with various wall connectors.  Choose the one for the US and snap it onto the connector.  You have to push it on, then push it down (or up depending on how you are holding it) and it will lock into place.  On the other end, there is a small, round connector that fits in a hole on the back of your turntable.  Go ahead and plug this into the back of your turntable and plug the other end into an outlet.  Try and keep the power cables away from your audio cables. 

Start Assembly

Remove the platter from its protective bag and remove the felt mat from its bag.

The inner platter will have a small piece of cardboard under it.  Remove it and store it in your turntable box in case you ever need to pack it up for moving.

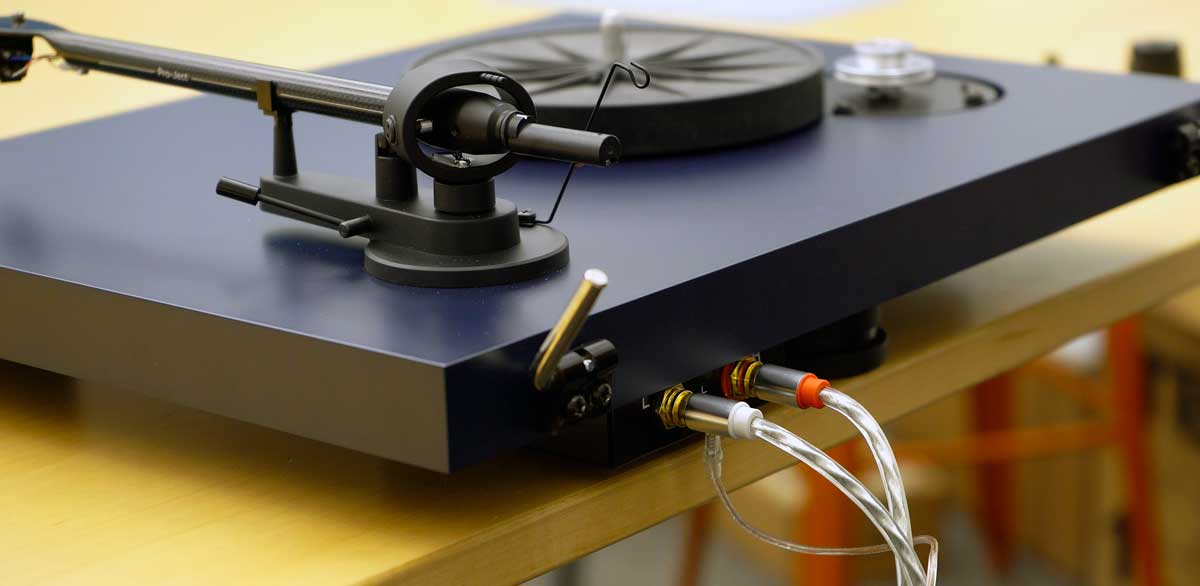
Make sure your hands are clean and put the belt on the inner platter, then loop it over the motor pulley.  Carefully place the platter on top of the inner platter, the put the felt mat on top of the platter.

Balancing the Tonearm

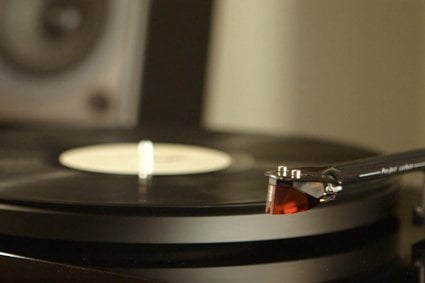
The tonearm is tied down with a piece of wire tie, loosen this carefully.  Now we get to the only part where you need to be careful.  The stylus has a guard on it that is milky plastic.  This will pull straight off.  Hang onto this guard.  You’ll want to put it back on when you dust or clean your turntable.

Put a record on the platter.

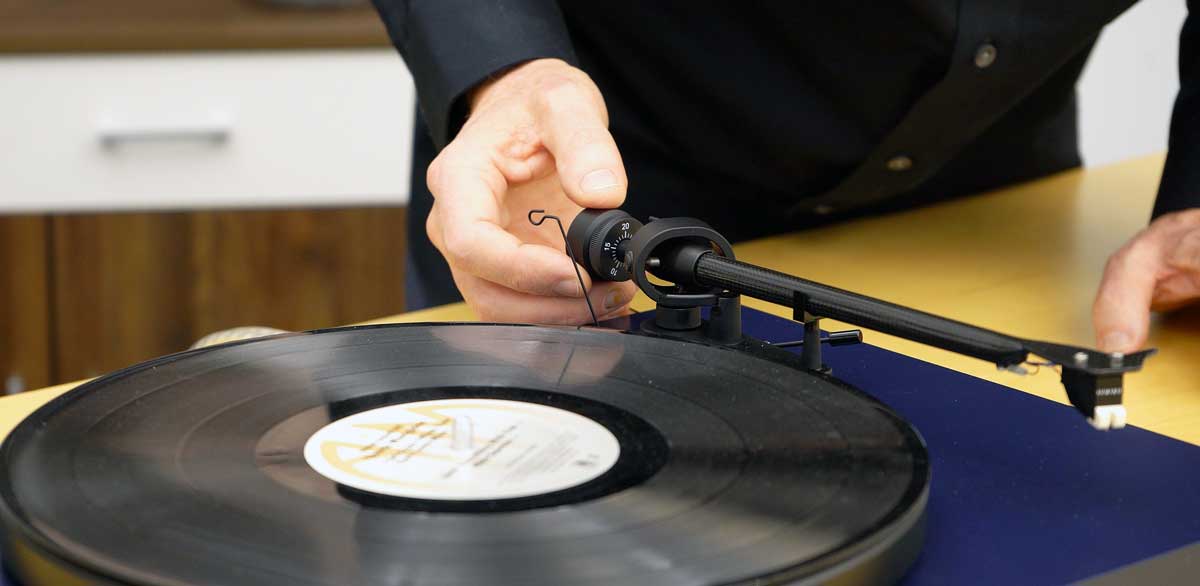
Find the counterweight and identify the side with all the numbers.  Push this onto the round post on the back of the tonearm and rotate it.

Lift the tonearm carefully out of its holder and while you support the tonearm with one hand, rotate the counterweight back and forth until the tonearm floats.

Put the arm back in the tonearm rest.

Hold the rear part of the counterweight to keep it from moving, then rotate the dial on the front until 0 is pointing straight up.  Then rotate the counterweight counterclockwise until you have 20 pointing straight up.  This is 2 grams of tracking force.

Installing the AntiSkate System

Find what looks like a small round black cylinder with a tiny monofilament attached.  One end of the monofilament has a small loop.  On the rear of the tonearm, there is a small round post with 3 notches.  Slide the loop over the post and hook it into the middle notch.

Take the monofilament and loop it through the black wire assembly so the black weight hangs freely.

Almost Done

The dust cover just slides onto the two posts in the back and you are done!

Enjoy Some Music

Put on your favorite album, then turn on your EVO using the on button which is on the left side of the table.  Make sure the cueing arm is in the up position, move the tonearm over the beginning of your record, lower the cue, and enjoy the music!

Audio Advice is an authorized dealer of high-performance audio products from great brands around the world. If you have questions or need audio advice, you can chat with an expert at AudioAdvice.com, call us or visit one of our two world-class showrooms in Raleigh and Charlotte, North Carolina.

MORE VIDEOS & REVIEWS

Wishlist
Copyright © 2024 Audio Advice. All rights reserved.