Pro-Ject Automat A1 Turntable Setup Guide

Setting up your Pro-Ject Automat A1 turntable will be fun and should only take a few minutes. We hope this guide enables you to be spinning some vinyl and enjoying music faster than you expected.

Prepare Where Your Turntable Will Be Positioned

If you have large speakers, it's a good idea to not put your new turntable next to your speakers. Having your turntable too close to speakers can cause acoustic feedback which is a howling sound you’ll only need to hear once to know you’ve done something wrong! Help your turntable get off to a good start by putting it on a solid, level surface. 

Unboxing Your Turntable

We suggest you unbox your turntable either on the floor or on a table near its final position. Save all of the packing (it will come in very handy when you move) and lay everything out so it's easy to get to. 

Go ahead and put your turntable in the spot you picked out for it.

close up shot of a hand model connecting an audio cable into the Klipsch The Fives Powered Speaker System.

Make The Audio Connections

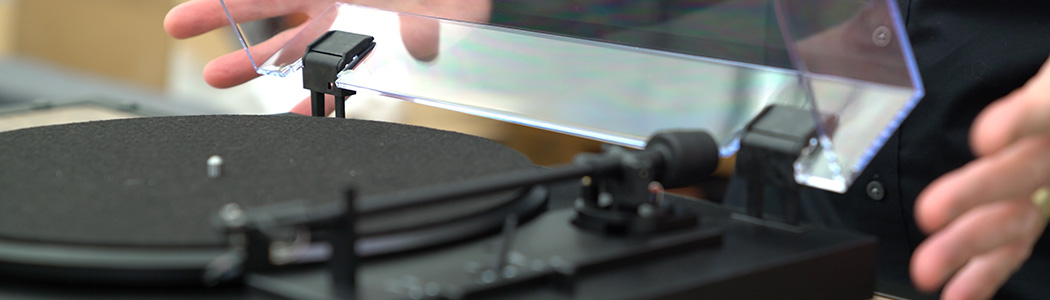
We feel like it's best to connect everything up before you do the final assembly as it's easier to turn things around while the turntable is not fully assembled and everything should still be protected at this point. 

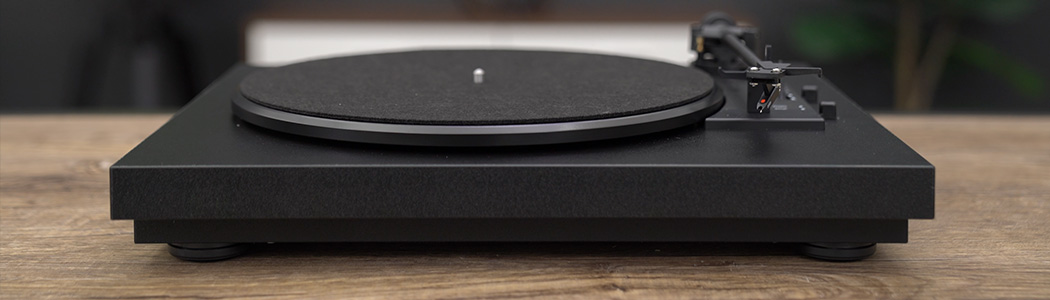
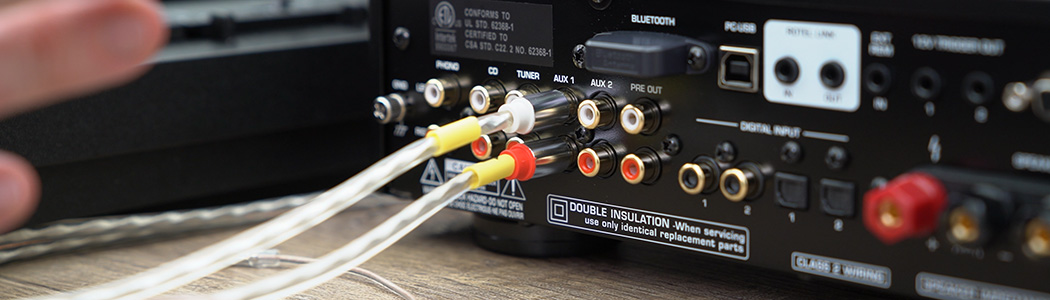
The A1 comes with a nice interconnect cable already attached. For most people, you will plug the other end into an aux input on their receiver or integrated amp. Or if you have a set of powered speakers you will be using, connect them to the RCA audio inputs. 

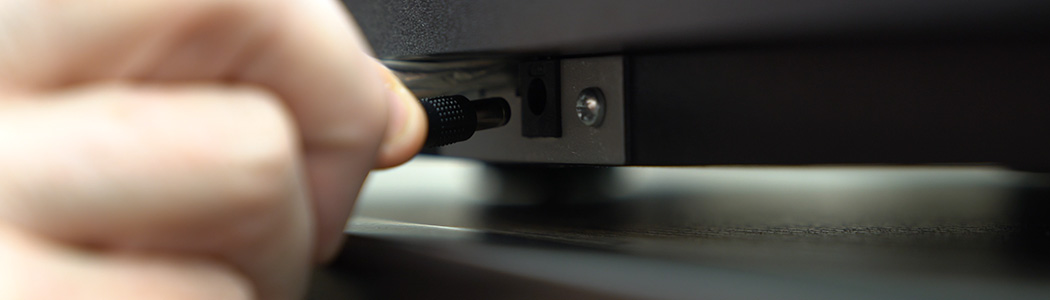
The A1 comes with a very good built-in phono preamp that is turned on when you get the turntable. If your powered speakers have a little switch to engage a phono preamp, be sure and set that to off.

For this type of connection, you can ignore the ground wire on the cable.

If you do want to use your own phono preamp, there is a little switch under the platter that will turn off the built-in phono preamp. If you bypass the internal phono preamp you’ll need to connect it to a phono input for a moving magnet cartridge and connect the ground wire.

close up shot of a hand model connecting an audio cable into the Klipsch The Fives Powered Speaker System.

Making The Power Connections

Your turntable comes with a power supply that will plug into the wall. You’ll see a small white box with a power supply and a bag inside with various wall connectors. In the US, the power supply will already have the right end. On the other end, there is a small, round connector that fits in a hole on the back of your turntable. Go ahead and plug this into the back of your turntable and plug the other end into an outlet. Try and keep the power cables away from your audio cables. 

close up shot of a hand model connecting an audio cable into the Klipsch The Fives Powered Speaker System.

Start Assembly

Remove the little piece of cardboard from the platter. All you have to do now is remove the little twisty tie from the tonearm, slide the clear stylus guard off of the cartridge. It's a good idea to put it in a safe place should you ever need to move your A1.

The dust cover just slides onto the two posts in the back and you are done!

close up shot of a hand model connecting an audio cable into the Klipsch The Fives Powered Speaker System.

Enjoy Some Music

Put on your favorite album, then turn on your A1 using the start lever and watch the tonearm automatically move over and lower itself onto the record and fill your room with music. 

Audio Advice is an authorized dealer of high-performance audio products from great brands around the world. If you have questions or need audio advice, you can chat with an expert at AudioAdvice.com, call us or visit one of our world-class showrooms.

MORE VIDEOS & REVIEWS

Wishlist
Copyright © 2024 Audio Advice. All rights reserved.