REGA
RP1 Setup Guide
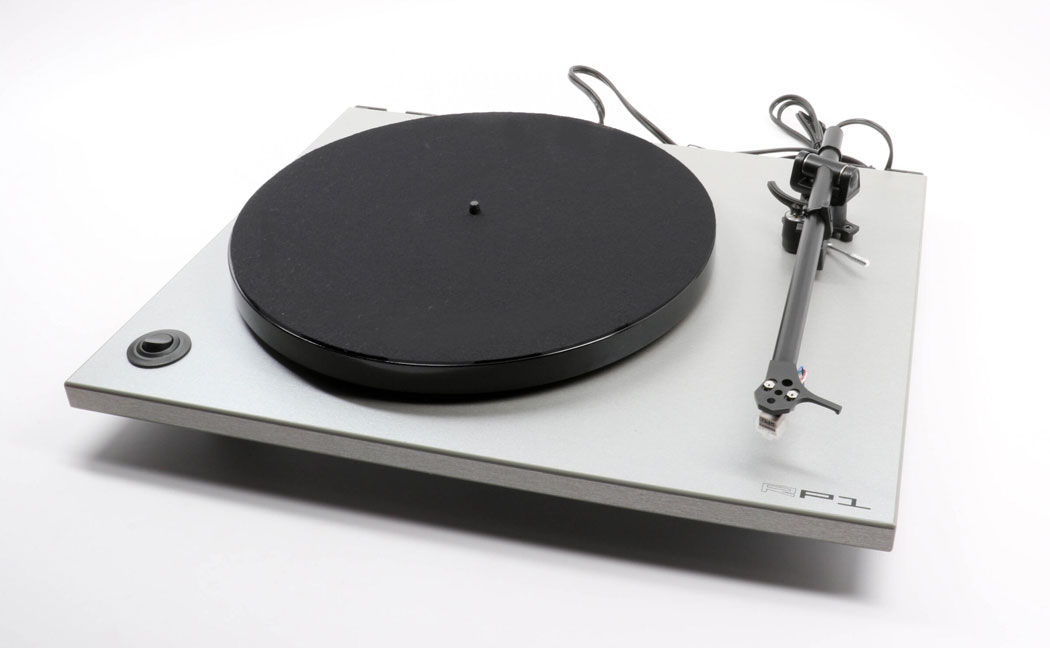
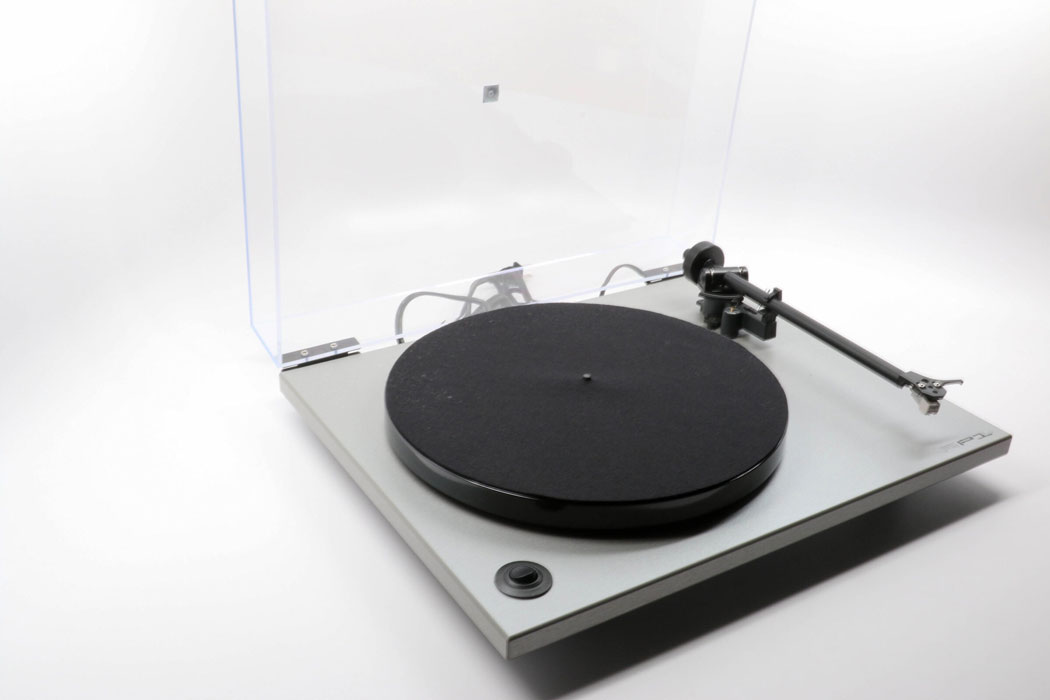
The Rega RP1 is an innovation in design and sound quality at an affordable price point. Setup is designed to be simple and removes the need to manually balance the tonearm. The clean lines eliminate unnecessary clutter while the high stability motor reduces noise. For the beginner audiophile, the Rega RP1 sets itself apart as a fairly-priced, quality turntable.
Part 1: Preparing Where You Will Place Your Turntable
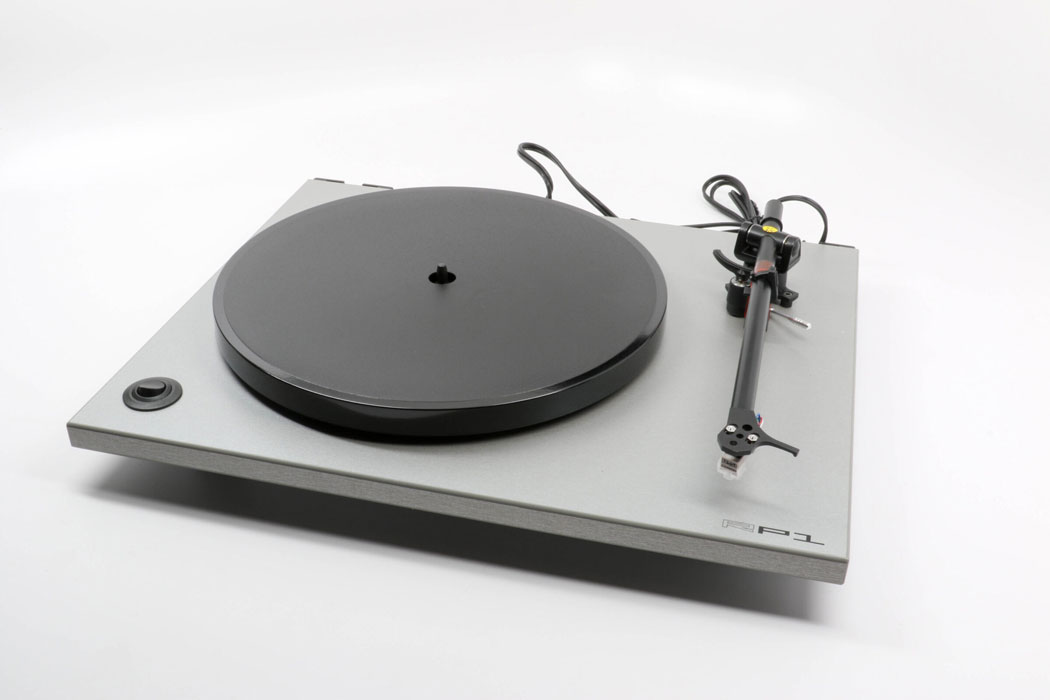
1. Place your turntable on a stable, level surface. It is important for the platform to be level so the turntable will properly track your records. Avoid placing the turntable in front of your speakers or on the same surface your speakers are sitting, particularly if they produce deep bass tones.
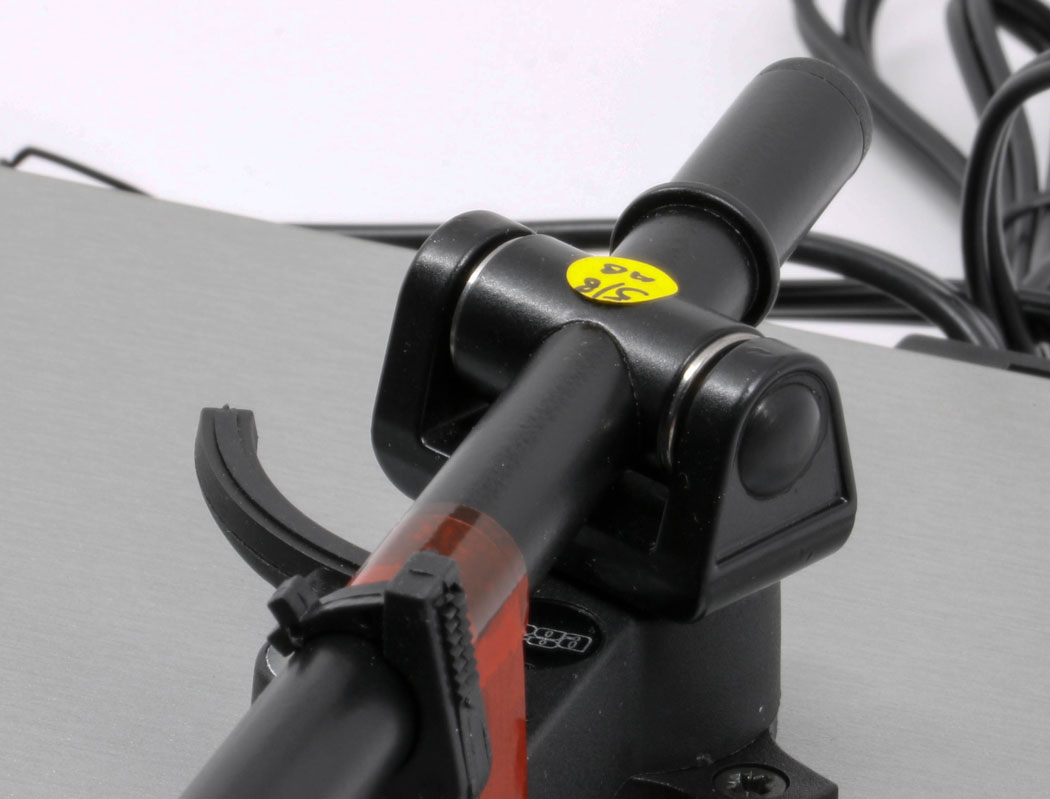
2. Remove the yellow sticker on the arm and the red tape on the tonearm. The yellow sticker details when the turntable was inspected.
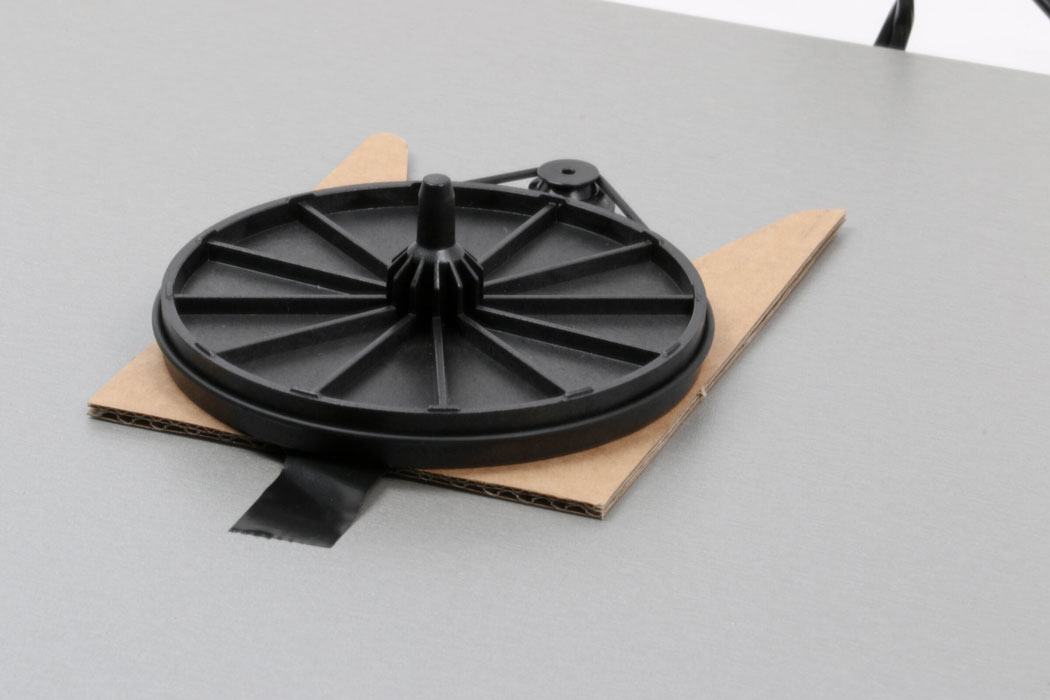
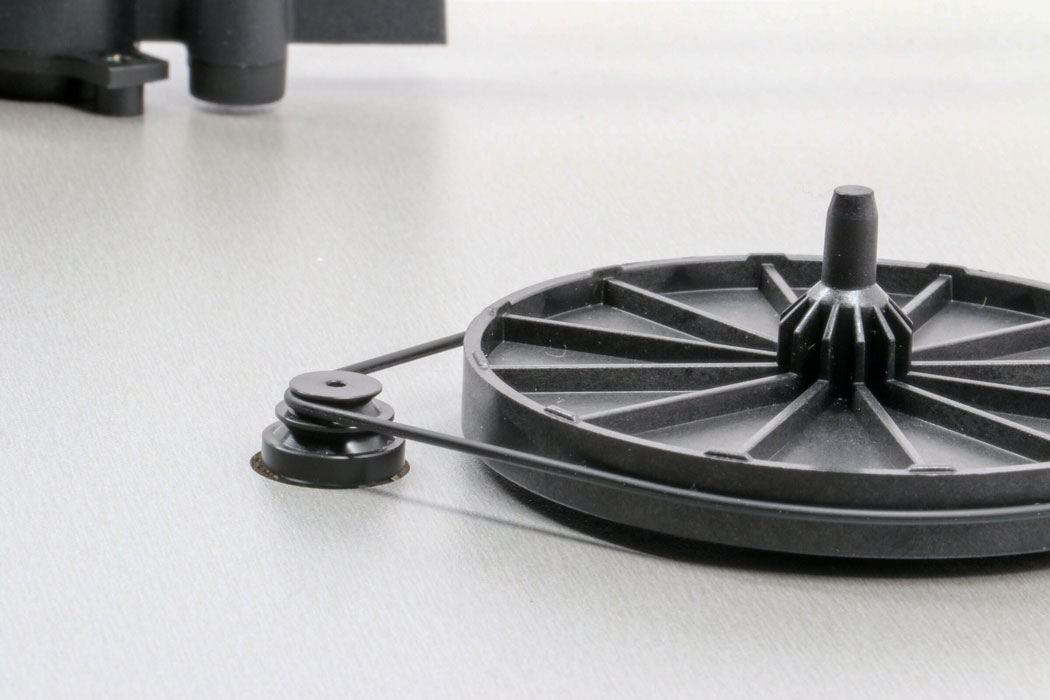
3. Place the included belt on the top pulley. Spin the inner platter to center the belt. The top pulley is 33. The bottom pulley is 45. To switch from 33 to 45 you simply lift off the platter and move the belt.
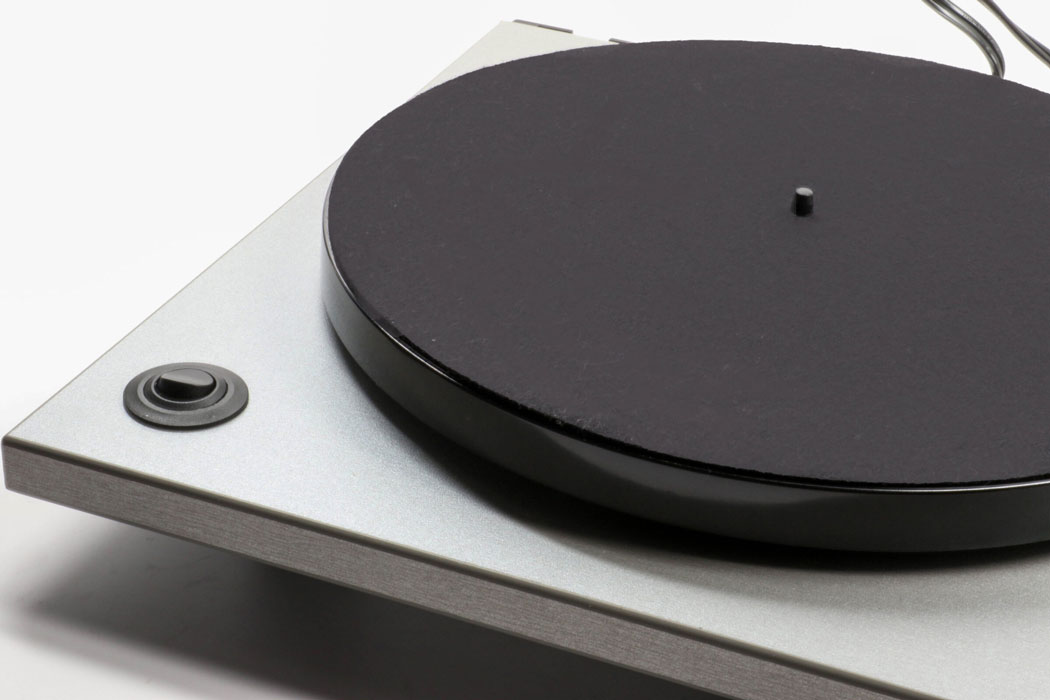
4. Place the platter back onto the spindle. Put the felt mat on top of the platter.
Part 3: Setting the Tracking Force and Anti-Skate
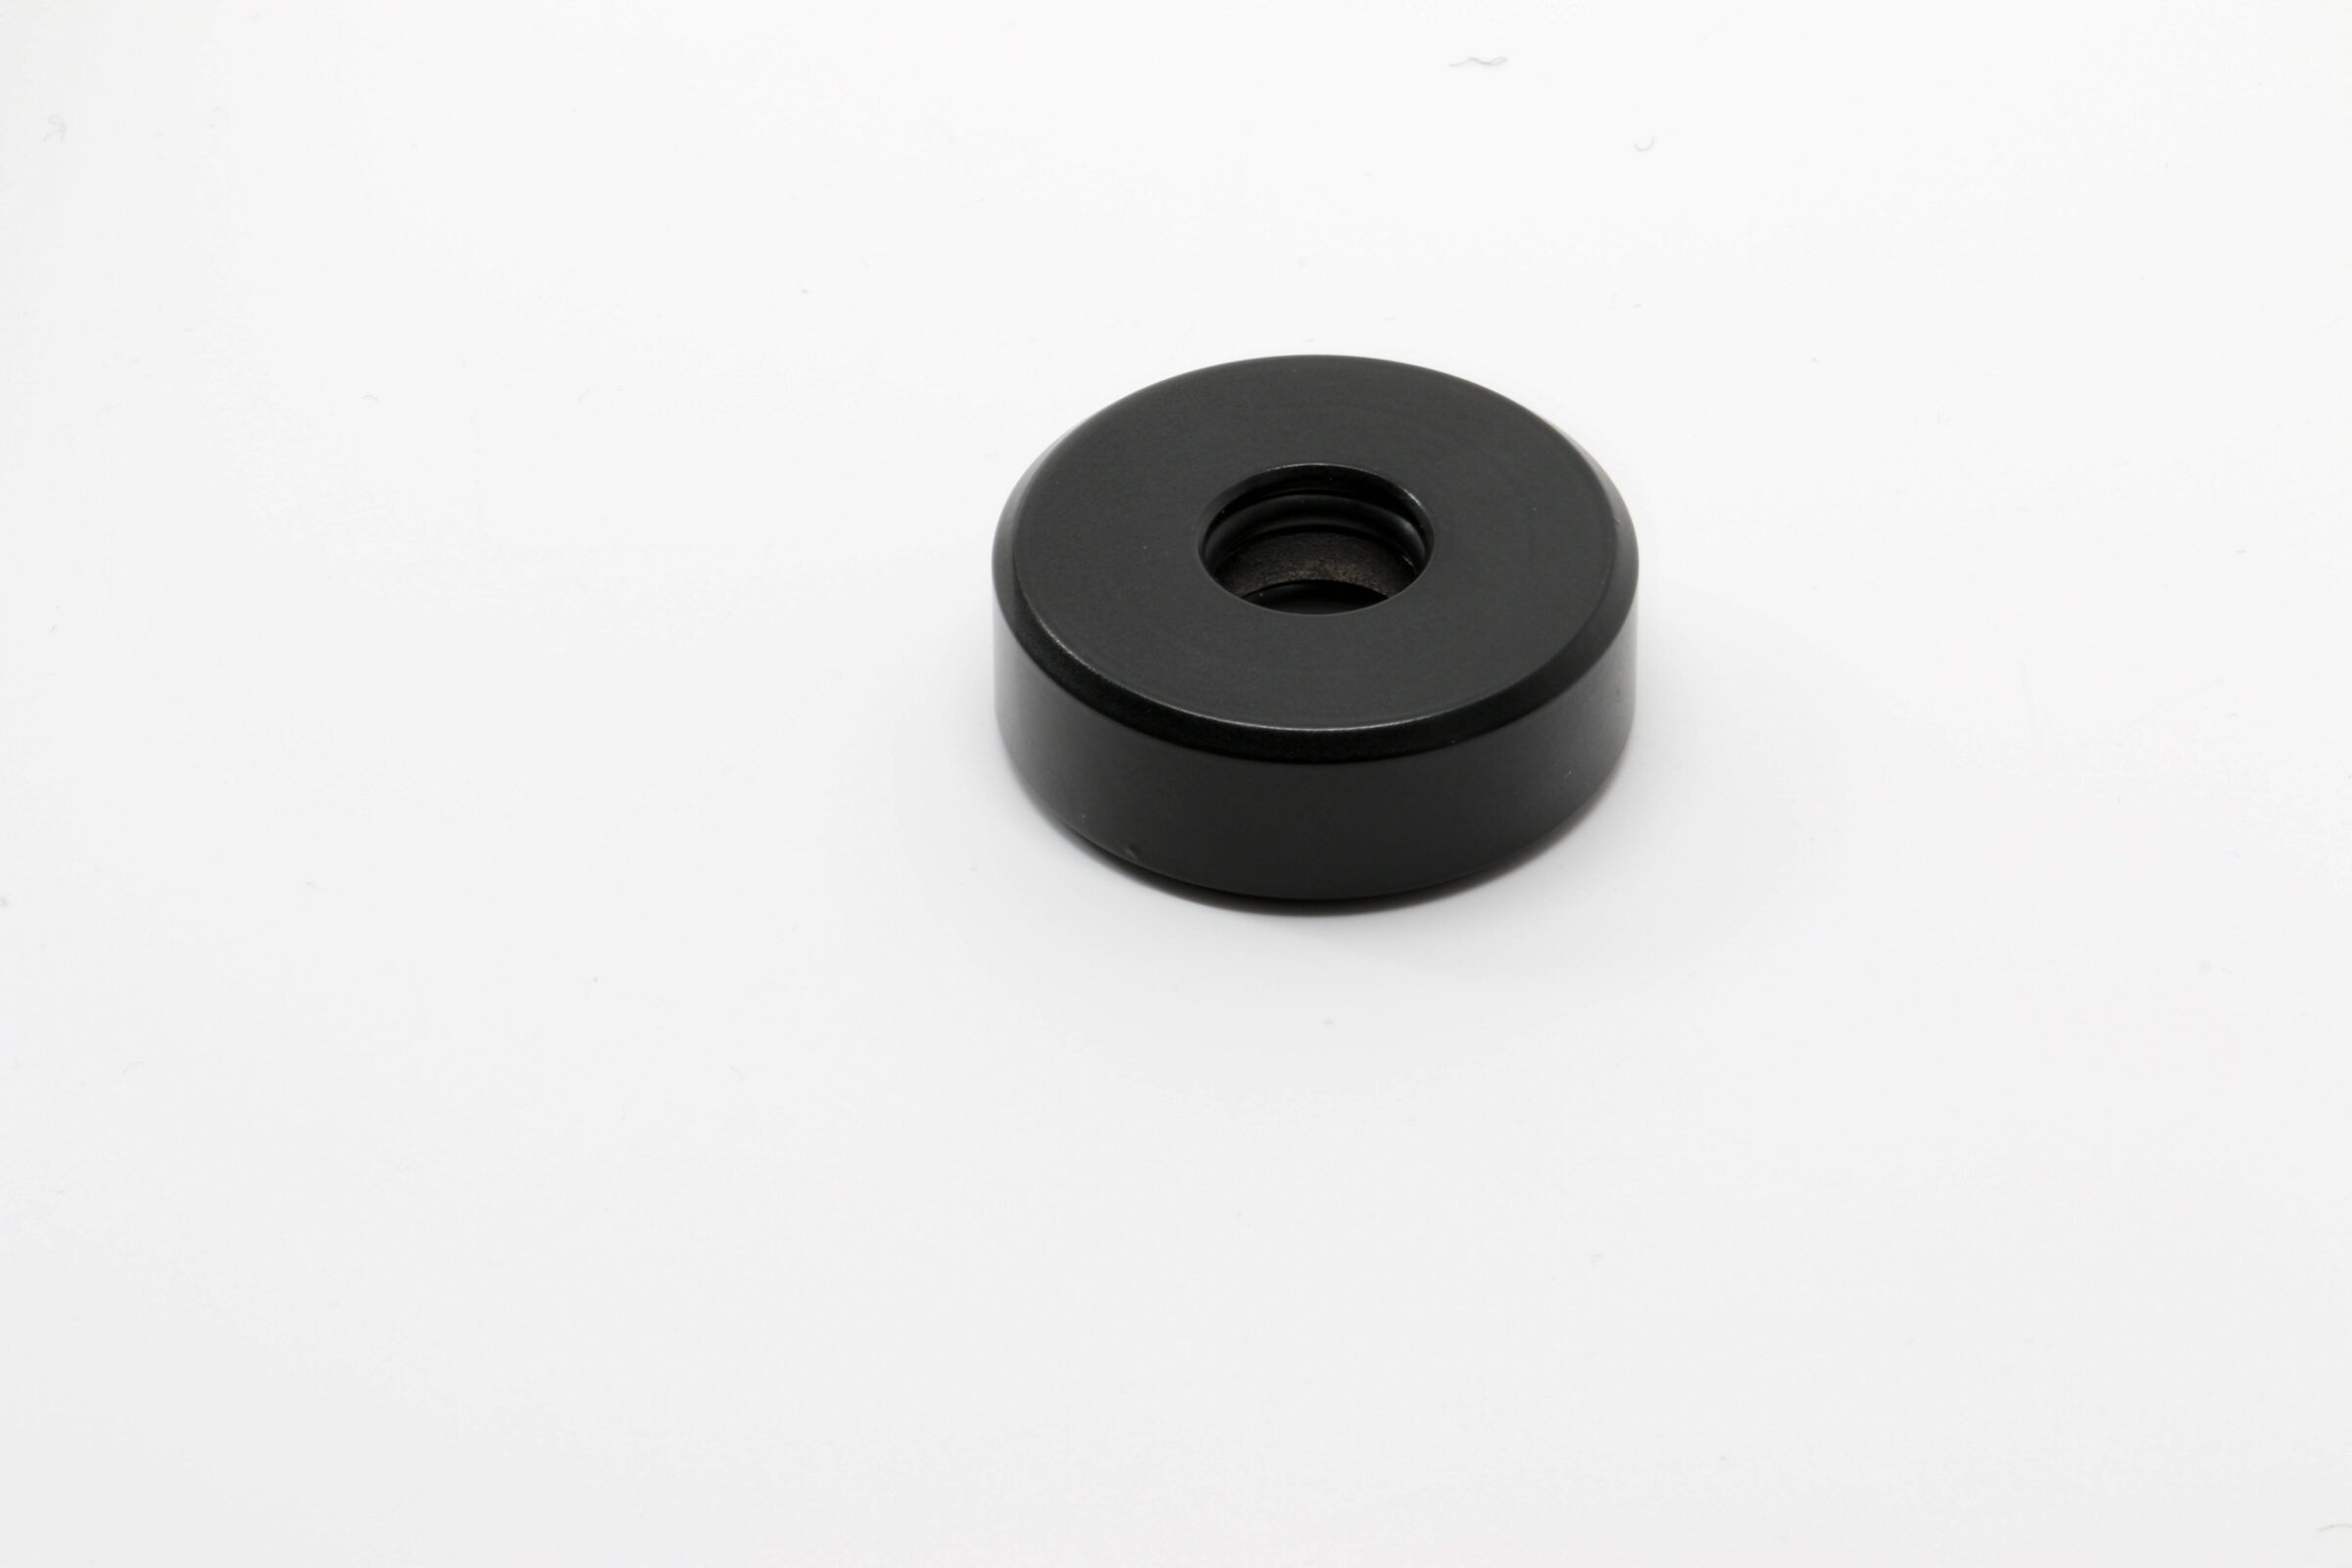
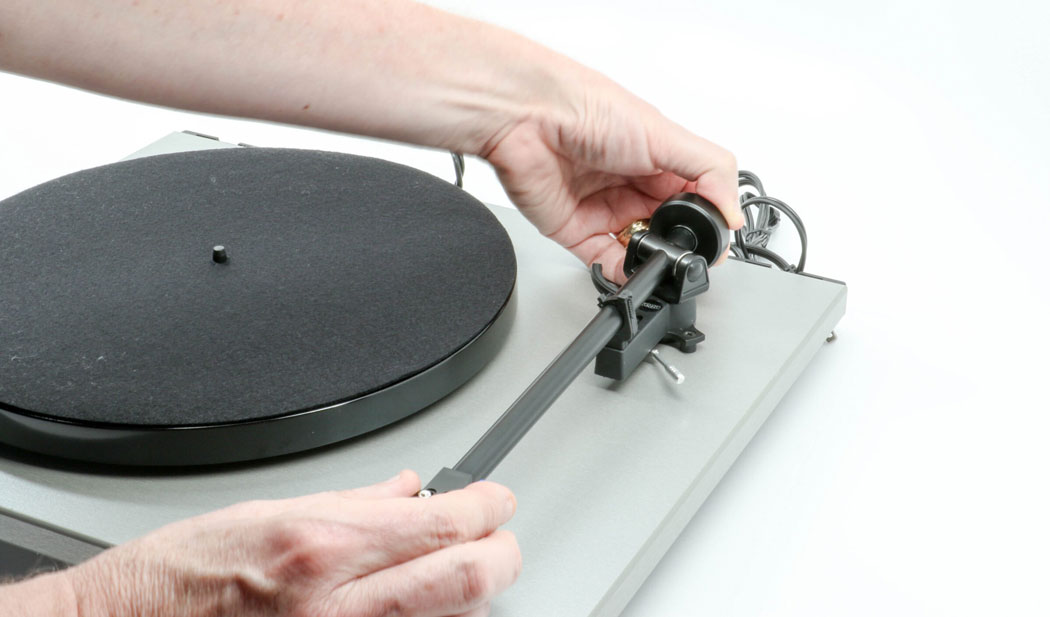
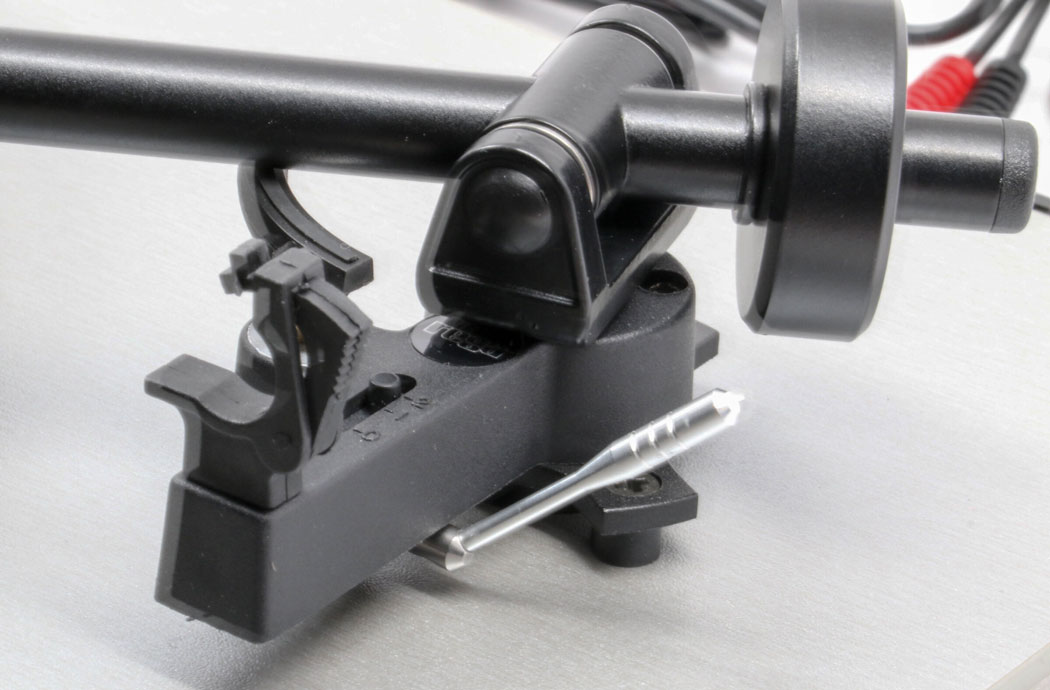
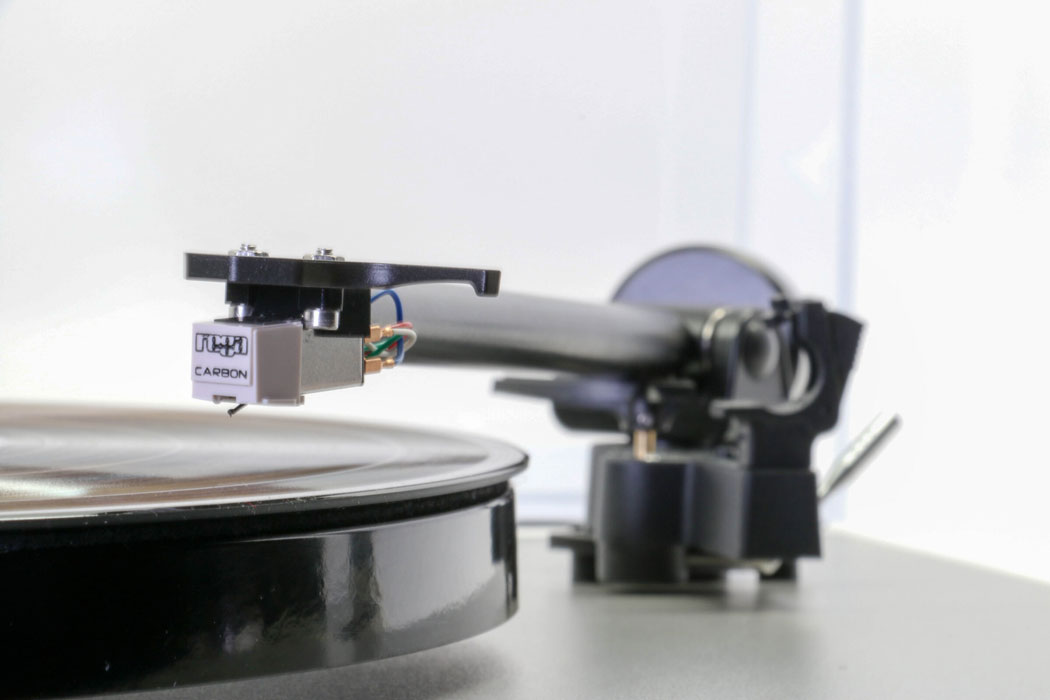
1. Place the included counterweight on the back of the arm. Turn it on the shaft until it is all the way against the back of the tonearm. The RP1 is set up so when you have the weight all the way against the back of the arm the proper tracking force is set for the included Rega cartridge.
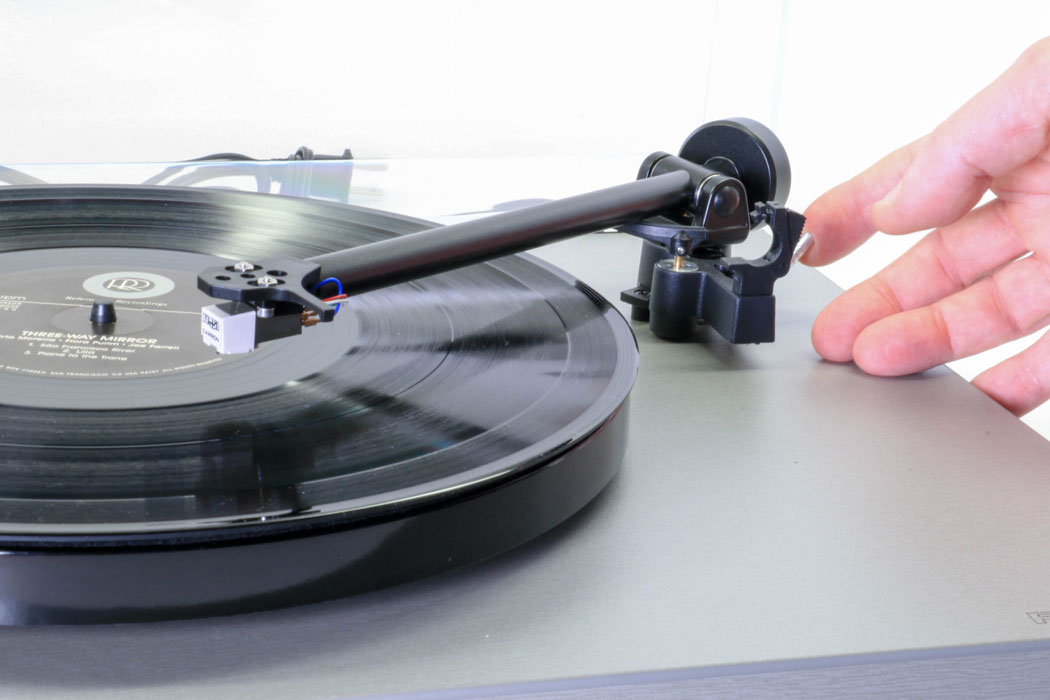
2. On the base of the tonearm you will see a small slot with a rod sticking up through the slot. Slide the rod until it lines up with the number 2. When you are done your tonearm should look like the picture below.
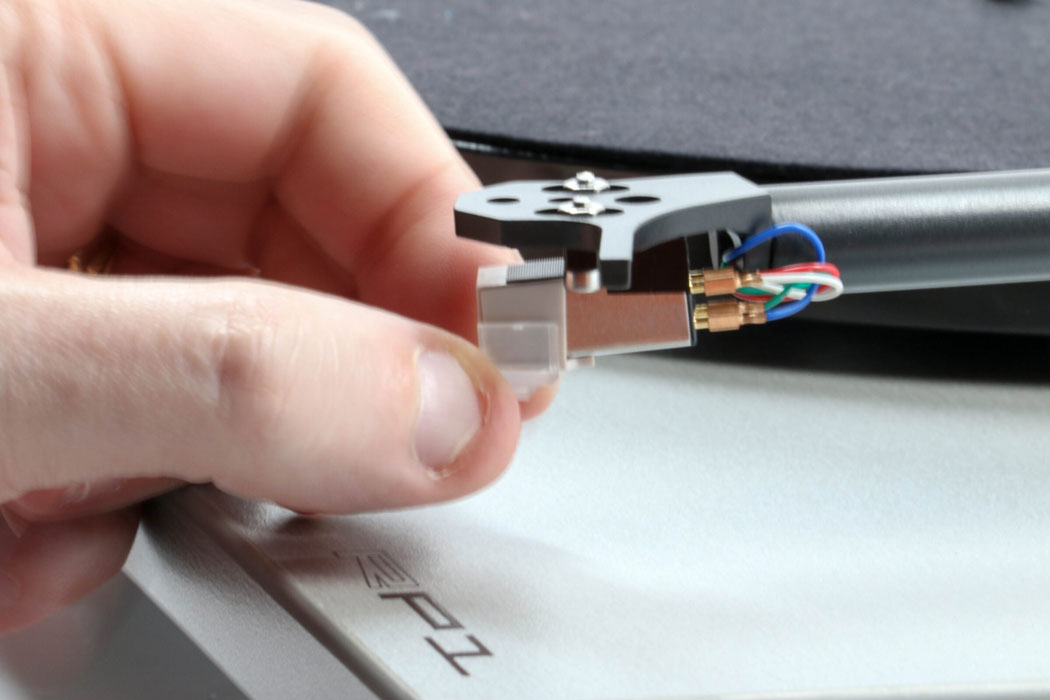
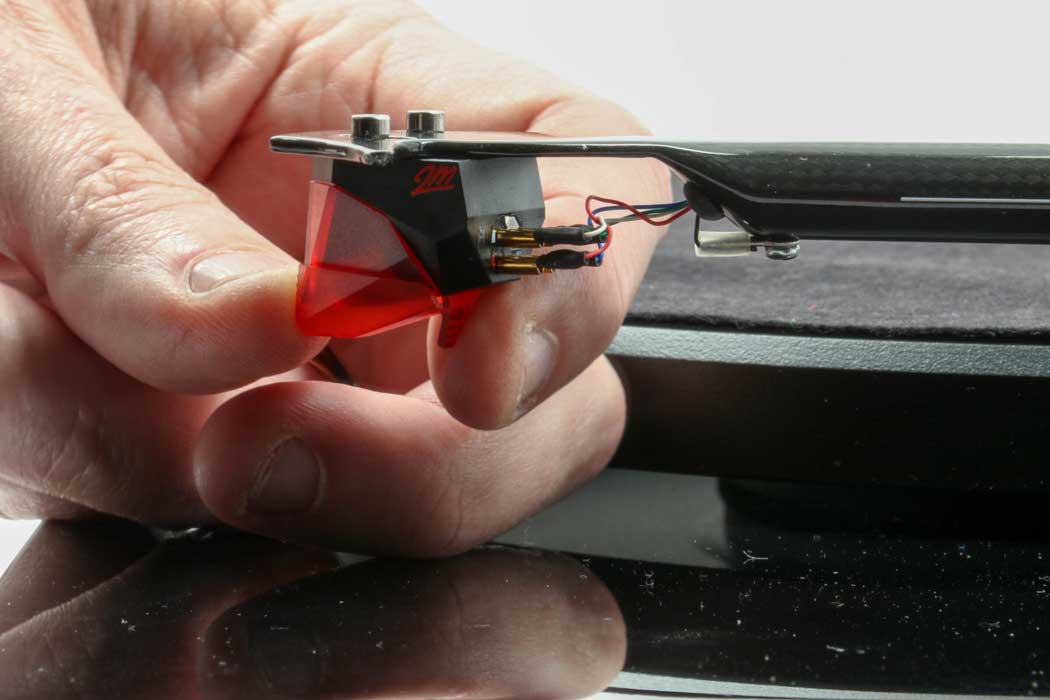
3. Slide the stylus cover forward to remove it from the arm. It is a good idea to save your stylus guard should you need to move your turntable.
Note: there is a small chance you might pull the stylus off the cartridge while you are taking the guard off. If you to, simply hook the rear section into the bottom back of the cartridge body, lift it up, then push until you feel a small click.
Part 4: Audio Connections and Dust Cover
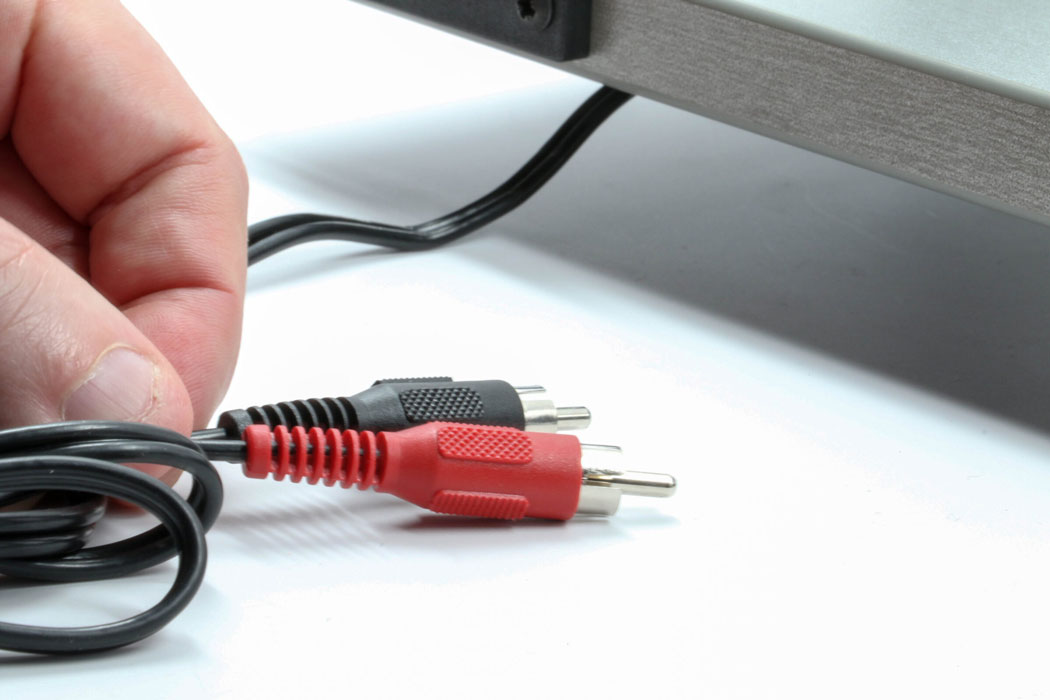
1. The red and black audio cables will connect to your phono preamp, or the phono stage of your receiver or amplifier. You will need a phono stage to play your turntable. The red cable goes into the right channel input, and the black goes into the left channel input.
2. Make sure the arm is in the locked position and then push the counterweight onto the back of the tonearm. The numbers on the dial should be facing the front of the tonearm. Turn the whole weight until its towards the middle of the rod.
3. Attach the dust cover by inserting the attached hinges into the back of the turntable. They will fit into the back slots. The dust cover can be removed by lifting the hinges out.
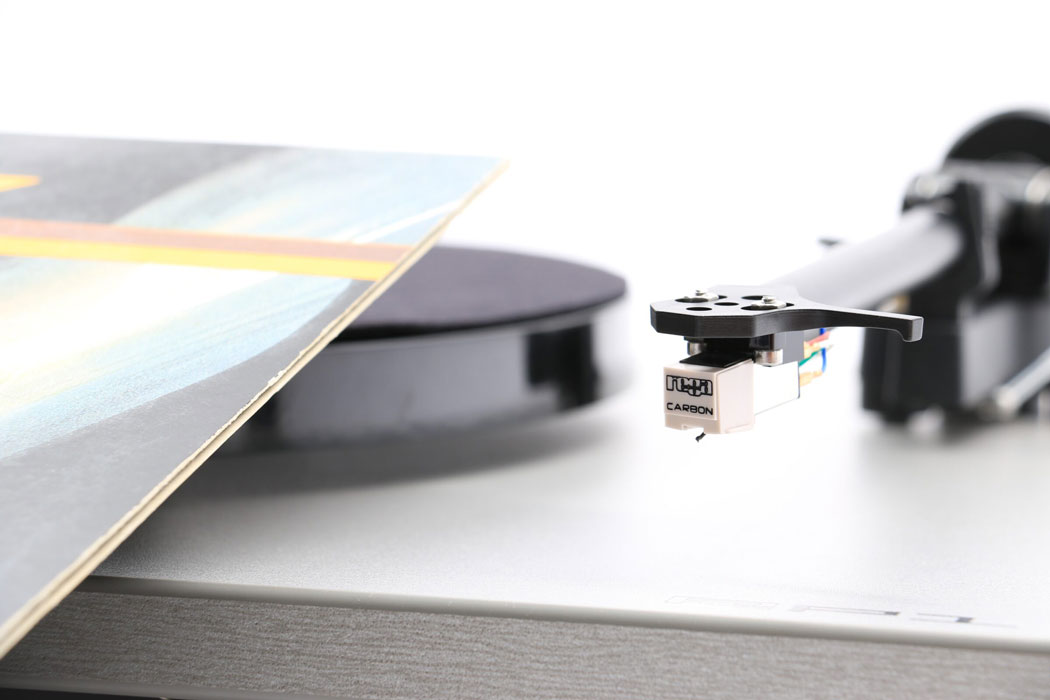
2. Move the tonearm over so it is over the outer record groove.
3. To play your vinyl, lower the cueing lever so the tonearm lands in the lead in the groove.

4. When the record ends, you will need to lift up the cueing lever, return the arm to its rest, and switch off the motor. Or better yet, play another record!
Should you ever need to transport your turntable more than across the room, it’s a good idea to remove the platter and lock the tonearm down with a twisty tie. You might also consider placing the stylus guard back on.
We hope you enjoy your new turntable for many years to come. If you have any other set up questions, please contact us at support@audioadvice.com or chat with us for immediate assistance.